How to Install a Garage Door Keypad
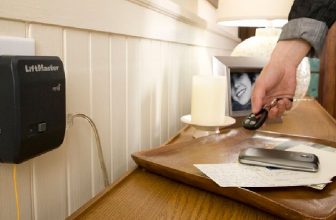
Are you looking for an easy way to access your garage without having to fumble with a key? Installing a garage door keypad is the perfect solution!
Installing a garage door keypad is becoming an increasingly popular way to upgrade your home security system and control access without manually opening the garage door. Having a keypad can also be super convenient, as you don’t need to carry extra keys or worry about being locked out when you forget them.
This guide will provide easy-to-follow steps on how to install a garage door keypad, whether it’s for an existing automated system or a new one from scratch. In addition to detailed information, we’ll also cover cool ways to use your newly installed keypad beyond traditional security by incorporating tech tricks or even artistic decorating ideas for those who want more than just function!
What are the Benefits of Installing a Garage Door Keypad?
A keypad is a great way to upgrade your home security system and keep unwanted visitors away. It also allows you to control who can access the garage, making it more secure when children are involved.
Keypads provide convenience as well, as you don’t need to worry about carrying around extra keys or having to open the door each time manually. You can also program PIN codes for easy access, so you don’t have to remember a password or code every time.
Finally, they look great and add an element of style to your home decor. Whether you want something sleek and modern or unique and artistic, there are many options available regarding how you design your keypad.
What Will You Need?
To install a garage door keypad, you’ll need the following items:
- Keypad (with wiring)
- Screwdriver
- Drill
- Hammer
- Wire strippers/crimpers
- Nails or screws (for mounting the keypad)
- Tape measure (optional)
If you’re installing a new automated garage door system, you may also need to purchase additional components such as a motor, drive unit, and other accessories. Make sure to check for compatibility with your existing system before purchasing any extra parts.
10 Easy Steps on How to Install a Garage Door Keypad
Step 1. Prepare the Installation Area
Before you begin, be sure to clear away any dirt or debris from around the installation area so that the keypad will sit flat against the wall. Then mark the exact location for where you want your keypad using a marker/pen and level. If you’re installing a new system, make sure to check how the wiring should be connected before proceeding.

Step 2. Mount the Keypad
Using a drill and nails/screws, securely mount the keypad to the wall. Make sure not to over-tighten, as this can damage the keypad and make it difficult to take down in the future if needed. Don’t forget to check if the keypad is level before securing it in place.
Step 3. Connect Wiring
Carefully connect the wiring from your keypad to the existing system or new components according to your manufacturer’s instructions. It may help to have an assistant hold wires steady while you work. Additionally, you may need to use wire strippers/crimpers to adjust the wiring length if needed.
Step 4. Power Up
Once all wiring is connected, turn on the power for your garage door system using a switch or breaker box (depending on what type of system you have). This should activate your keypad so that it is ready for programming. If the keypad doesn’t turn on, double-check all connections and wiring.
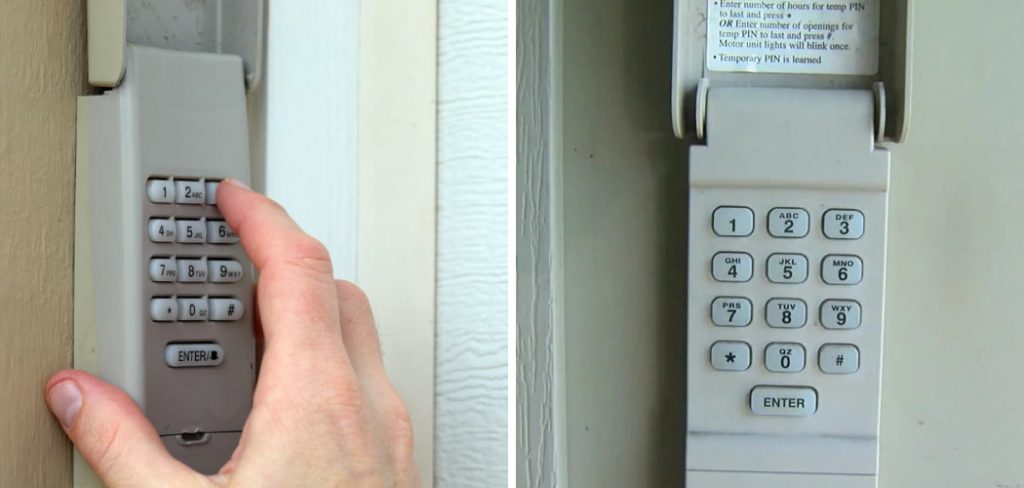
Step 5. Program Your Keypad
Using your manufacturer’s instructions, program the keypad with a PIN code or other access setting (if desired). Make sure to write down this code somewhere safe in case you need to refer back to it later. Otherwise, you may be able to program multiple PINs or other settings depending on your system.
Step 6. Test the Keypad
Once everything is set up and programmed, test the keypad by entering your PIN code several times until you feel confident it’s working properly. If anything doesn’t seem right, make sure to adjust settings accordingly before proceeding. It may also be a good idea to have someone else test the keypad as well.
Step 7. Secure Wiring
Using tape or plastic clips, secure all wiring in place so that it won’t become exposed or damaged over time. You may also want to add insulation around exposed wires to help protect them from weather and other elements. Don’t forget to test the keypad again once everything is properly secured.

Step 8. Make Final Adjustments
Before installing, check that everything is aligned and working as expected. This includes making sure the keypad isn’t too loose or tight against the wall and that all wiring is connected securely. If you need to make any adjustments, now is the time to do it.
Step 9. Clean Up
Remove any excess tools or materials used during installation and clear away any dirt or debris created during installation. You can also use a damp cloth to wipe down any parts of the keypad that may have become dirty or dusty during installation. There’s no need to use any harsh chemicals or cleaners as this can damage your system.
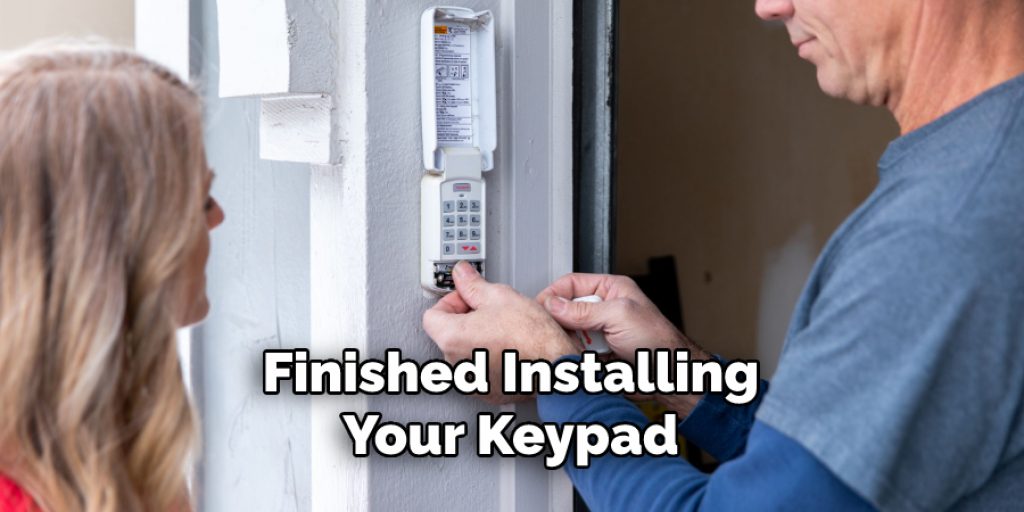
Step 10. Enjoy Your New Keypad!
Now it’s time to enjoy your newly installed keypad! You can use it for traditional security purposes, cool tech tricks, or even decorating ideas — whatever you want to do with it, now you can! Remember, keypads provide a lot of convenience and security, so make sure to use it properly. Just be sure to keep your access codes safe and secure.
By following these ten steps, you should know how to install a garage door keypad. Keep in mind that the exact process will depend on your specific system, so be sure to refer to its instructions for more precise information. Now you can enjoy the convenience and security of having a garage door keypad!
5 Additional Tips and Tricks
- Be sure to check the manual that comes with your keypad before you begin the installation. This will ensure that all of the necessary steps are taken and help prevent any confusion during the installation process.
- When installing a wireless keypad, always take extra precautions not to interfere with any other nearby electronics or devices.
- Make sure that you choose a place for your keypad that is easily accessible but out of reach of anyone who could potentially tamper with it.
- Take note of the security code on your garage door opener before programming your new keypad so that you can quickly enter it when needed in case of an emergency situation.
- To avoid any potential complications, keep the battery compartment clean and clear at all times. This will help maximize your keypad’s life and prevent any problems during its use.

By following these simple tips and tricks, you can ensure that your garage door keypad is installed properly and securely for years to come. With a little bit of care and attention, you can have peace of mind knowing that your home’s security is always in good hands.
5 Things You Should Avoid
1. Not Paying Attention to the Instructions: Ensure you read and understand the instructions before installing a garage door keypad. Skipping this step may lead to complications or errors in your installation.
2. Forgetting to Turn Off Power: Before you start any work, it’s important that you turn off all electrical power going to the garage door opener. This will help avoid any possible electrocution or other mishaps during installation.
3.Trying to Force Things Into Place: Don’t be tempted to try and force the parts into place – they should fit snugly but without pressure being applied. If you encounter problems fitting them together, consult your manual for additional instructions on how best to proceed with the installation.
4. Not Testing the Setup: Once you’ve finished installing your keypad, it’s important to test it out and ensure everything is working correctly before you call your installation a success.
5. Ignoring Regular Maintenance: Regularly checking up on your garage door keypad is essential for ensuring it continues to work properly. Check up on all component parts every few months (or sooner, depending on usage) and replace any that are showing signs of wear or damage. This will also help prevent any unexpected breakdowns in the future due to a faulty component.
Taking these simple steps will ensure your garage door keypad remains secure and reliable for years to come!
Where is the Best Location for a Garage Keypad?
For optimal security, it’s best to place the keypad near the front of your garage so that anyone trying to gain access will have to be seen from inside or outside the house. Additionally, make sure you choose a location sheltered from inclement weather and ensure no wires become exposed.
You should also consider mounting it on an interior wall for extra protection. Always keep in mind that some models may require additional wiring – consult your manual for details on how best to proceed with this aspect of installation.
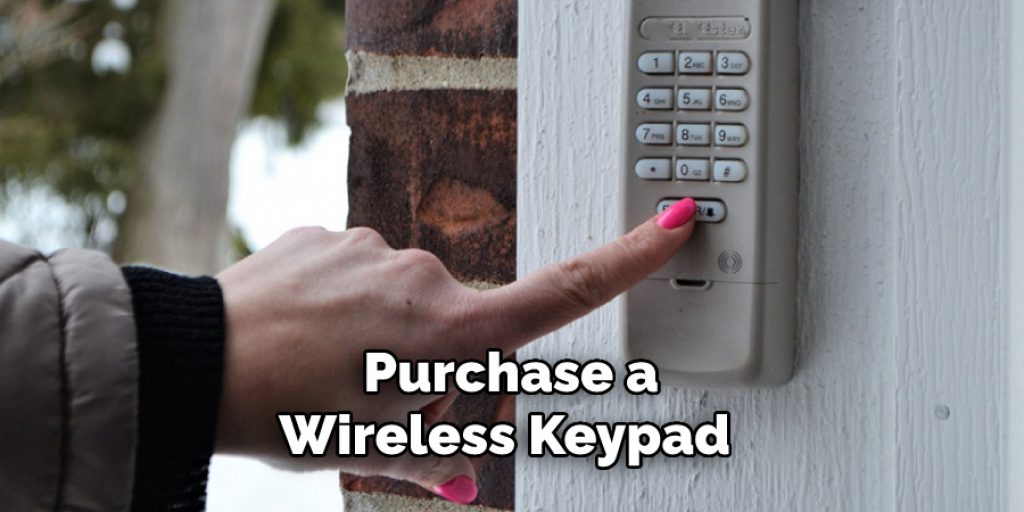
Another potentially simpler option is to purchase a wireless keypad. This type of device is easy to install and requires no additional wiring, making it an ideal choice for those who want a quick and easy installation.
Finally, ensure you always keep your garage door opener code secure – never share it with anyone! It’s also important to change it periodically in order to ensure optimal security for your home.
Conclusion
Installing a garage keypad is not difficult and can be done easily if you spend some time prepping for it. Following these steps will ensure your installation process is smooth from start to finish and won’t leave any potential problems behind.
Before beginning your installation, prepare the area, gather all your tools, check the door’s power supply, and learn exactly how the different components work together. Taking these extra steps upfront can save you time and money by avoiding costly mistakes.
Hopefully, the article on how to install a garage door keypad has been helpful, and you can now confidently move forward with your installation! Good luck!