
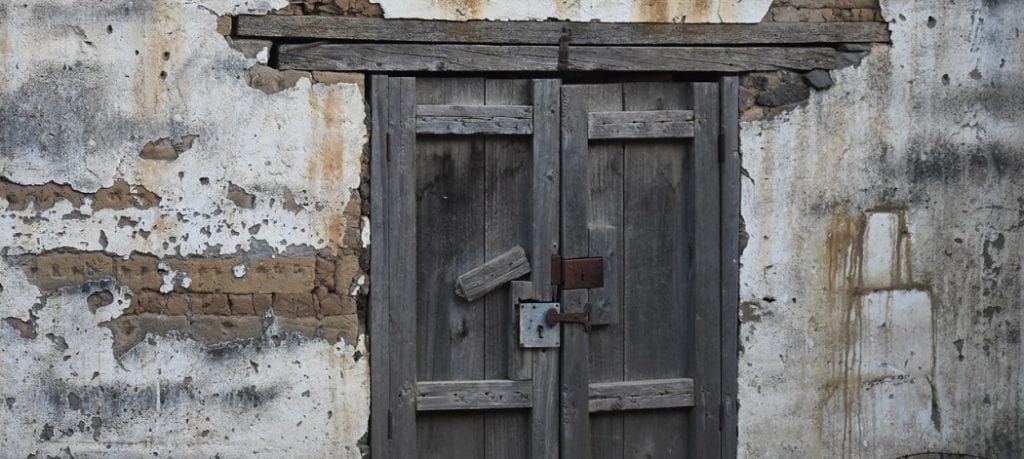
How to Install Barn Wood Walls
Introduction:
Do you want to know how to install barn wood walls? If yes, we want to assure you that this entire article is specifically dedicated to readers just like you.
In this content, we will provide you an effective method of installing barn wood walls along with some safety measures. If you are feeling interested in studying further, then read the rest of the part.
Required Materials:
- Wood Paneling:
- Saw Horses:
- Circular or Table Saws:
- Miter Boxes and Chisels:
- Tape Measure, Square & Pencils :
- Utility Knife, Hammer, and Paring Knives.
- Optional Materials – Sandpaper (grits 80)
Processes on How To Install Barn Wood Walls:
Process One
- In order to make a teapot, you have to first learn how to make a jar and attach a handle to it. Then, you have to make a handle and attach it to the surface of the clay. Lastly, you have to make a lid for the teapot.
- If you want to install wood paneling, you need to remove any existing drywall first. You can do this by using a crowbar to pull the nails out of the drywall. Be careful not to damage the studs underneath, or the paneling won’t go on smoothly later. You may be able to use a saw to remove the drywall faster, depending on what it’s made of.
- Remove all debris created from tearing down old drywall and take care not to leave any large chunks lying around that can damage the wall when installing or create a tripping hazard.
- Before you install wood paneling, you need to use a stud finder to mark all of the framing members on both sides of where you want to install the paneling. The marks should line up with each other so that the paneling is installed correctly. If there is an exterior door opening, use that as a starting point for locating panels – you will need to install at least one panel every 24″ from there outwards (48″ apart).
- Before attaching frame members together with nails or screws, use a drill to make any holes that might be needed. It’s a good idea to drill pilot holes first so that the wood doesn’t crack.
- For drilling holes for screws, use a drill bit that is about one size smaller than your screwdriver bit and make sure to hold firm pressure on the trigger as you do not want to break through the other side of the framing member. When using nails or staples, pre-drill pilot holes first before installing them so that they don’t split when hammered in place.
If any loose wires or cables are running across where you’re going to install panels, make sure to remove them before continuing. This will prevent damage to the panels or create a tripping hazard. With that out of the way, installations should only take an hour at most.
Process Two
- Get rid of or unfold all fixtures inside the room.
- Place a drop material down. We generally end up with a couple of drops of paint to a great extent. So loads less complicated to tidy up while it lands on a drop material.
- Check your dividers for nail gaps, breaks, or potential scratches. Indeed, even with a fresher home, we needed to fix a few territories where the dry divider nails have jumped out. We additionally found a few little flaws that were anything but difficult to settle with a bit of divider glue.
- Use the best coarseness sanding rectangular to clean any regions you only constant simply as any strange markings that might be standing out from the divider’s outdoor. We found a few little knocks that required attention.
- With a soggy material, clear off any earth or garbage that might be on the divider.
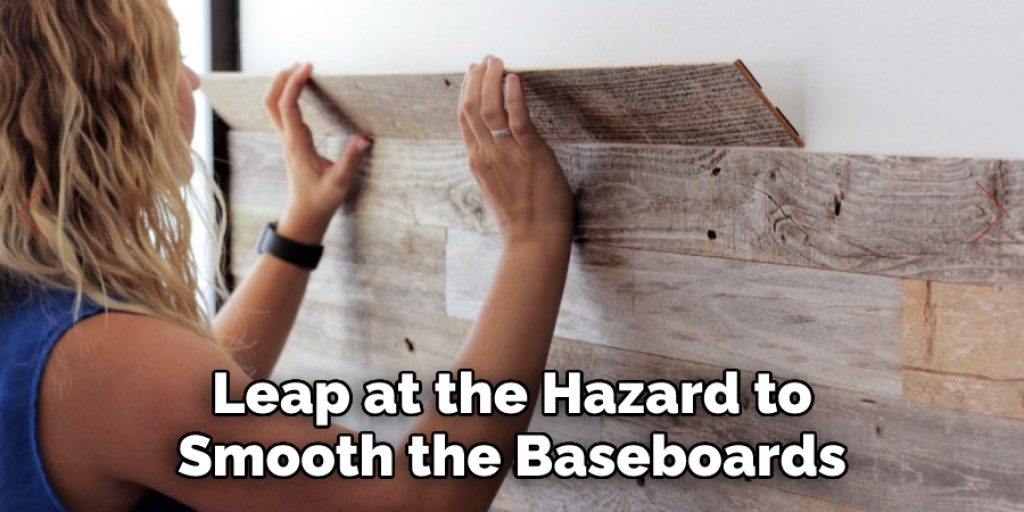
- You have to leap at the hazard to smooth the baseboards or extra the door jambs earlier than painting. On the other hand, it makes an accessible floor, so you do not need to stress over residue and earth.
- It would help if you opened your window. It may assist with ensuring you have the first-rate airflow even as you figure.
Precautions:
Always wear goggles and gloves when sanding or handling wood.
- Wood dust is highly flammable, so make sure there are no open flames nearby while you’re working with it.
- Keep your work area well ventilated by opening a window so the room can breathe during all stages of the project.
Conclusion
Lastly, we will assume after reading this whole article, you have learned the proper process of how to install barn wood walls. And thus, you will be able to execute the work practically all your own.
you may also read now


