How to Install Return Air Vent Grille
Installing return air vent grilles can be a great way to improve your home’s air quality, comfort, and energy efficiency. Return air vents allow fresher outside air to enter the living space of your home while preventing any stale indoor air from escaping. With the installation of return air vent grilles, you’ll experience enhanced ventilation that can reduce allergens, improve air quality, and increase the efficiency of your air conditioning and heating system.
The biggest advantage of installing a return air vent grille is increased efficiency. When the grille is properly installed, it can help maintain proper system airflow, which helps ensure that your HVAC unit runs at optimal performance levels. Additionally, by keeping dust and other allergens from entering your air ducts, a properly installed return air vent grille can reduce the risk of health issues related to indoor air quality. In this blog post, You will learn in detail how to install return air vent grille.
Step by Step Processes for How to Install Return Air Vent Grille
Step 1: Inspect the Area
Before beginning the installation process, inspecting the area around the return air vent grille is important. Make sure that there are no obstructions, such as furniture or other items, and ensure that you have enough room to work. Measure your space carefully with a measuring tape so you will know the exact dimensions of the return air vent grille you need to install.
Step 2: Gather Supplies
Before you begin, ensure you have all the supplies and tools you will need for the installation. This should include the return air vent grille itself, screws, screwdriver, drill, or other tools as necessary. It is also important to ensure that any insulation used around the return air vent grille is in good condition and installed properly.
Step 3: Prepare the Space
The next step is to prepare the space where you will install the return air vent grille. This includes removing any existing hardware from the wall or ceiling, as well as ensuring that there are no gaps or cracks around the grille. This can be done with caulk, foam, or other insulation.
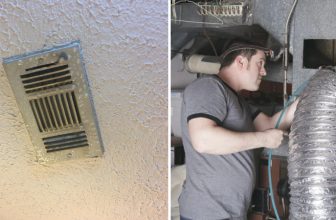
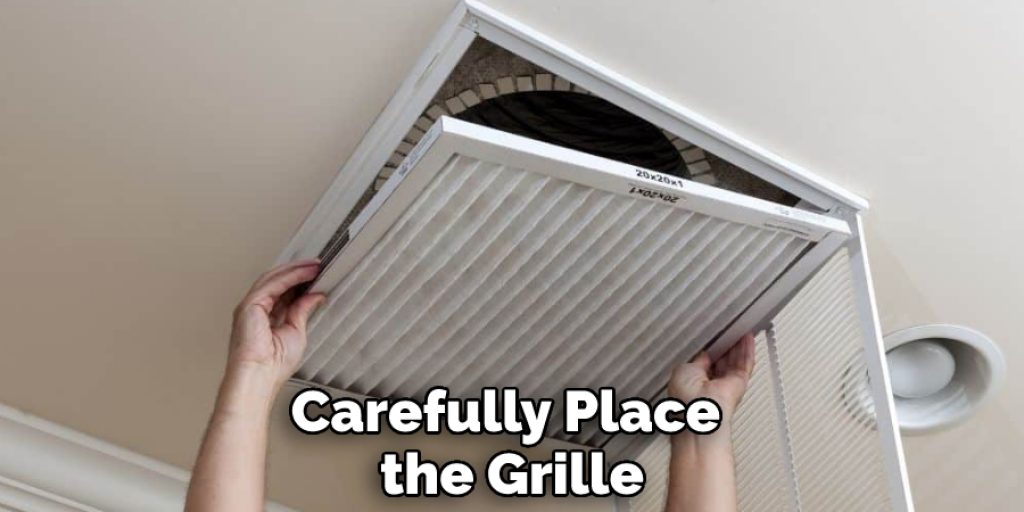
Step 4: Install the Grille
Once you have c, it is time to install the return air vent grille. Carefully place the grille into the hole in the wall or ceiling and attach it to the studs with screws. Make sure that all of the screws are tightly secured and that there is no gap between the grille and the wall or ceiling.
Step 5: Seal Around the Grille
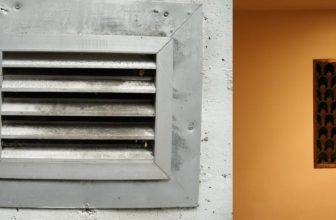
The last step is to seal around the return air vent grille. This can be done with caulk, expanding foam, or other insulation as necessary. Make sure that all of the seams are sealed tightly and that there are no gaps between the grille and the wall or ceiling.
Once you have followed all of these steps, your return air vent grille should be securely installed and ready to use. Following these steps will ensure that your return air vent grille is properly installed and secure, making it a safe addition to your home.
Tips for How to Install Return Air Vent Grille
- Always wear protective gear such as eye goggles, gloves, and respirators when installing a return air vent grille.
- Ensure to turn off your furnace’s power before beginning the installation process. This will help ensure that you do not get shocked or injured during installation.
- Measure the dimensions of your return air vent grille carefully before installing it. This will help you ensure the correct fit.
- If necessary, secure the return air vent grille with screws and anchors to prevent any shifts or movement during operation.
- Only use quality-tested products for your installation process to ensure the safe and efficient operation of your return air vent grille.
- Make sure to use the appropriate tools and materials necessary for your installation process. This will help ensure you get a successful outcome from the project.
- Clean out any dirt or debris from around your return air vent grille before finishing up with installation.
Following these tips ensures that your return air vent grille is installed safely and correctly. Taking the time to do it right will save you time and money in the long run.
How Can You Make Sure Your Installation is Safe and Secure?
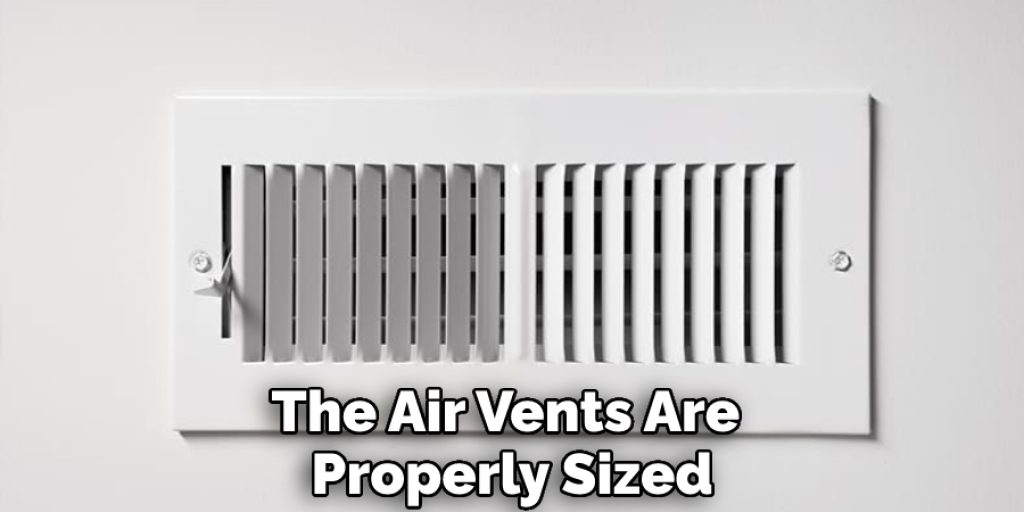
Installing a return air vent grille is not complicated, but it’s important to take the necessary steps to ensure that your installation is safe and secure. First, measure the opening you will be installing the grille into so you know what size grille to purchase. Make sure that all sides are securely fastened with screws so that the grille does not shift.
Also, ensure that the air vents are properly sized for the airflow requirements of your space. Lastly, check with a professional if you have any questions or concerns regarding the installation process. Following these steps will help ensure that your return air vent grille is installed safely and securely.
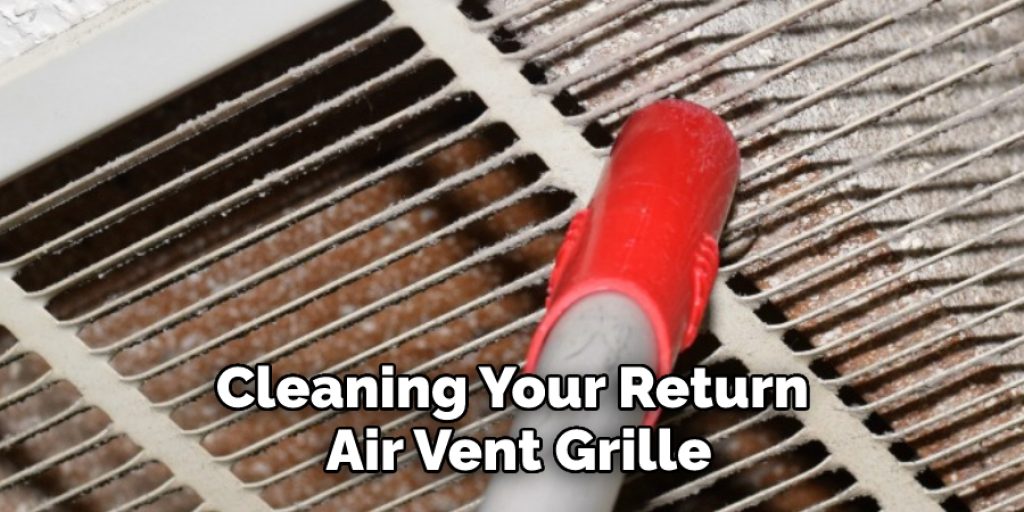
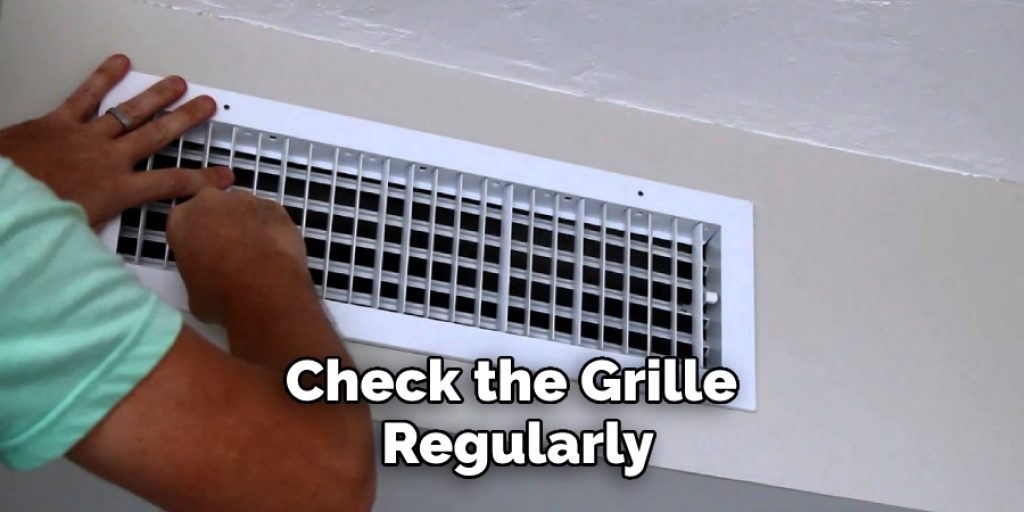
How Often Should You Inspect and Clean the Return Air Vent Grille?
Regularly inspecting and cleaning your return air vent grille is important for keeping your home’s air quality safe and healthy. How often you should inspect and clean the grille depends on several factors, such as how many people live in the home and how often the HVAC system runs.
Generally speaking, it is a good idea to inspect the grille at least once a year and give it a thorough cleaning if necessary. The more often you clean the grille; the better off your home’s air quality will be.
When inspecting and cleaning the return air vent grille, make sure to use a vacuum cleaner with an attachment for dusting or a soft brush so as not to damage the grille. Also, be sure to wear a dust mask while cleaning so as not to inhale any of the dirt or debris.
Finally, take care when removing the grille itself to avoid damaging any of the other parts of your HVAC system. Taking these steps will help ensure that your return air vent grille is always in good condition and working correctly. By inspecting the grille regularly and keeping it clean, you will enjoy better air quality in your home for years to come. If you have any questions about how to inspect or clean the return air vent grille, contact a qualified HVAC technician for help.
How Can You Prevent Air Leakage Around the Grille?
- To prevent air leakage around the return air grille, it is important to ensure that a tight seal is created between the grille and the wall or ceiling surface on which it is mounted.
- Before installing the grille, use silicone caulk or other caulking material to create a seal where the grille will come in contact with the wall or ceiling surface.
- Carefully position the grille on the wall or ceiling and press it firmly into place against the caulk to ensure a tight seal is created between the two surfaces.
- Using screws, secure the grille to the wall or ceiling so that it will not move or shift.
- Use a putty knife or other tool to create a smooth surface and ensure that there are no gaps between the grille and the wall or ceiling.
These steps will help to prevent air leakage around the return air vent grille, ensuring maximum efficiency of your HVAC system.
What Other Maintenance Should You Perform on Your Return Air Vent Grille?
- Check the grille regularly to ensure it is not clogged with dust and debris. If needed, use a vacuum cleaner or damp cloth to clean off the filter.
- Inspect the filter periodically for signs of wear or damage and replace it if necessary.
- Ensure the air vent is not blocked by furniture, rugs, or other objects. This will reduce airflow and could cause the system to malfunction.
- If your return air vent grille has an adjustable damper, ensure it is open for maximum efficiency.
- Ensure the screws that hold the grille are tightened securely to prevent air from leaking.
- If the grille has an adjustable face plate, ensure that it is adjusted correctly for optimal airflow and to prevent noise from entering the room.
- Every few months, remove the grille and wipe away any dirt or debris that has accumulated on the surface using a damp cloth. Make sure to dry the grille completely after cleaning.
- If necessary, lubricate any moving parts with a silicone-based lubricant to ensure smooth and quiet operation.
- Lastly, inspect the air vent for signs of corrosion or other damage and repair it if needed.
Following these simple steps will help you keep your return air vent grille in top condition, optimizing the performance of your heating and cooling system.
Conclusion
In conclusion, installing a return air vent grille is a relatively straightforward process that can be completed in just a few steps. It’s important to measure carefully, choose the right tools, and secure the grille firmly for maximum efficiency. The results of an appropriately installed return air vent grille are improved airflow, reduced noise levels, and increased energy efficiency.
With the right tools and a bit of know-how, you can easily install your own return air vent grille and improve the comfort of your home. I hope this article has been beneficial for learning how to install return air vent grille. Make Sure the precautionary measures are followed chronologically.
You Can Check It Out to Increase Airflow Through Upstairs Vents