How to Lube Switches
Do you use mechanical keyboards with Cherry or Gateron switches? If so, you probably know how great they feel when they’re working properly. But after a while, all those keystrokes can start to take a toll, and the mechanical switch will be much less enjoyable to press. Eventually, you might even need to lube it in order for it to work correctly.
As any keycap enthusiast knows, switches are one of the most important components of a mechanical keyboard. Not only do they determine the feel of your typing experience, but their lifespan depends on how well you take care of them. One of the best ways to increase switch life and performance is lubing them correctly.
This blog post covers everything from choosing a lubricant to properly applying it as we explore how to lube switches like an expert!
What Will You Need?
You will need a few basic tools and materials to lube your switches. These include:
- A lubricant
- Cleaning solutions, such as isopropyl alcohol
- A small applicator, such as a cotton swab or microfiber cloth
- Safety gloves and glasses to protect your hands and eyes from potential splashes of lubricant
Once you have gathered all of your materials, you are ready to start the lubing process. To do so, follow these steps:
10 Easy Steps on How to Lube Switches
Step 1. Remove the Keycaps:
Start by removing your keycaps and keeping them in a safe place so you can use them again later. Be careful not to bend or damage them in any way. Otherwise, your keyboard may not work as smoothly as you’d like.
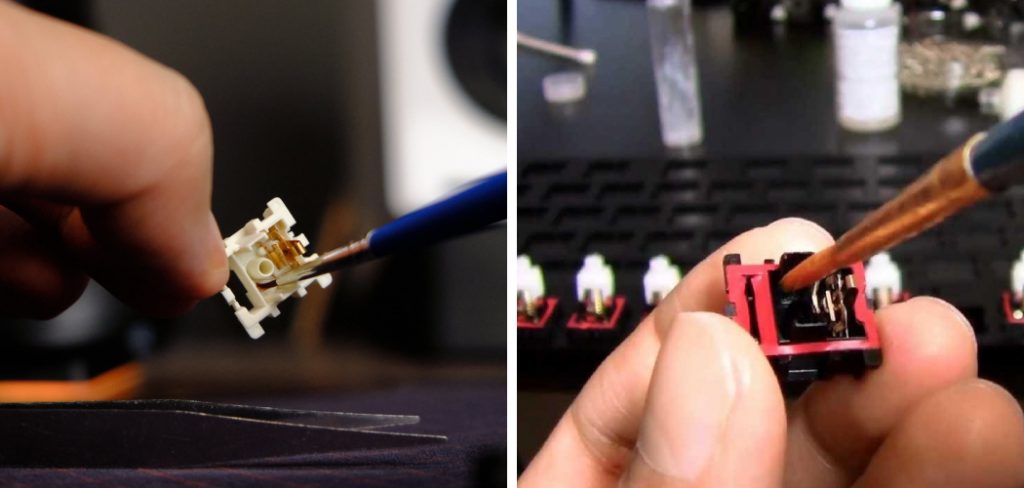
Step 2. Clean the Switches:
Next, clean any dust or dirt from the switches using a cleaning solution such as isopropyl alcohol. This will help remove any debris that could interfere with how effectively the lubricant can be applied. Ensure that the liquid fully dissolves in order to effectively clean and prep the switches.
Step 3. Choose a Lubricant:
Many different types of lubricants are available, so it’s important to choose one that works best for your specific switch type and keyboard model. Some popular choices include silicone-based lubes, synthetic oils, and graphite powders. Do some research to determine which type is best suited for your needs.
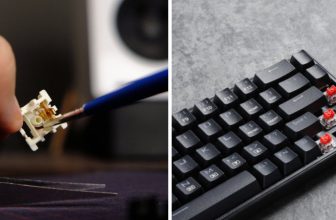
Step 4. Apply the Lubricant:
Once you’ve chosen your lubricant, carefully apply it to each individual switch using either a cotton swab or a microfiber cloth. Be sure to follow all manufacturer instructions when doing so to avoid damaging your keyboard or causing any unwanted side effects. If your switches need a heavier application, try focusing on the contact points and other heavily-textured areas.
Step 5. Reassemble the Keyboard:
Once the lubricant has been applied and allowed to dry for a few minutes, it’s time to reassemble your keyboard. Carefully replace each keycap on its corresponding switch, ensuring that they are firmly seated. If you have trouble aligning them correctly, try using a small flathead screwdriver to nudge them into the correct position gently.
Step 6. Test Your Keyboard:
To ensure you did everything correctly, test out your newly lubed switches by typing on them and seeing how they feel if everything is working smoothly; congratulations! You have successfully learned how to lube switches like an expert. But if not, don’t worry – just repeat the lubing process until you achieve the results you’re looking for.
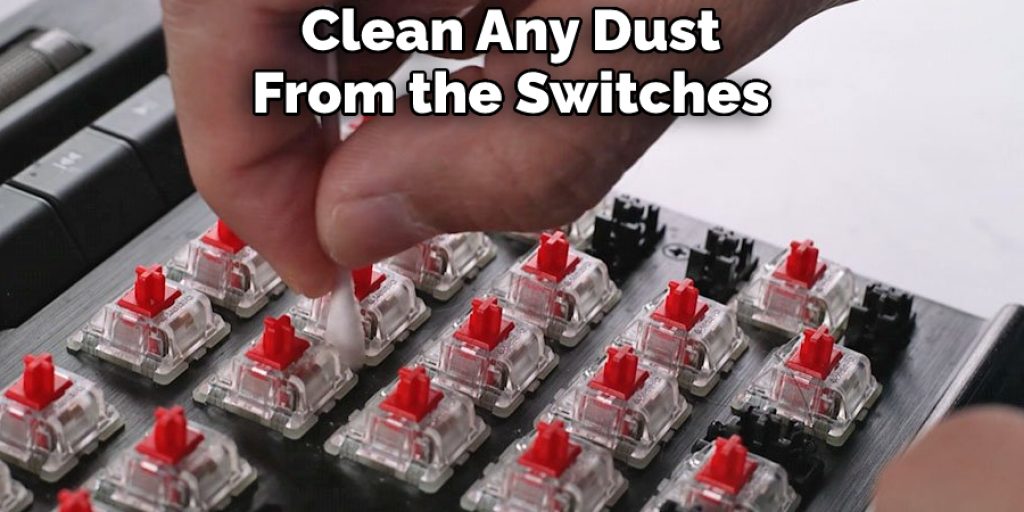
Step 7. Maintain and Re-lube as Needed:
In order to keep your switches in good condition over the long term, it’s important to maintain and re-lube them on a regular basis. Depending on how often you use your keyboard, this may mean doing so every few weeks or months or only once a year or more. Be sure to watch out for signs of wear, such as sticking keys or uneven keystrokes, and take action promptly if any issues arise.
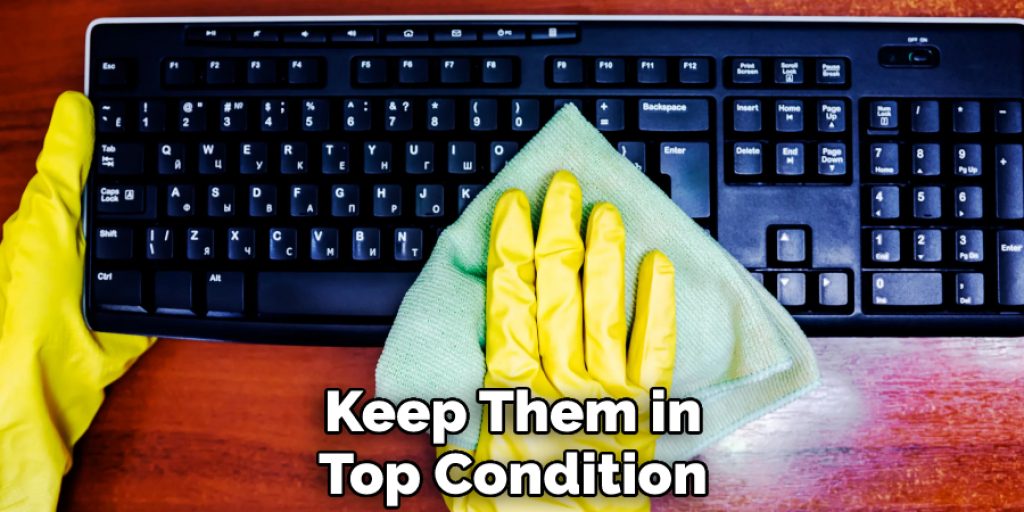
Step 8. Clean Your Keyboard:
Along with regularly lubing your switches, it’s also important to clean your entire keyboard from time to time. This will help keep dust and dirt from accumulating in between the keys, which can interfere with how well they work over time. Use a simple cleaning solution and a microfiber cloth to effectively remove grime from all surfaces and crevices of your keyboard.

Step 9. Keep Your Keyboard Safe and Secure:
Finally, to ensure that your keyboard remains in good condition over time, be sure to store it in a safe place when not in use. This will help protect it from damage or accidental spills and keep you and others safe from any potential injuries caused by malfunctioning keys. You can also use a special cover or bag to help keep it free from dust and other debris.
Step 10. Avoid Over-Lubing:
When it comes to lubing your switches, the most important thing to remember is to do so responsibly and judiciously. It’s easy to get carried away and over-lube your switches, but this can actually cause more harm than good. So take care when applying the lubricant and only use as much as is needed for effective operation.
By following these simple steps, you can be sure to keep your keyboard working smoothly for years to come!
5 Additional Tips and Tricks
1. Before applying lubricant, be sure to clean the switches thoroughly. Dirt and grime can get in the way of how well your lubricant works, so it’s important to give the switches a good scrub to ensure that they are properly prepped.
2. To apply lubricant, simply dab it onto the switch with a clean cotton swab or small brush until it feels nice and slick. Be sure not to use too much lubricant, as this can cause excess slippage and make your switches less responsive.
3. If you’re experiencing stickiness or stiffness in your switches, try applying a little more lubricant to help loosen things up. Just be sure to do so sparingly, as too much lube can lead to problems like overheating or short-circuiting.
4. When done using your computer for the day, be sure to remove any excess lubricant from the switches using a clean, dry cloth. This will help prevent corrosion and other issues in the long run.
5. If you’re having trouble getting your switches working properly or simply want to keep them in top condition for as long as possible, consider investing in a good-quality switch lubricant from a reputable manufacturer. These products are specifically designed to provide optimal performance and durability for your computer’s key switches.
These tips and tricks will help you lube your computer’s switches safely and effectively, ensuring that they are always working at their best.
Can I Lube Switches Without Taking Them Apart?
There are a number of different ways to lube your keyboard’s switches, with the easiest and most accessible being those that do not require you to take them apart. One such method is to use a switch-specific lubricant designed for this very purpose, which typically comes in the form of a spray or roll-on applicator. This allows you to work directly on the key itself rather than having to access its internal parts.
Another way to lube your keyboard’s switches without taking them apart is by using something known as “keyboard oil,” which usually consists of a synthetic substance that has been specifically formulated for use with computing equipment. This type of lubricant can be applied directly over the keys themselves and then buffed to a shine with a soft cloth or paper towel.
However, if you are looking for a more hands-on approach, one option is to dismantle your keyboard and clean the switches completely. This may require specialized tools and knowledge of keyboards, so it is important to proceed cautiously when attempting this method.
Whether you prefer to keep your switches lubed without taking them apart or you feel comfortable taking them apart to access the internal components directly, there are many ways to lube your computer’s key switches to ensure optimal performance and long-lasting durability. So if you’re having issues with stickiness or stiffness in your keys, be sure to give one of these methods a try!
Conclusion
Applying lube to your switches can help them last longer and prevent issues such as scratchiness. When lubing your switches, be sure to use a quality product and apply it in a thin layer. You should also avoid getting any lube on the stems of the keys. With these tips in mind, you’ll be able to keep your switches feeling smooth for a long time to come!

After reading this guide, you should feel more confident lubing your own switches. You now know the difference between linear, tactile, and clicky switch types. You also know what oils and greases work best on each type of switch. If you follow the steps in this guide carefully, you will successfully be able to lubricate your switches and improve their overall feel.
Hopefully, the article on how to lube switches has been helpful and informative. Thanks for reading!
You Can Check It Out To Lube Tactile Switches