
How to Make a Display Stand From Cardboard
Cardboards are one of the user-friendly items that are suitable for use in various DIY tasks. They were generally made for packaging and shifting goods, but they have several other usabilities. You can also turn them into some elegant household utensils in a cost-effective way. So today, we are going to talk about how to make a display stand from cardboard. Yes, a display stand. It is a useful item for every home where you can display your greeting cards, DVD’s, CD’s, leaflets, and much more. You can buy them from your nearest store, but that won’t be needed if you can follow my simple techniques. So, without any delay, let’s dive in!
How to Make a Display Stand From Cardboard
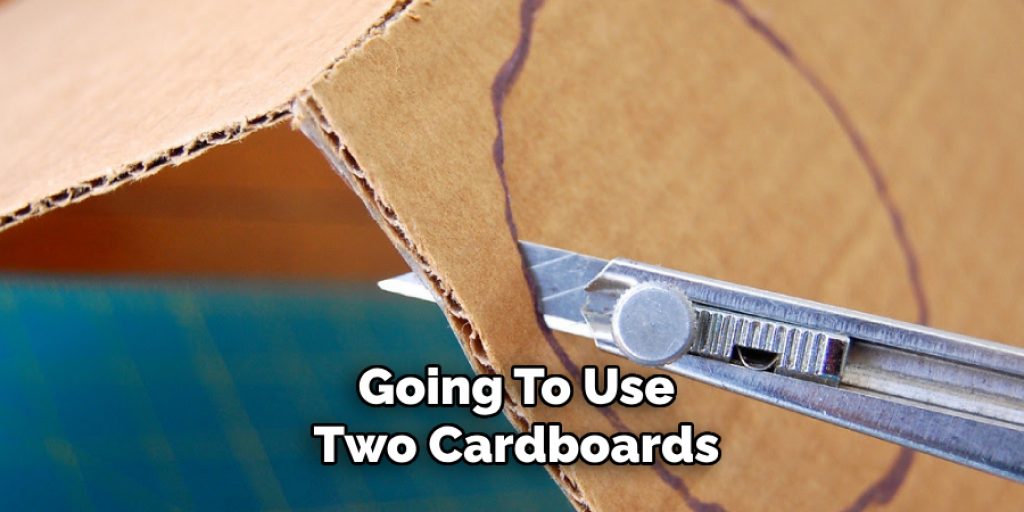
For this project, I am going to use two cardboards. The first one is for the base, and the second one is for the shelf.
You will need to get a C4T12 four-tier cardboard from the store. Once you have it, you will need to lift up one of the triangle wings and then fold the top flap over. After that, you will need to pull the side panel up and take it over the triangular wing. You will need to tap the bottom section twice in order to lock the panel in place. Repeat this process for the other end.
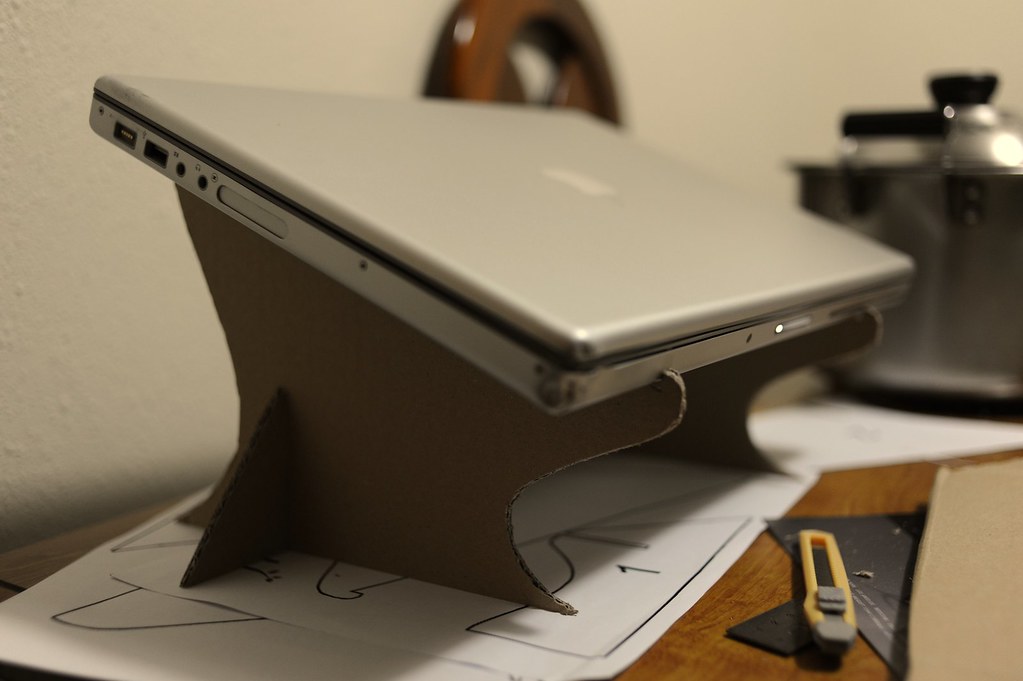
Once you complete that, start working with the front panel. Close the ends, flip the front panel over and close the ends. Now, it is time to work with the stairs. You will see some dotted lines in the stairs. You have to pull them up, and then it will take a stair form. That’s it; finish the process by installing the stair panel over the base, and your nice cardboard display will be ready.
You may read also –
1. How to Paint Cardboard to Look Like Stone
2. How to Make Cardboard Letters Stand Up
Elizabeth Davis
Elizabeth is a creative writer and digital editor based in the United States. She has a passion for the arts and crafts, which she developed from a young age. Elizabeth has always loved experimenting with new mediums and sharing her work with others. When she started blogging, she knew that DIYquickly would be the perfect platform to share her tutorials and tips. She's been writing for the blog from the beginning, and her readers love her helpful advice and easy-to-follow instructions. When she's not writing or editing, Elizabeth enjoys spending time with her family and friends.


