How to Make a Fabric Gift Bag
Would you like to give someone a present and make something special for it too? Have you ever considered making your own fabric gift bag? Not only is making a fabric gift bag an easy and fun craft project, but the possibilities are endless in terms of what fabrics or other materials you can use. Plus, if you’re decorating or covering an item that doesn’t fit into a standard-sized store bought gift wrap option, this is the perfect solution!
Making an adorable fabric gift bag is the perfect way to do this – it can be used as a decorative piece itself or filled up with carefully-chosen treats and surprises for your recipient.
In this blog post, we’ll walk through all the steps necessary how to make a fabric gift bag so that you can make something extra special for someone extraordinary!
What Will You Need?
To make a fabric gift bag, you will need the following materials:
- Fabric of your choice (for example, cotton or canvas)
- Iron-on interfacing
- Sewing machine and thread
- Scissors
- Tape measure or ruler
- Pins
Once you have your materials, you can start on your fabric gift bag.
10 Easy Steps on How to Make a Fabric Gift Bag
Step 1: Cut the Fabric
First, measure and cut out two rectangles of fabric from your chosen material. The size depends on how big or small you want your bag to be; we recommend making it slightly bigger than what you need in case there’s excess material from sewing. Make sure the pieces are both the same size.
Step 2: Iron-on Interfacing
Place one of your rectangles on top of the iron-on interfacing and use an iron to adhere it. This will add stiffness to the bag, making it easier for you to sew and giving it a sturdier shape overall. Be careful to follow the instructions on the packaging of your interfacing.
Step 3: Sew Three Sides
Pin three sides of the rectangle together and then sew them using a sewing machine or by hand if you don’t have access to one. Leave one side open so you can turn the fabric inside out later. Try to keep the fabric as flat as possible when sewing in order to get a neat finish.
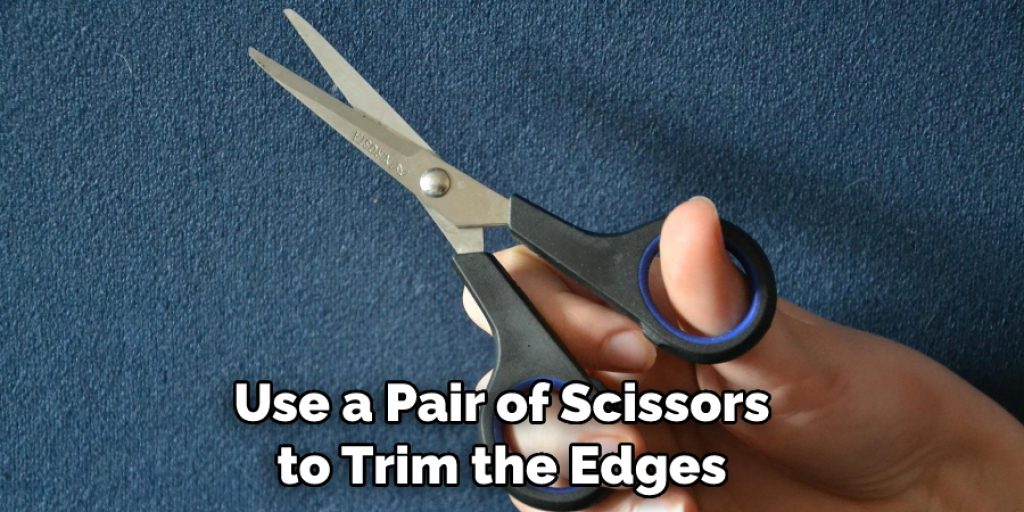
Step 4: Trim the Edges
Once you’ve finished sewing, use a pair of scissors to trim the edges of the fabric. This will create a neater finish and help reduce bulk. Additionally, it will make the fabric easier to turn inside out later on.
Step 5: Turn the Bag Inside Out
Now it’s time to turn your bag inside out! Gently pull each corner through the open side until it is completely inside out. Use a pen or pencil to push out any corners that are difficult to reach, and make sure that all sides are even. It will look like a finished bag at this point.
Step 6: Iron & Sew Bottom Hem
Once you have turned your fabric gift bag inside out, press down on the bottom hem with an iron. Then sew across this hem twice for extra durability. If you want, you can also iron the top edges of the fabric.
Step 7: Create & Attach Handles
You can use any kind of fabric strip for your bag handles; we recommend using webbing or any other strong material. First, cut two strips in whatever size you’d like and then attach them to either side of the bag with a seam allowance of approximately 5 cm (2 inches). Make sure to backstitch at both ends!
Step 8: Sew Sides Together
Once your handles are attached, sew up the sides of the fabric gift bag. Make sure to leave some room open for stuffing it later on. Don’t forget to backstitch at the start and end of your seams! Otherwise, your bag might unravel over time.
Step 9: Close Up Openings & Reinforce Seams
Use a zigzag stitch to close up any openings or reinforce seams if needed. This will make sure your bag is extra secure and durable. You can also use an overlock stitch or serger for this step. As an extra step, you can also topstitch around the edges for a finishing touch.
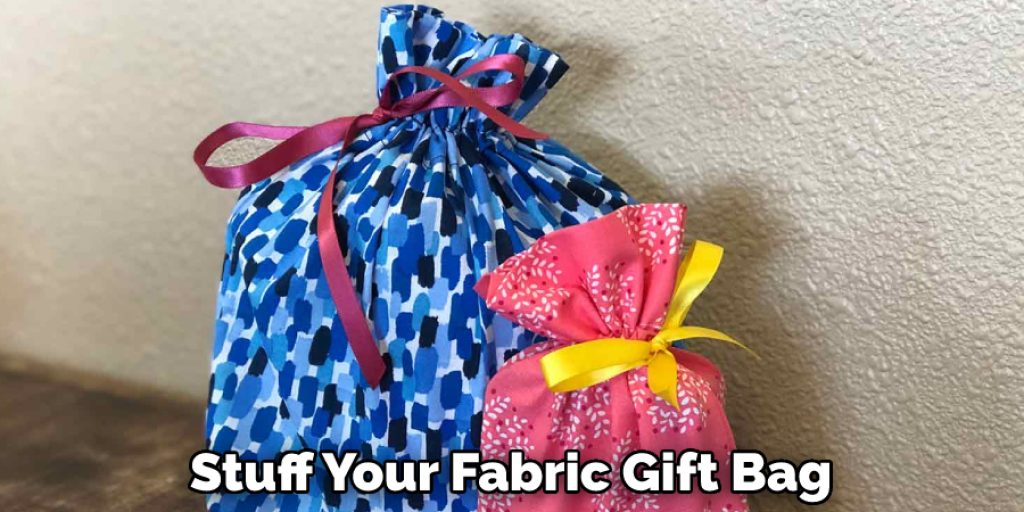
Step 10: Stuff the Bag & Add Decorations
Finally, stuff your fabric gift bag with whatever treats or items you’d like! You can also add decorations such as ribbons, beads, sequins, buttons, and more. Remember, the sky’s the limit when it comes to decorating your fabric gift bag.
And there you have it – now you know, make a fabric gift bag! We hope this tutorial was helpful and that you enjoy making your own unique creations. Have fun crafting!!
5 Additional Tips and Tricks
- For extra durability, reinforce the edges of your bag with fusible interfacing.
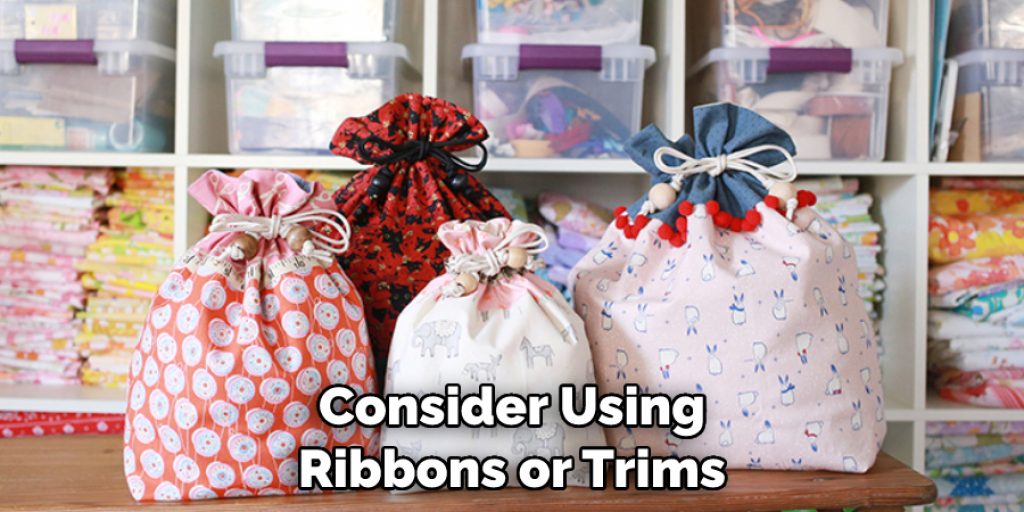
- Use a contrasting fabric ribbon for the drawstrings to add a unique touch.
- Add pockets or compartments inside your gift bag for extra storage and organizing potential.
- Before you start sewing, be sure to pre-wash all of the fabric and press it with an iron for a professional finish.
- Use pinking shears to cut out the pattern pieces from the fabric before sewing them together; this will help prevent fraying and create a tidy edge on your finished project.
With these tips, you’ll have a beautiful fabric gift bag in no time!
6 Things You Should Avoid
- Don’t rush; take your time and measure out all the pattern pieces correctly.
- Don’t use a piece of excessively thick fabric, as it will make it hard to sew the pieces together neatly.
- Avoid using decorative buttons or trims that are too heavy; they can strain the drawstrings and pull them off easily
- When cutting out the pattern pieces, don’t use scissors that are not sharp enough; this will leave jagged edges on your finished bag.
- Avoid using pins when sewing; opt for clips or fabric weights to hold things in place while you work.
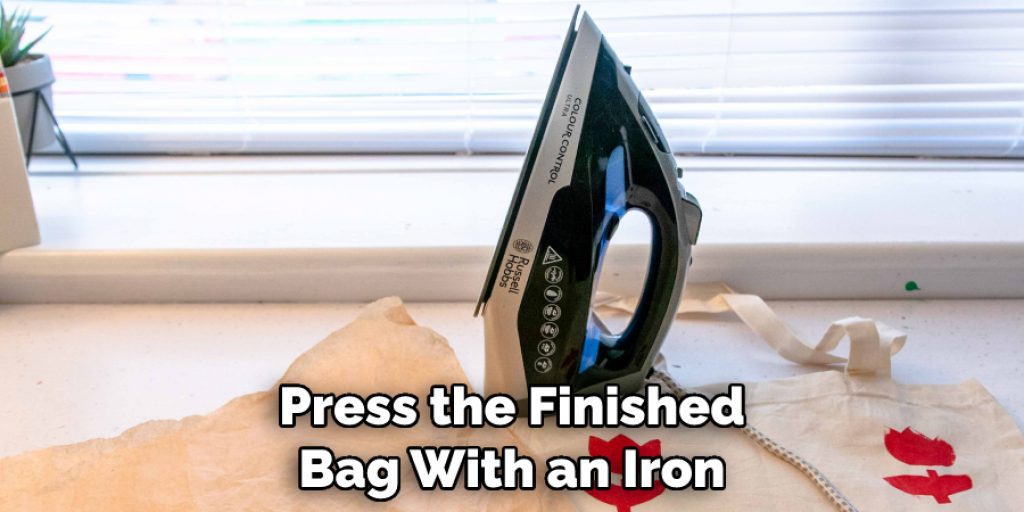
- Don’t forget to press the finished bag with an iron before giving it away; this will help ensure all edges are crisp and neat.
With these tips, you’ll be able to create a beautiful fabric gift bag that is both durable and attractive. Enjoy!
6. Different Design Ideas:
- Gather the sides of your bag into pleats to create a unique shape.
- Add appliques, fabric paint, or embroidery to customize and personalize your gift bag.
- Use different colors of fabric for each side of the bag to give it a fun two-tone effect.
- Sew on pockets along the inside of the bag for extra storage space or decoration.
- Cut out a large piece of fabric in any shape you like (such as stars, circles, etc.) and use this as one side of the gift bag; this will give it a playful and whimsical look!
- Embellish your bag with ribbons, lace, or fabric flowers to give it an extra special touch.
With these design ideas, you can create a truly unique and creative fabric gift bag that is sure to impress! Have fun, and let your creativity shine!
What Fabric Can I Use to Make a Gift Bag?
When it comes to fabric for making a gift bag, you have many choices. Depending on your desired look and durability, you can use lightweight cotton or linen fabrics as well as heavier canvas or twill material. Consider using fusible interfacing with your fabric for extra durability and a professional finish. Have fun experimenting with different textures and patterns – there are so many possibilities!
Additionally, if you want to add a unique touch to your gift bag, consider using ribbons or trims such as jute twine or velvet ribbon. With the right fabric and accessories, you can create a beautiful, one-of-a-kind gift bag that is sure to be appreciated by the recipient! Have fun, and enjoy the process!
With these tips, your fabric gift bag will be beautiful and unique! Enjoy the creative process of making something special for someone special.
Conclusion
The process of creating a fabric gift bag from start to finish is surprisingly simple and can easily be done within a few hours. Crafting items such as fabric gift bags has never been easier, and anyone should feel confident in their own abilities to make one. Plus, it’s an incredibly fulfilling experience knowing that you made something with your own hands.
At the end of the day, crafting makes us feel more grounded in our lives and helps us appreciate the small things. To fulfill this passion, why not give fabric gift-making a try? Who knows — it might be getting crafty regularly that gives you much-needed stress relief. Make something special today for yourself or someone else; they will certainly appreciate it!
Hopefully, the article on how to make a fabric gift bag has given you the confidence to try this craft at home. Enjoy your journey into DIY and share your creations with us! Happy crafting!
Nancy Behan
Nancy is an embroidery artist, fashion blogger and a full time editor at DIY quickly. Nancy edits the fashion section on DIY quickly, focusing on the embroidery and cross stitch articles, alongside with fabric and other costume design elements. She graduated from the University of Michigan with a Bachelor of Arts in Art History. She loves to work on her own projects, read books and watch romantic movies in her spare time.