How to Make a Gift Box Smaller
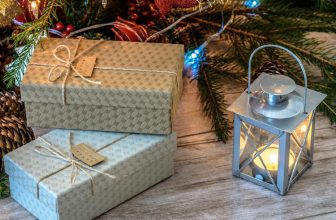
Are you stuck trying to wrap a gift and have run into the problem of it being too large for the box? Have you ever tried searching for solutions online only to be met with results outside your skill level or time frame? Don’t worry, we are here to help!
In this blog post, we will show you a few steps so that you can quickly and easily get back to wrapping.
From finding alternative boxes in different sizes, adjusting the inner dividers and layers if needed, all the way through favorite home hack tips such as using an alternate material like paper; these instructions on how to make a gift box smaller will provide some much-needed assistance when it comes time to give that special present away. Get out your scissors, and let’s get crafting!
The Benefits of Making the Gift Box Smaller
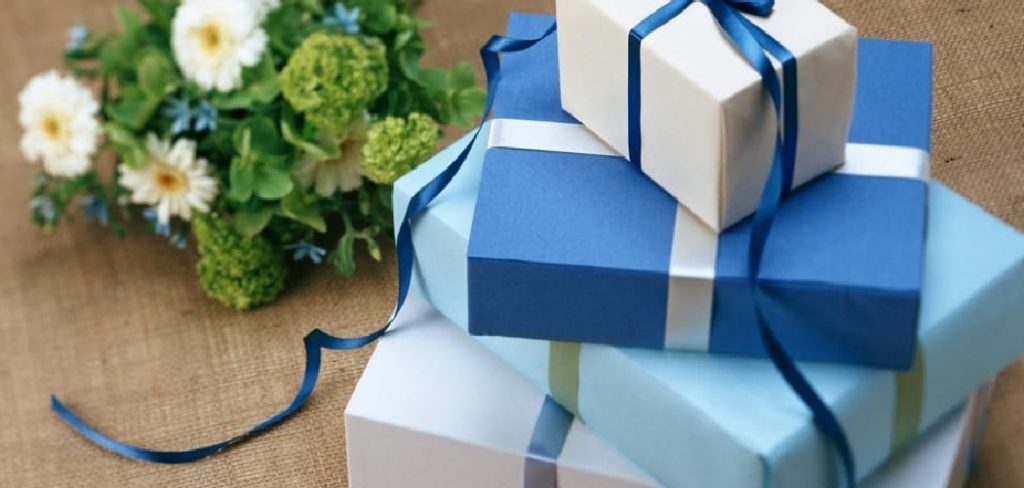
Making the gift box smaller has numerous benefits, from saving money to allowing more creative freedom with wrapping design. For starters, by reducing the size of the box, you can save yourself a great deal of money. A larger box may require more materials and be more expensive than a smaller one, so adjusting it accordingly can help your wallet out in the long run. Additionally, by changing the size of the box you can also open up more creative options for wrapping it.
Whether you want to decorate the outside with stamps, ribbons, and bows or use colorful paper to line the inside, reducing its width and length will give you more space to work with. In addition to those benefits, making the gift box smaller can also help to keep your wrapping project in check – no more stressing out over finding a new box or adjusting the size of your present!
Needed Tools
Gather the necessary supplies you will need to make your gift box smaller. These include scissors, a ruler or measuring tape, adhesive (tape or glue), and an X-acto knife if applicable. Once you have these items in hand, you are ready to begin!
10 Instructions on How to Make a Gift Box Smaller
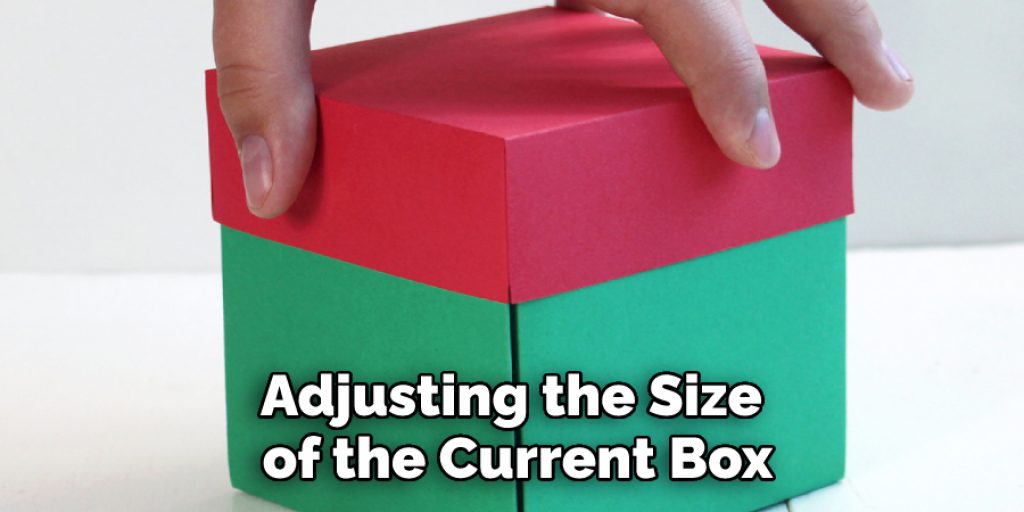
1. Find an Alternate Box
Before you begin adjusting the size of the current box, try to find options of the same box in a smaller size. This can help save you time and money, as well as materials. It will also be a much faster solution than having to adjust the current box itself.
2. Measure the Gift and Box
Using a measuring tape, measure out the gift item that needs to fit inside the box and compare it to the size of the box. This will help you determine how much space you need to reduce for it to fit properly.
3. Cut Away the Excess
Using a pair of scissors and an X-acto knife if needed, begin cutting away any excess material from the sides or top of the box. Be sure to cut slowly and carefully to ensure accuracy. The accurate measurements and cuts you make now will determine how well the box fits later.
4. Fold Down Excess Material
If there is any excess material that cannot be cut away, such as thick cardboard, fold it down to give more space inside the box. This will help reduce the overall size while keeping some of the structural integrity intact.
5. Adjust Inner Dividers and Layers
If the box has any inner dividers or layers, adjust them as needed to fit the gift. This may require some shifting around of material and extra measurements until you get it just right. Be sure to use tape or glue to secure any changes you make in this step.
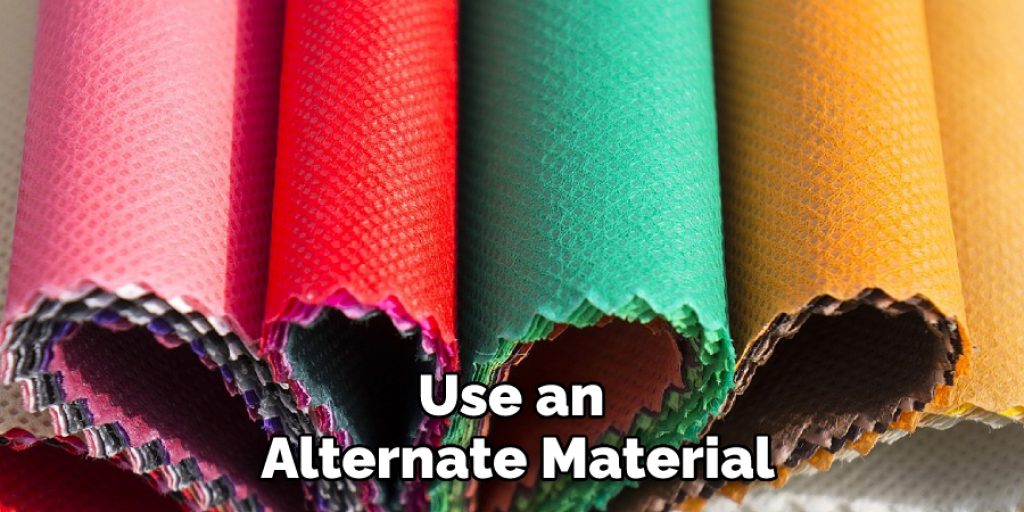
6. Use Alternate Materials
In some cases, you may want to use an alternate material, such as paper or fabric, for the inner layers of the box. This can help reduce bulk and make the gift fit more snugly inside without sacrificing structural integrity.
7. Make Sure Everything Fits
Check that everything fits by putting the gift inside the box and making sure it is a snug fit. If you need to make any extra adjustments, do so now before proceeding. Everything should fit properly with no gaps or extra space.
8. Secure the Lid
Secure the lid tightly on top of the box using tape or glue, making sure it is a snug fit, and there are no gaps allowing for the contents to escape. This will help keep the gift safe during transit and ensure it arrives without any issues.
9. Tie a Bow
Once you have the box adjusted and sealed properly, add a bow to the top for an extra special touch. This will help make your gift stand out from the rest and give it a unique character. Specialized ribbon, metallic tape, and other decorative accents can also be used to make the box even more special.
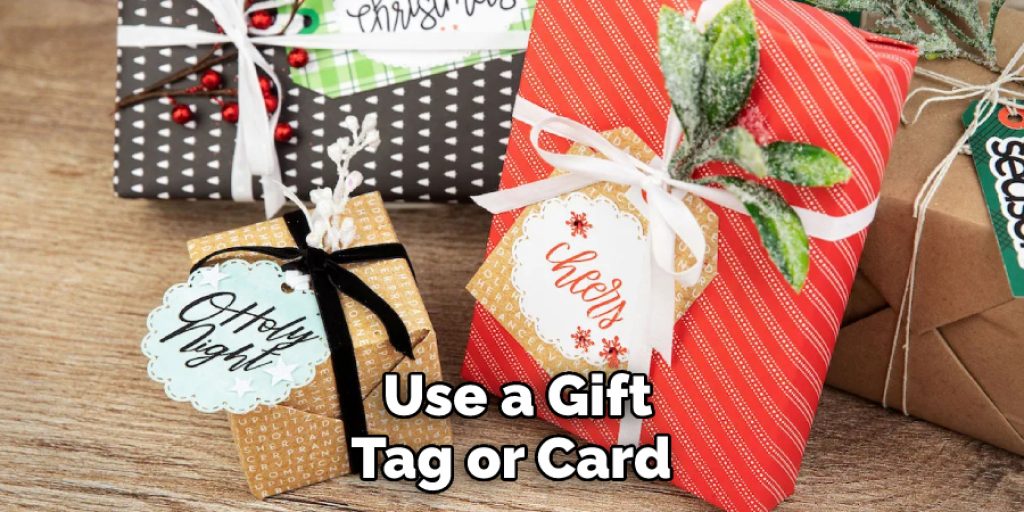
10. Add a Gift Tag
Finally, use a gift tag or card to attach to the finished box. The tag should include who it is from and any special messages you may want to send along with it. By taking a few extra steps to make the gift box smaller, you can now be sure that your special present is delivered safely and looking its best.
You have now successfully adjusted the size of your gift box and are ready to go with your unique presentation. Enjoy the satisfaction of knowing that you were able to create something special with your own two hands.
The above steps are an easy and effective way to make a gift box smaller so that you can give the perfect present. With accurate measurements, careful cutting, and the right materials at hand, you can be sure your gift will arrive looking great and on time. Happy creating! – How to Make a Gift
8 Additional Tips on Making the Gift Special
- Always decorate the box with a ribbon or bow. This will make the gift extra special and draw attention to it. It adds a touch of elegance to the gift. Try buying a nice ribbon and wrapping it around the box or getting a bow that matches the colors of your gift.
- Make sure to include some tissue paper in the box when you are done wrapping it. This will cushion the gift inside and make it look extra special when opened by its recipient.
- When selecting what size of the box to use, opt for the smaller size. This will make it easier to fold and wrap the box without any excess fabric or wrapping paper. The wrapping will be tighter and more secure.
- You can also use other materials to wrap your gift box instead of traditional wrapping paper. Consider using newspapers, old maps, scrapbook paper, or even recycled materials like plastic bags or bottles.
- If you’re feeling creative, use a stencil or stamp to create your own personalized wrapping paper. The possibilities are endless. Wrapping paper that is tailored to your gift will make it much more special.
- Use different shapes and sizes of boxes to create a unique gift box. This can be especially effective for items such as jewelry or electronics, as the smaller box size will protect them better.
- Consider using a roll of paper instead of wrapping a traditional gift box. This will save you space and money, as it is much easier to wrap a cylindrical object than a rectangular one. The box can also be reused in the future.
- Lastly, make sure to include your personal touch! Whether it’s writing a heartfelt note or giving an extra special gift inside the box, these small touches are what make the gift special and memorable.
These are just a few tips when it comes to making your gift box smaller, but the possibilities for making it extra special are endless. With these suggestions in mind, you’ll be able to make any gift look amazing, no matter how small the box is.
How Much Will It Cost?
Making a gift box smaller does not have to be expensive. In most cases, you’ll only need some wrapping paper and ribbon or other decorative materials. If you are using recycled materials, the cost can be even lower. All in all, making a gift box smaller is an easy way to add a special touch without breaking the bank.

Conclusion
Crafting a gift box to fit any occasion can be tricky, especially when it comes to size. Thanks to these simple steps, you now know how to make a gift box smaller without compromising the level of craftsmanship. Whether your project is for a child’s birthday or an elegant wedding gift, there are countless ways to make sure your creation looks perfect.
Remember that with some creativity and patience, you can create amazing gifts for those special occasions. Plus, you’ll save yourself the headache of dealing with oversized packages! Now that you’ve read this guide get out there and start making your own custom-sized boxes—a thoughtful present will be on its way soon enough!
Angela Ervin
Angela is the executive editor of DIY quickly. She began her career as an interior designer before applying her strategic and creative passion to lifestyle and home. She has close to 15 years of experience in creative writing and online content strategy for housekeeping, home decorations as well as other niche efforts. She loves her job and has the privilege of working with an extraordinary team. She lives with her husband, two sons, and daughter in Petersburg. When she's not busy working she spent time with her family.