
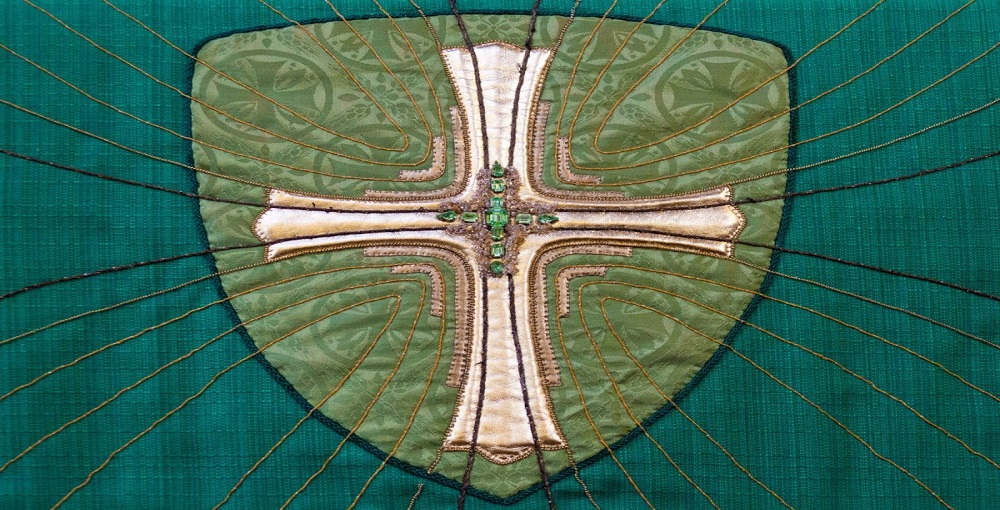
How to Make a Fabric Wall Cross
The burlap and wood cross idea of Pinterest has been floating in my mind for a while. Those were really amazing and offered a great look. In fact, you can enjoy a lot of flexibility while making them, like you can use the ribbons, fabric, or whatever you paint you like. This time, I have prepared a cute cross with ribbon and burlap, which can be used for a wall art or as a centerpiece. Here is the step by step guide to make this unique burlap cross.
In this article, the author is going to show you how to make a fabric wall cross. You will need some fabric, a needle, and thread. You can also add Bible verses to it.
Supplies You Will Need
- Wood
- Command strips or D rings
- Fabric/Ribbon
- Vintage wood
Processes on How To Make A Fabric Wall Cross
Process One
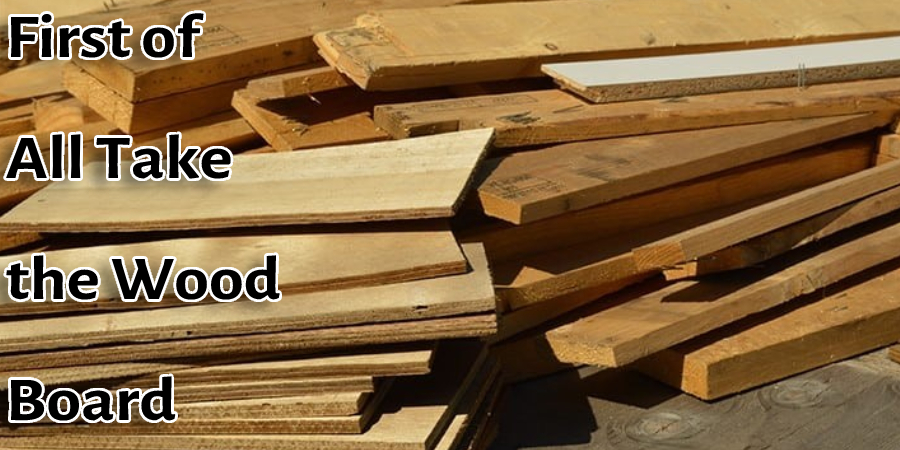
First of all, take the wood board and start painting it. Remember, the wood board should be a bit taller. Then, once the color dries up, apply leaves or poly. For this purpose, if you are using fabrics, you don’t have to sew the edges. But if you are using poly, you are going to need to sew them with the edges.
You also have to cut the fabric to make the cross, and after cutting them, you have to fold them over the raw edges. Then, once you complete that, you have to iron them. So, if you want to make this particular cross and don’t have any of the items listed above, you’ll have to go out and buy them.
In my case, I stapled the fabric at the back of the wood so that it remains attached to the wood. Then I wrapped it from the front side of the wood and then stapled the other end again. I used a brush to apply glue on the fabric and then placed a thin layer of batting to hold the fabric in place. Then I applied a generous amount of resin to make it look smooth and shiny.
After that, I took the second strip, and this time I accomplished the crossing part horizontally. Now, take both ends and make a knot at the front side. That’s it; your fabric wall cross will be complete then. If you want to make a bigger cross, you can take more strips and tie them all together in the same manner.
Process Two
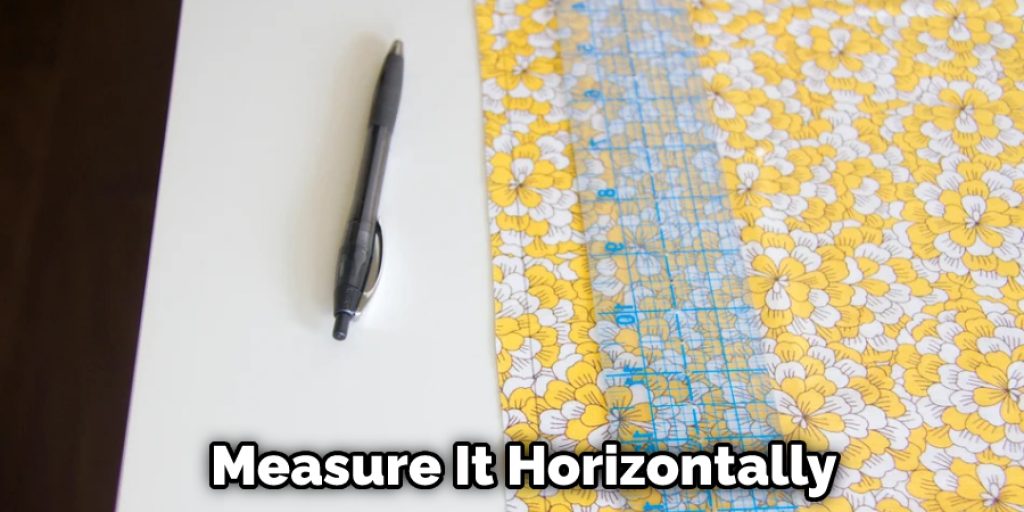
- First, you will need to grab a piece of fabric and measure it horizontally.
- Next, make two vertical cuts on the sides of each end of the fabric.
- Then take one side of the cut pieces and tie them together in an overhand knot (you can also do this with just one long strip).
- Now take both loose ends and bring them around, so they are pressed against the backside at about 45 degrees. Tie these strips off by tying an underhand knot around tight to create a cross shape that is now attached securely.
- Make sure your knots stay as close as possible to all four corners for maximum support! You may want to use some glue or hot iron if using narrow fabrics like lace or ribbon.
- Hang the fabric cross on your wall by poking a hole through all four corners of the backside with either a screwdriver or an ice pick and then wrapping some wire around it to keep it up there!
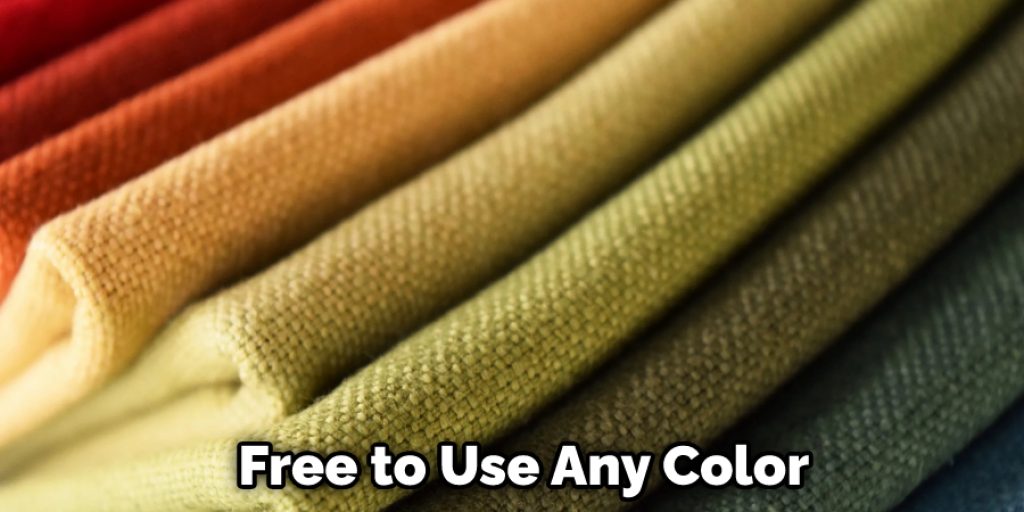
- Feel free to use any color you like, but make sure not to tie together two different colors so that they mix. This will create pink hues in between if one is purple and one is red, for instance.
Precautions
-The fabric wall cross should be hung with a wire, and the ends of the wire threaded through eye hooks on each end.
– The shape of the fabric will depend on how you measure it, so take care to use exact measurements, or your crosses may not turn out as desired.
– Always make sure there is enough room under the wires for people to walk without hitting their heads (accordingly adjust length).
-Consider using two sets of eyehooks to balance weight distribution across all four posts if hanging from ceiling joists.
Which Fabric Should Be Used for Making Wall Cross?
Use the fabric that you like. This can be based on your personal preference or what suits a particular space in which it will be hung.
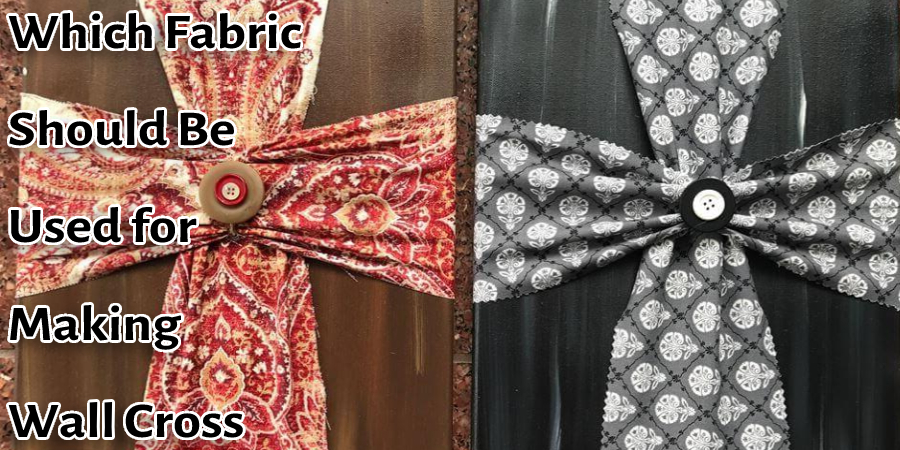
If you want an all-over pattern, use one of these fabrics:
a) Cotton – this is thicker and heavy, so it’s best for people who live in colder climates,
b) Linen – this has less of a sheen than cotton does but still offers some drape,
c) Silk/Rayon – many people choose silk because it doesn’t wrinkle easily, plus it feels luxurious to touch; if you’re not able to find pure silk, then rayon makes an excellent alternative as well.
Which Size Will B Appropriate for The Wall Cross?
There are three sizes of the Fabric Wall Cross pattern that you can choose from. These include a small, medium, and large size, with each one measuring at 13 x 14 inches. The large size is best for hanging in bigger spaces or as a tapestry on the wall.
Conclusion
There you have it, a quick and easy guide to making your own fabric wall cross. If you are looking for something that is more elaborate or with different patterns on the crosses themselves, there’s plenty of information online where you can find them as well. Remember that this project will take some time so be sure to give yourself enough room in your schedule before starting!
You may read also –
Elizabeth Davis
Elizabeth is a creative writer and digital editor based in the United States. She has a passion for the arts and crafts, which she developed from a young age. Elizabeth has always loved experimenting with new mediums and sharing her work with others. When she started blogging, she knew that DIYquickly would be the perfect platform to share her tutorials and tips. She's been writing for the blog from the beginning, and her readers love her helpful advice and easy-to-follow instructions. When she's not writing or editing, Elizabeth enjoys spending time with her family and friends.


