
How to Make a Fabric Wreath Styrofoam
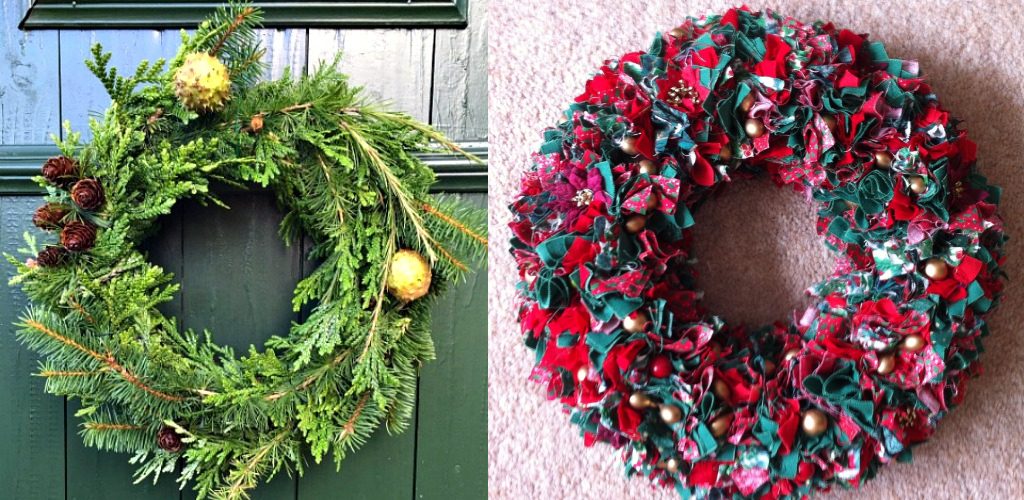
We celebrate many festivals throughout the year. In these festivals, we go for rallies and decorate our houses. For these occasions, fabric wreaths are much useful. These wreaths create a soothing ambiance and provide a festive vibe. But making these fabric wreaths are not a tuff thing. Even beginners can efficiently perform this task. For this reason, today, we will discuss a technique on how to make a fabric wreath Styrofoam. This will be much beneficial for decorating your house in festivals.
Procedure
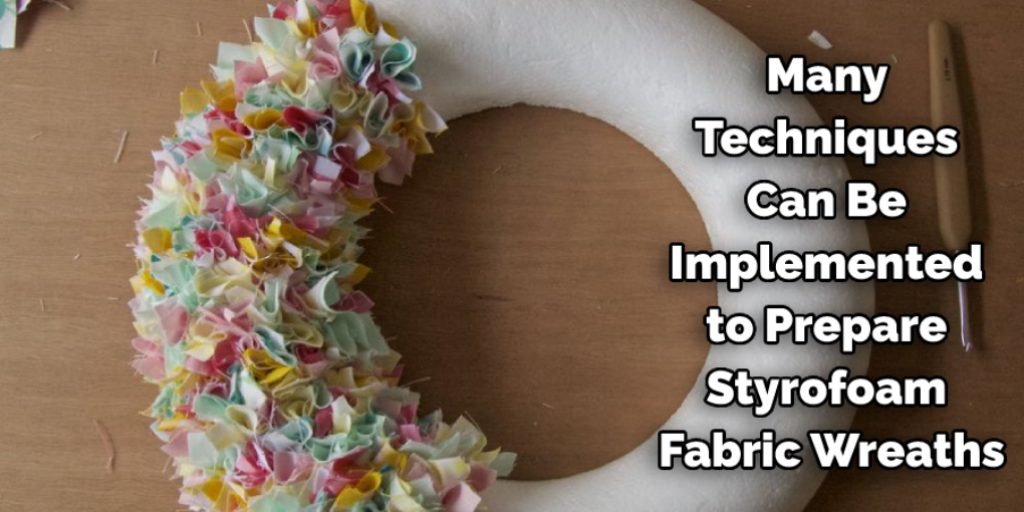
Many techniques can be implemented to prepare Styrofoam fabric wreaths. Most of them are relatively easy, and our readers will surely get used to the pattern quickly. For the betterment of our readers, we have shortlisted some steps on making your Styrofoam fabric wreath.
Below are the steps for making your Styrofoam fabric wreath. Many techniques can be implemented to prepare Styrofoam fabric wreaths, most of them relatively easy. Our readers will surely get used to the pattern quickly. For the betterment of our readers, we have shortlisted some steps.
Step One: Gather All the Materials
For this process, at first, you will need some essential elements. These are the core things that will make the fabric wreath. You will need a Styrofoam tube. This is polystyrene, which can be expanded and has the right amount of elasticity.
First, you’ll need a measuring tape. You’ll also need a pencil and a glue gun. But most importantly, you’ll need some old clothes that you don’t wear anymore. It’s best if they’re brightly colored and patterned.
Step Two: Apply Any Fabric
After you have gathered all the materials, you can start working. The first thing you need to do is to make the cloth that you will attach to the surface. You can use any fabric you want, as long as it is beautiful and has patterns. You can cut the fabric in two ways. You can cut it in stripes by folding the fabric into a small roll and then cutting it at a distance of one inch apart. Or you can cut it in different shapes, giving your project a unique look.
Step Three: Cut Them in Square Shapes
After cutting the clothes into square shapes, you must take a pencil and apply glue to the cloth’s middle. Then, with the help of the pencil, you have to insert the fabric into the Styrofoam tube. In this manner, you have to cover the total Styrofoam with multi-colored cloths, and there is no need for any particular pattern for attaching the fabrics. After covering the Styrofoam with the fabrics, you have to cut small 1×2 inches squares and then attach them to the clothes. However, if you want, you can also use a hot glue gun to attach the squares to the clothes.
Step Four: Tie a Knot Around the Tube
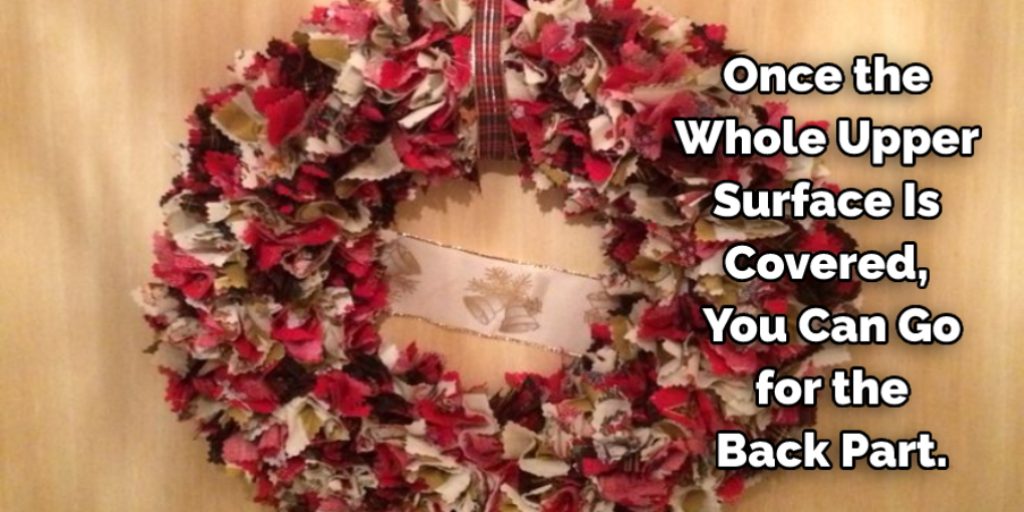
Once the upper surface is covered, you can go for the back part. Here you can perform two ways of fabric attachment. You can simply attach them to the surface for the strip cloths and then tie a knot around the tube, or you can go for the conventional way of inserting the fabric in the tube. In this manner, you can easily make your fabric wreath Styrofoam. After covering the whole surface of the ball with fabric, you can tie it in the center to keep it all together.
Some Helpful Tips and Advice:
1. Measure your Styrofoam wreath form.
2. Cut fabric pieces the length of the wreath form plus 1 inch (for seam allowance).
3. When pinning seams, make sure you create smooth lines and that all edges are hidden before beginning to sew. For this reason, it is best to create your pattern instead of using a purchased pattern.
4. Pin the fabric pieces together on all four sides, the right side facing outwards.
5. Use a zig-zag stitch to sew each seam of the fabric.
6. Trim the seams down to about 1/4 of an inch, making sure not to cut through your zig-zag stitches.
7. Fold over the fabric onto the backside of the wreath form and pin it in place on all four sides. You may want to clip the corners into points for a cleaner look.
Five Creative Fabric Wreath Making Ideas:
1. The Simple Wreath:
Cut a long length of fabric and tie a knot in one end. Next, wrap the fabric around a Styrofoam wreath form in an overlapping circular pattern, working from the outer edge towards the center to create fullness. As you work, secure each layer with a double knot. Once you reach the center, cut off excess material and tuck the end knot under the wreath form. You are done!
2. The Fabric Bow Wreath:
Use the same technique as the simple wreath, but only after you have completed your initial knot around the wreath form, secure your fabric by wrapping it around a piece of ribbon or twine.
Then tie a bow and wrap it around the wreath form. I used an extra-long length of fabric because my wreath was for a door, and I wanted the bow to hang down about 12 inches, but you can use whatever length of fabric you want.
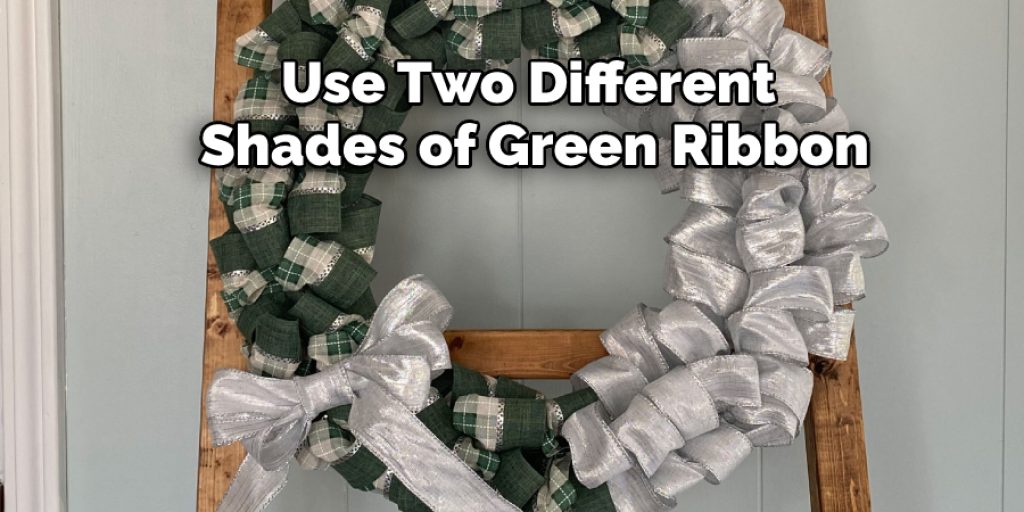
3. The Ribbon Flower Wreath:
Roll each strip of ribbon into a flower shape and secure it with a pin at the back of the ribbon. Then attach it to the wreath form with pins. I bought two different shades of green ribbon and then cut several 1-inch strips from a piece of brownish fabric that looked like a stem for each flower. I also used a little bit of brown embroidery floss and glued a black pom-pom for the flower center. Then I simply tied each ribbon flower to the wreath with a small loop at the top so it could hang on the nail.
4. The Fabric Leaf Wreath:
Cut leaf shapes in various colors and patterns from your choice of fabric. Next, sew or glue a button to the center of each leaf. I used a hot glue gun for this step which was very simple and quick, but be careful not to burn yourself! Next, place a dab of hot glue on the backside of each leaf and press it onto the wreath form. Make sure you have the leaves positioned in a way that they will dry without falling off. Once your wreath is dry, paint your wreath form with some acrylic craft paint. I used green and gold for this one, but any color will do!
5. The Ombre Fabric Wreath:
This one is fairly simple, buy a roll of each color in the ombre pattern you want and slowly wrap it around the wreath form. You can do this with any colors that you desire. I wanted my wreath to have a very organic look, so I tried to choose colors that would resemble leaves or flowers. I also made sure to buy some brown material to make a stem.
You Can Check It Out To Make Fabric Wreath on Wire Frame
Common Mistakes to Avoid When Making a Fabric Wreath Styrofoam:
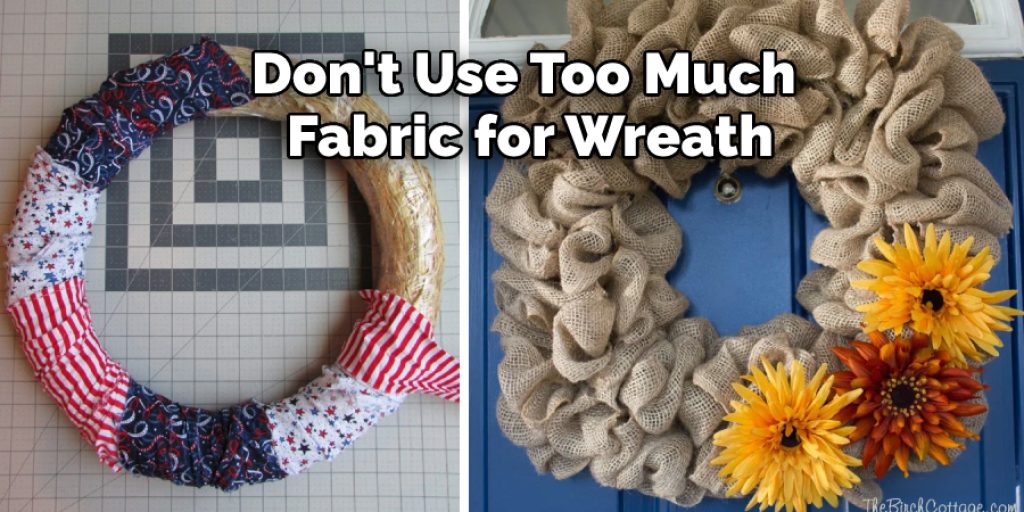
1. Don’t use too much fabric. It is better to have a thin wreath than to have your Styrofoam over-shadowed by the amount of fabric you used in making it.
2. Don’t be afraid to cut the fabric into smaller pieces when necessary. When making my wreath, I always try to aim for about 1-2″ pieces of fabric.
3. Don’t be afraid to re-purpose your scraps of fabric. For example, it is a waste to throw out a piece of fabric because it is too small. Instead, fold the scrap in half, stitch up the side, turn inside-out, and stuff with stuffing or batting. You can also use your scraps for applique by stitching on top of them using white thread to make it more visible.
4. Don’t get discouraged if your wreath doesn’t turn out the way you want. It is okay to get frustrated and throw your work-in-progress across the room (be careful not to break anything). You can always take a break and come back to it later when you feel more relaxed. The most important thing is to take your time and make sure you enjoy yourself as you work!
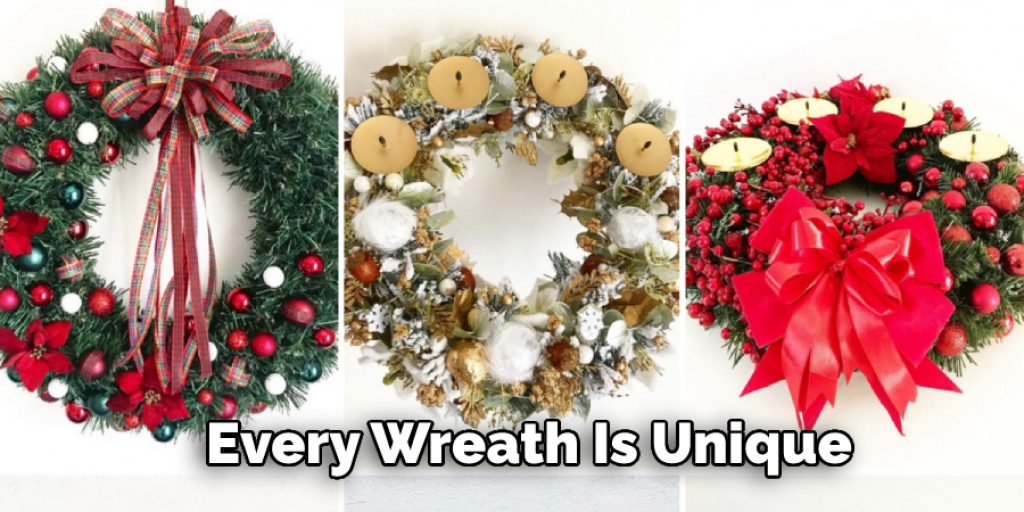
5. Don’t give up! If you still feel like giving up after a couple of tries at making a fabric wreath, then it’s no big deal. Sometimes things don’t turn out the way we want them to. Every wreath is unique, its work of art. For that reason, they are all beautiful in their way!
Frequently Asked Questions
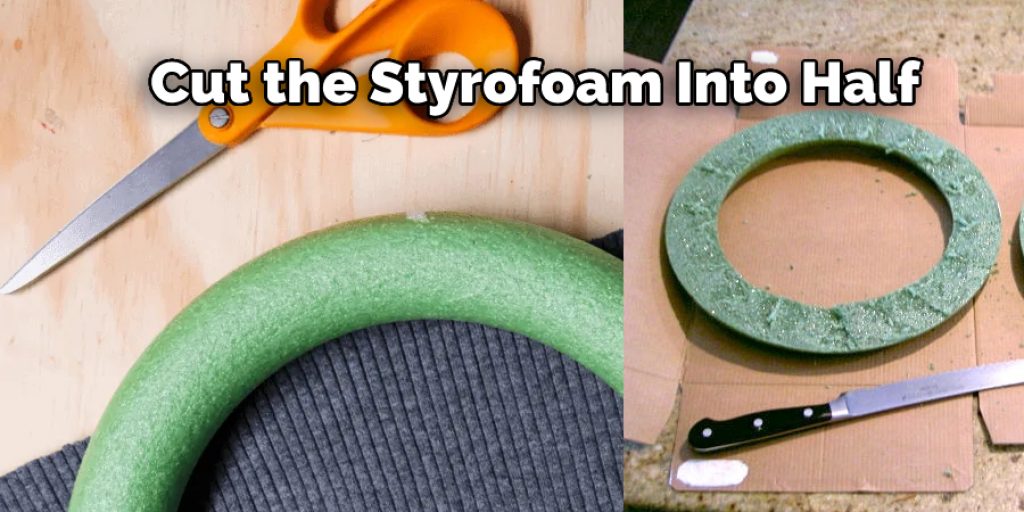
What Is the Best Thing to Cut Styrofoam With?
The best thing to cut Styrofoam with is a knife. The blades on knives are designed to slice through different types of materials, so they are effective at cutting plastic and styrofoam. A good alternative would be a pair of scissors, but they may not be as efficient at slicing the material.
Is It Bad to Cut Styrofoam?
Yes, it is bad to cut Styrofoam. Styrofoam is a type of polystyrene foam made from petroleum by-products and expanded polystyrene. It was first created in the late 1930s and has been used in products such as disposable cups, food containers, packing materials, insulation, craft projects, and much more.
It is also known for its environmental impact due to the fact that it takes up to 500 years for it to decompose naturally.
What Can I Use to Cut Styrofoam?
Styrofoam is a type of polystyrene foam that is used in packaging, insulation, and construction. It is made from petroleum-based chemicals which are not biodegradable. Styrofoam cannot be recycled and must be disposed of as trash or recycled into new products.
Can You Cut Styrofoam With a Hot Knife?
It is not recommended to cut Styrofoam with a hot knife because it will cause the material to break apart into small pieces that can easily be inhaled.
What Glue Works With Styrofoam?
There are a few different types of glue that work with Styrofoam.
• Clear Elmer’s glue: This is the best type of glue to use for Styrofoam because it has no smell and dries clear.
• Super Glue: You can also use super glue to attach Styrofoam pieces.
• Gorilla Glue: Gorilla glue will do the trick if you want to make a stronger bond.
Conclusion
In conclusion, we would like to express our heartfelt gratitude towards the readers. We hope that our technique will surely help them to make beautiful fabric wreath. The fabric wreath can be used to enhance the decorative aspect of your house in various festivals. Besides, the people who are interested in DIY activities will surely love this method. Thank you for your precious time. Have a nice day!
You May Also Read – How Can I Make an Appliance Handle Cover Out of Fabric
Elizabeth Davis
Elizabeth is a creative writer and digital editor based in the United States. She has a passion for the arts and crafts, which she developed from a young age. Elizabeth has always loved experimenting with new mediums and sharing her work with others. When she started blogging, she knew that DIYquickly would be the perfect platform to share her tutorials and tips. She's been writing for the blog from the beginning, and her readers love her helpful advice and easy-to-follow instructions. When she's not writing or editing, Elizabeth enjoys spending time with her family and friends.


