
How to Make a Fiberglass Shower Pan
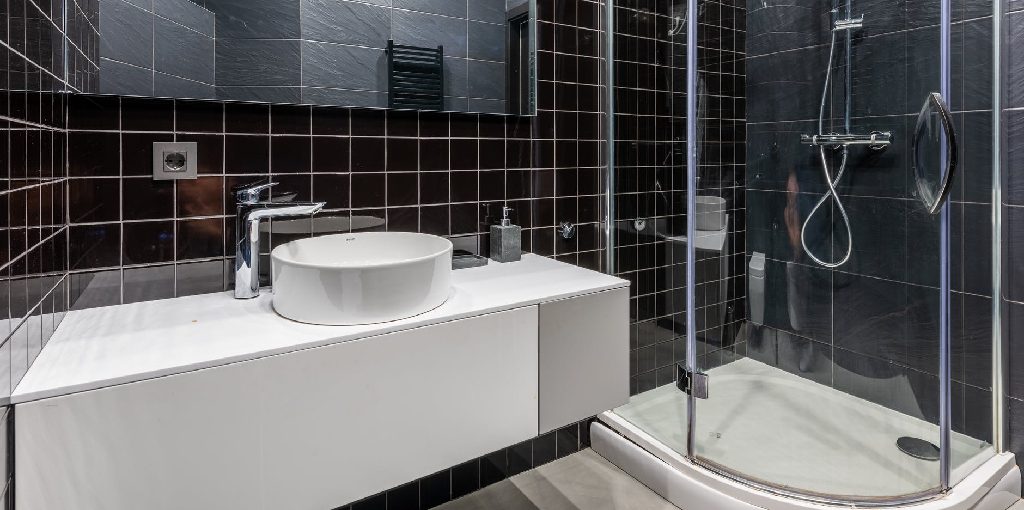
A fiberglass shower pan is a waterproof base made of sheets of fiberglass formed into the shape of your shower. They are often used as an alternative to tile or stone because they do not require any grouting and maintenance, which can be challenging to keep up with for some homeowners.
A fiberglass pan will also never crack like ceramic tiles, so it’s perfect for homes with young children or pets. However, installation can be tricky without professional help due to the weight and thickness of this material. This article will show you how to make a fiberglass shower pan with a step-by-step guide. Read on if you’re considering installing one in your home!
Five Reasons Why You Should Make a Fiberglass Shower Pan:
A shower pan is an excellent addition to your bathroom. It can even be an artistic expression of the rest of the bathroom design. Building one yourself will cost you less than having it installed professionally,
If you enjoy doing DIY projects, making a fiberglass shower pan can be a great weekend project. There are several reasons you might want to consider making your own shower pan, including the fact that it can be cheaper than buying a ready-made one, and you can customize it to your needs and preferences.
1. A Shower Pan Is Easy to Make.
This is a fundamental reason to build a fiberglass shower pan. In addition, it’s not as difficult as you imagine. There are many available tutorials online that will guide you step by step to create a beautiful and sturdy shower base. You can do the installation yourself or have the professionals do it for you.
2. It’s Cost-effective.
Doing your own projects around the house can save you a lot of money in the long run. This is because you will have a lower purchase price and lower installation cost. Making a shower pan is a great weekend project for anyone who enjoys DIY projects. Plus, if you do it yourself, you’ll know how to build a strong, sturdy shower base.
3. Quality Control Is in Your Hands.
No two shower pans are alike – each one is specifically made to fit the measurements and specifications of a particular bathroom. So when you take a shower, you can be confident that only the best materials have gone into constructing your top-notch shower base. For an added touch of luxury and style, you can even install a mosaic or marble tile finish on the shower pan’s floor.
4. It’s Flexible, and You Can Make It in Your Desired Sizes.
When it comes to shower pans, you can let your imagination run wild in terms of size and shape. A one-piece fiberglass shower tray is incredibly versatile and can be adapted to various uses and applications. All you need to do is mold it to fit your bathroom space perfectly.
5. It’s Low-maintenance.
It would be best if you realized that making a shower pan is easy to maintain and clean for the above reasons. In addition, you can clean it with a mild soap solution or other safe cleaning agents for fiberglass construction. Thus, your simple design will save time and money on maintenance costs.
What do You Need to Build a Fiberglass Shower Pan?
As a new project, you may have many questions on what materials and items to use for your fiberglass shower pan. The following list of supplies is necessary to make a shower pan.
- Fiberglass shower pan liner
- Fiberglass mesh tape
- Silicone adhesive Caulking for fiberglass
- Cement backer board
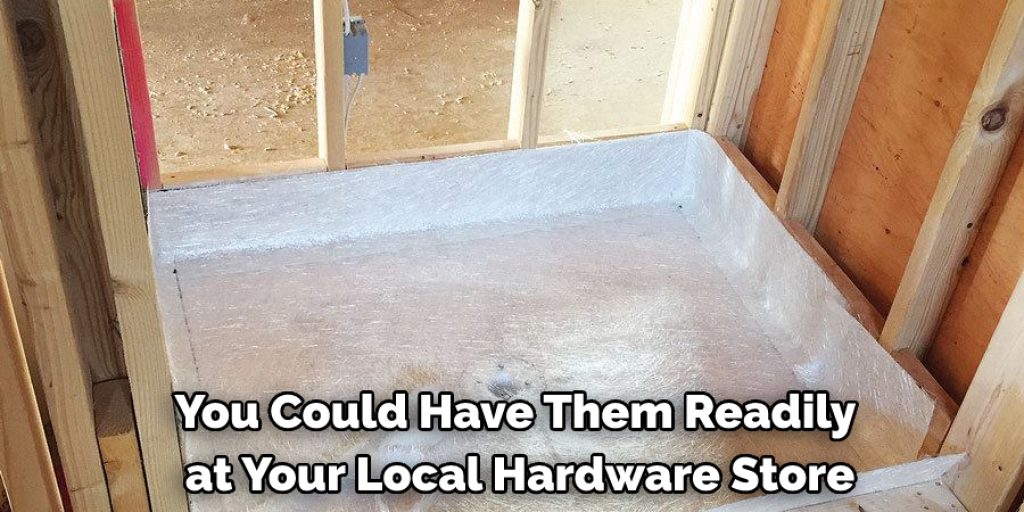
As the materials are not too hard to find, you could have them readily at your local hardware store or online shopping sites.
Step by Step Guide: How to Make a Fiberglass Shower Pan
Step 1: Decide on a Project
Before beginning any project using fiberglass, it is important to decide what results you want and how much time and money you are willing to invest. Fiberglass is an excellent material for creating a variety of objects, from automotive accessories such as fenders or hoods.
kayaks or surfboards, all the way up to boats, airplanes, and even statues. However, while almost anything can be made from fiberglass, the quality of the end product depends on how well you understand and follow all of the technicalities that go into it.
Step 2: Create a Casting or Mold
One can use many techniques to make a fiberglass casting or mold, but the simplest is to use a pre-made polyurethane resin waterproof shower pan. These pans are relatively cheap and easy to find at home improvement stores. The directions on these kits are precise, so you must follow them strictly.
Step 3: Glue a PVC Drain in Place
Once the fiberglass cast has cured, cut out the drain opening for your pan; you can do this easily by tracing around any existing shower drain you may have. Even though it’s already there, don’t forget to add an extra inch or so around all sides to allow space for mortar. You can now glue the PVC drain in place with waterproof caulk.
Step 4: Mix Fiberglass Resin and Hardener
Resin and hardener are typically packaged separately, which can be inconvenient if you work in large quantities. It’s best to mix the two products in equal amounts before using them to prevent any waste or contamination later on down the road. Use a cheap paint stirring stick (available at any home improvement store) for this project.
Step 5: Grab a Paint Brush and Glove
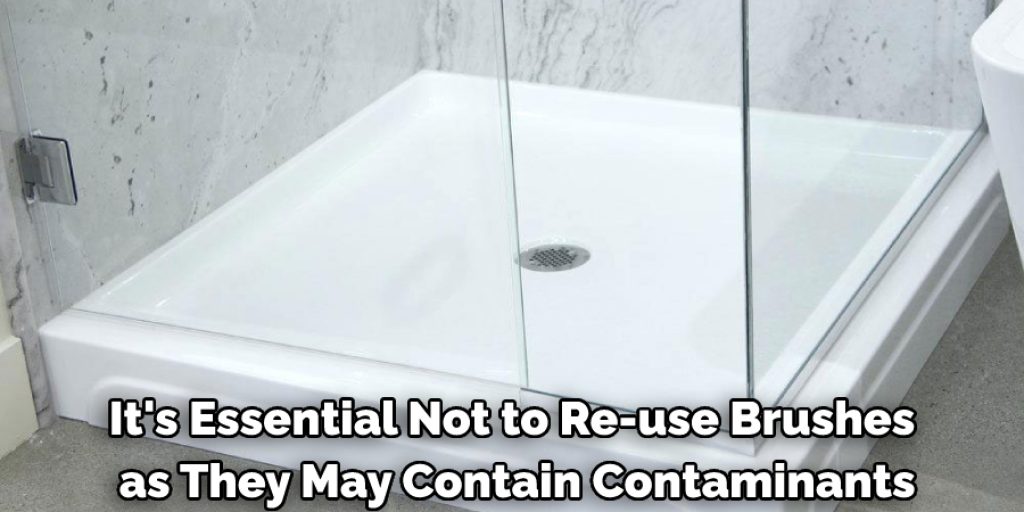
For mixing, use one clean paintbrush per project. It’s essential not to re-use brushes as they may contain contaminants that could compromise the finished product. Make sure to use a fiberglass-specific glove when mixing the resin and hardener. These gloves are typically wax-coated, which will help prevent unpleasantly cold fingers later on.
Step 6: Pour the Resin into the Mold
Now that you have mixed your fiberglass resin and hardener, carefully pour it into the mold of your choice. Most waterproof shower pans come with a built-in floor drain of some kind, but if yours doesn’t then, you will want to install one before pouring the fiberglass resin.
Step 7: Add the Hardener
Once your resin is in place, start mixing your hardener in little by little until you’ve added all of it. It’s important not to add too much or too little hardener when making fiberglass because doing so can result in less than desirable results.
Conclusion:
The fiberglass shower pan is a great way to remove the fear of installing your shower. Just follow these simple steps, and you will be able to have one installed in no time at all. With these tips, you’ll be able to complete the project on time.
The best part is that it’s not too difficult or expensive! You can find more information in this article about making a fiberglass shower pan and other DIY projects for home improvement. We hope this has been helpful, and we wish you good luck with your project!
Angela Ervin
Angela is the executive editor of DIY quickly. She began her career as an interior designer before applying her strategic and creative passion to lifestyle and home. She has close to 15 years of experience in creative writing and online content strategy for housekeeping, home decorations as well as other niche efforts. She loves her job and has the privilege of working with an extraordinary team. She lives with her husband, two sons, and daughter in Petersburg. When she's not busy working she spent time with her family.


