
How to Install Hardiebacker Board in Shower Pan
Installing the Hardie backer board in the shower pan is challenging, but it can be done with the proper tools and knowledge. Then, we will take you step-by-step on installing the Hardie backer board in a shower pan so that your project goes as smoothly as possible.
This blog post will cover things like leveling out the flooring, measuring for cuts, cutting down the boards, and sanding down the edges of the boards so they don’t chafe against each other during installation or after the installation has been installed completed.
You can find more information about specific instructions by reading the rest of this article!
Why Install Hardiebacker Board in Shower Pan?
Hardiebacker is a waterproof, smooth backer board that can be used in various situations. It is resistant to mold and mildew growth, making it perfect for use in bathrooms, showers, kitchens, basements, and even exterior areas.
Hardibacker is ideal for anyone looking to keep their home environmentally safe, as it contains no asbestos or formaldehyde. In addition, it is easy to cut, handle and install, making it versatile for various applications.
There are several reasons why most homeowners choose to install a Hardie backer board in the shower pan at home or in the bathroom of any commercial building they own.
There are many benefits associated with installing this type of backer board, such as ease of installation and waterproofing. Waterproofing is essential, especially when the installation is to be used in a bathroom or shower.
There are many benefits associated with this type of board because it contains no asbestos or formaldehyde, making it environmentally safe. In addition, it can be cut easily, and you will not have to worry about any harmful chemicals being released during the cutting process.
Instructions: How to Install Hardiebacker Board in Shower Pan
Step 1: Level Out the Flooring
Before installing the backer board in the shower pan, ensure to level and screed (smooth) out any imperfections in the flooring. If there are any large cracks at all, you should fill these in with cement backer board adhesive or equivalent before laying down any boards.
Step 2: Protect the Surround
The area that surrounds where the boards are being laid should be protected by covering it with heavy plastic sheeting. The boards will expand when they get wet, so laying down the backer board could potentially damage any walls or other surfaces around the shower pan if they aren’t properly protected.
Step 3: Apply Adhesive to Backer Board
You can either apply adhesive directly to the back of the backer board or to the shower pan before installing it. If you’re just using standard screws, then applying adhesive to the back of the boards is fine, but if you’re using a thinset option instead, it’s probably best to apply adhesive beforehand.
Step 4: Lay Down Board
Laying down boards is relatively straightforward, but it’s essential to keep the boards as straight as possible and line them up with adjacent boards at all times. If you’re using a thinset, smooth out any ridges that may have appeared when laying down the board before they dry completely.
Step 5: Fill in Cracks
If there are any noticeable cracks or gaps between the backer boards, then you’ll need to fill these in before installing the shower pan. Shower pans are thin layers of waterproof material that sit below your feet while taking a shower or bath.
Water can easily pass through them when they have wide cracks, so filling these in is important to the overall waterproofing of the shower pan. This is where the thinset comes in and any other cement backer board adhesive you may choose to use.
Step 6: Wait for Cement Board Adhesive to Dry
Letting a cement backer board dry can take anywhere from 4 hours to a few days, depending on what product you’ve chosen to use and how thick and large the area you’re working on is.
After about 10 minutes of drying time, you should be able to turn the backer boards over without causing too many problems. The adhesive will bond them into place and keep them there until it’s fully dried.
Step 7: Lay Down Shower Pan
Once the cement board adhesive has dried, you can go ahead and lay down your shower pan. The best option for this is to use a premixed mortar that matches the color of whatever material you choose for your tiles or panels. Before laying down the tile backer boards, smooth out any ridges using a trowel.
Step 8: Apply Cement Board Adhesive to Tile Backer
Once your shower pan is in place, you need to apply the cement backer board adhesive or thinset to the back of your tile boards before laying them down. Applying adhesive beforehand is probably unnecessary if you’re just using screws for this step.
Step 9: Lay Down Tile Boards
Once the cement backer board adhesive or thinset is applied, you’ll need to lay down your tile boards before it dries. This way, they will remain firmly in place while the adhesive cures.
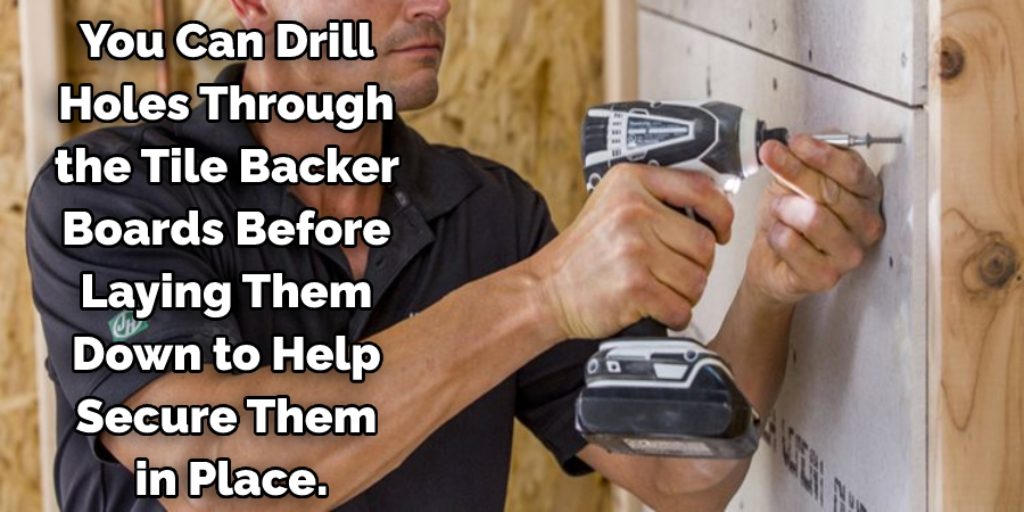
If you want to be extra cautious about ensuring they stay put, then you can drill holes through the tile backer boards before laying them down to help secure them in place.
Step 10: Trim Tile Boards
If necessary, you can use a tile saw to cut the edges of your boards to fit around any obstacles that may exist in your shower pan, such as faucet holes or uneven tiles. If this proves difficult, then using an oscillating tool with a fine blade to score the board and snapping it in place will work just as well.
Step 11: Finish Tile Installation
Once your boards are set, you can go ahead and apply grout if necessary over top of them before they cure completely. The type of grout you choose is entirely up to you, but most types of tile backer boards will work with any type of grout.
Just make sure you follow the instructions on your chosen grout package closely to ensure that it cures properly.
Tips:
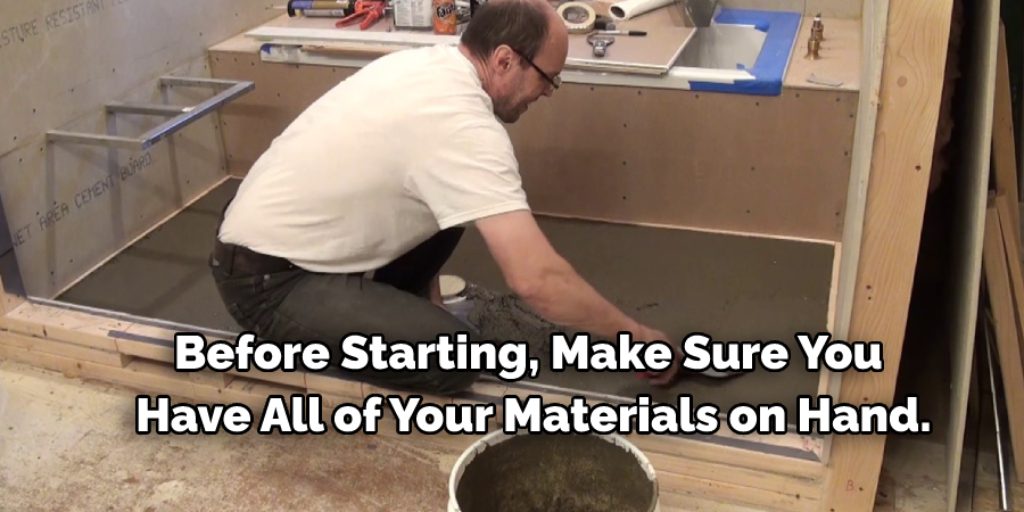
1. Before starting, ensure you have your materials on hand.
2. After the membrane is installed, you can begin to install your backer board. Before installing any backer boards, make sure that the membrane is clean and dry before installation.
3. Use a 1/4″ x 3-1/2″ Carbide Tipped Blade on your circular saw or table saw for cutting the backer boards.
4. Take your time and ensure you know the finished dimensions before cutting any backer board pieces and always use a straightedge guide when cutting backer board with your circular saw or table saw.
5. Keep all backer boards stored in the garage or other heated area until it is time to use them. Then, if they get wet, place them in a dry environment and let them dry before using.
6. Put a good layer of thinset mortar on both sides of the plywood to secure your backer board pieces together when installing.
7. You can start this project in the bathroom or in your backyard. Just make sure that when you are ready to install the backer board, you have all of your tools and materials close by so that there is no downtime during installation.
Conclusion:
As you can see, the Hardie backer board is a great material to use for shower pans. It provides an affordable and durable solution that will keep your bathroom looking fantastic for years to come. Many installation options are available, so it’s easy to find one that works best with the space in question.
Follow the guides on installing Hardie backer board in shower pan, and if something goes wrong or the product needs replacing, contact us!
We have all the necessary expertise to help get things back up and running as quickly as possible. So don’t hesitate to install the Hardie backer board today!
Angela Ervin
Angela is the executive editor of DIY quickly. She began her career as an interior designer before applying her strategic and creative passion to lifestyle and home. She has close to 15 years of experience in creative writing and online content strategy for housekeeping, home decorations as well as other niche efforts. She loves her job and has the privilege of working with an extraordinary team. She lives with her husband, two sons, and daughter in Petersburg. When she's not busy working she spent time with her family.


