
How to Make a Homemade Projector With a Mirror
Introduction
One of the most popular ways to project images in a classroom setting is using an overhead projector. Unfortunately, these devices are typically large, bulky, and expensive. They also require a lot of maintenance when replacing bulbs or cleaning up ink smudges on the screen caused by pens rubbing against the surface while people write on their whiteboards. In this article, I will discuss how to make a homemade projector with a mirror. So let us get started.
A Detailed Stepwise Guide on How to Make a Homemade Projector With a Mirror
1. Get a mirror (5-10 inches wide and as long as you want it) and glue some video slides to the back of it (the side without the reflective surface). This allows you to have multiple videos going at once by just putting a fall in front of one mirror, then moving onto another show when needed.
2. Place a light under your screen with a power source that is bright enough for your videos. You can buy a lamp from Goodwill or go to any thrift store and find an old light with a high wattage bulb if you don’t have one lying around already.
3. If your projector isn’t very bright outside, place a white poster board over the top of your screen so extra light can reflect onto the screen.
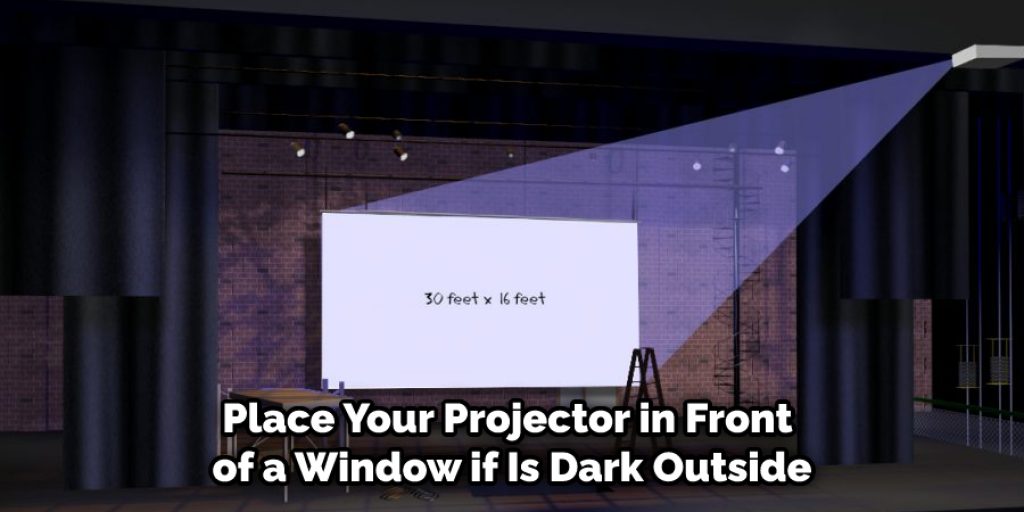
4. Place your projector in front of a window if it is dark outside, or place it on top of a sheet to project onto so everyone but you has to face away from the projection(so no one will see how you are launching). If you have an opaque curtain, pull it closed around your projector for extra darkness protection.
5. Plug your computer into the projector with an HDMI cord or USB cord depending on what kind of laptop/computer you’re using because this homemade projector works best with modern technology.
6. Enjoy your new show! If you don’t want to use video slides, try making a slideshow by getting photos off Google images and printing them out onto transparencies.
7. Test your projector with a cordless phone or regular phone to ensure the picture quality is good. If it is, enjoy your new show!
Precautions While Making a Homemade Projector With a Mirror
Once the projector is made, one should be careful that it does not fall or cause any harm to innocent people. It should be kept away from children. It usually contains the pointer, so if a small child tries to play with it, they may injure themself. One must also be extremely careful while using this homemade projector because if looked at for long periods, it can cause damage to eyesight.
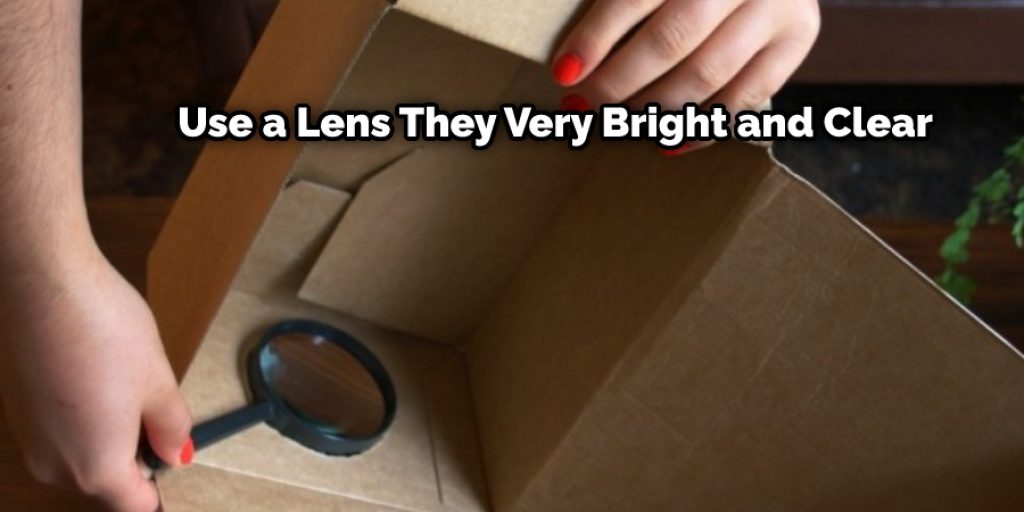
The images are focused on the wall through the camera lens, so they usually are very bright and clear, which can cause glare to vision when viewed at certain angles. Also, keep in mind that your surroundings reflect on your projection screen while using this projector, which means you will see everything behind you in your mirror. So, use it in a place with minimum people so that you do not feel uncomfortable and uneasy with your surroundings.
You Can Check It Out to Make a Homemade Projector With Water
How to Clean a Homemade Projector Which Is Made Using a Mirror?
Projecting an image on a screen is possible by lighting the back of the mirror and letting this light move towards the front side.
After setting up the projector, you have to place it at a distance from a wall or a flat surface to have a clear view of the picture. The size of your projected image depends on how far or close you put your homemade projector from a wall or any other surface. You will see that as you move your projection closer to the wall/screen, the size of your picture gets smaller.
In case if there is no hole in your ceiling, then extending out your arm vertically upwards with an open palm would be helpful as this gives an idea as to where precisely should be placed our homemade projector.
Now, if you want to adjust the size of your picture/image, slowly moving your hand further away from the wall can help you do so. We should try not to move too far as it may not be of any use, and our homemade projector might start slipping out. You will need a finger or fingernails to adjust the screen position vertically, whereas, on different angles, adjustments can be made using tools like pencil, etc.
At last, after getting all adjusted, you will see that your image is on a perfect straight line on top of your projection surface without any distortion at all. If you are finding it hard, then using a tripod stand with adjustable legs can come in very handy as it will provide stability to your mirror system.
Now coming to the cleaning process, you will need a piece of cloth or towel, etc. There are two ways in which you can do this:
OPTION-1
One way is by using your fingers and applying pressure on your mirror surface with your fingertips to get rid of grime and dirt accumulated during the project-making process.
OPTION-2
Another method is by moistening the cloth with some soapy water solution to release the dirt more easily from its position without causing any scratches on its surface. Cleaning soap should be used carefully as there are chances of soapy water spilling over onto other areas if anyone is not careful enough while cleaning. Also, if someone has made use of soap water for cleaning purposes, then care should be taken while drying the mirror surface with a towel so that it does not get streaked.
As the final step, you need to wipe your homemade projector using lens paper only to ensure no dust or moisture is left on its body. You can also use a vacuum cleaner to make this project more effective and easy.
You Can Check It Out To Hang a Fabric Projector Screen
How to Dispose of a Projector?
First, turn off the power of the projector. Next, pull out the power cable. Next, use the screwdriver to take the place of an Allen wrench to remove all screws on its cover, then put it aside. Be careful with taking away large parts so as not to crack any part of it. At last, gently pry open it’s casing by moving your fingers along the seams until they come apart and you can see all of its components inside. Pull out the bulb and other features. Don’t be too rough since it may result in damage to them, especially to glass parts, so be careful.
Conclusion:
I hope this article has been effective in learning how to make a homemade projector with a mirror. Ensure all the steps are followed appropriately, and the precautions while making the projector should also be followed adequately. Thank you and have a nice day!


