How to Make a Pedestal Table
Are you looking for a stylish, modern way to make the most of your space? Creating a pedestal table is an easy and affordable way to do just that! This guide will teach you how to make one with simple supplies from your local hardware store.
Making a pedestal table is an easy and rewarding DIY project that can be completed in just a few hours. Whether you want to spruce up your living room, dining room, or home office, creating your own unique pedestal table will surely add style and character. With the right materials, tools, and step-by-step instructions, you’ll have a beautiful custom piece of furniture in no time!
In this guide, we will provide detailed instructions on how to make a pedestal table that will last for years to come. So let’s get started!
What Will You Need?
Before you get started on this project, make sure to round up the necessary materials and tools. You will need the following:
- Tabletop of your choice (wood, glass, or acrylic)
- Four legs for the base of the table
- Screws
- Drill with drill bits
- Wood glue
- Sandpaper
- Paint or stain of your choice (optional)
Once you have all of your supplies, you are ready to start building!
10 Easy Steps on How to Make a Pedestal Table
Step 1: Attach the Legs to the Tabletop
The first step is to attach the legs to the tabletop. Begin by using a drill and screws to secure each leg in place. Make sure they are evenly spaced, and then use wood glue to strengthen the connection further. Once all four legs are attached, set aside and allow the glue to dry completely.
Step 2: Sand Down the Legs
After the glue has dried, you will want to sand down each of the legs with sandpaper. This will make them smoother and also help create a more seamless look. Once they are fully sanded down, wipe off any excess dust and debris from the surface.
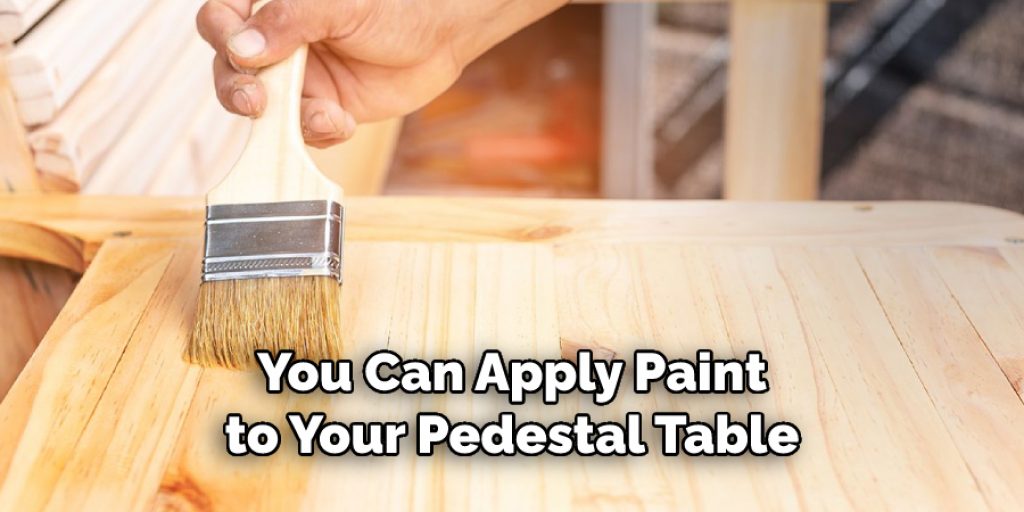
Step 3: Paint or Stain (Optional)
You can apply paint or stain to your pedestal table for added style and color if desired. For best results, it is recommended that you use two coats of paint/stain for a more even finish.
Allow the paint/stain to dry fully before proceeding to the next step.
Step 4: Attach the Feet to the Legs
The last step is to attach feet to each of the legs. This will provide additional stability and also protect your floors from scratches or scuffs. Simply screw in the feet and make sure they are even and secure. Once all four feet are attached, your pedestal table is finished!
Step 5: Apply a Clear Coat
For extra protection and shine, apply a clear coat of sealant to the pedestal table. This will help ensure that it stays looking great for years to come. Don’t forget to allow the sealant to dry completely before using the table.
Step 6: Try Different Finishes
You can also add a unique touch to your pedestal table by trying different finishes. From wax and oil to metallic or glitter, the possibilities are endless! Additionally, you can mix and match colors or use different textures to give your table a one-of-a-kind look.
Step 7: Embellish Your Tabletop
To give your table an extra special look, you can embellish the top with a variety of materials. Vinyl decals, stencils, and even glass tiles are just some of the ideas you can use to really make your table stand out. It’s a great way to add your personal style and personality to the piece.
Step 8: Add Accessories
Once you have completed building your pedestal table, it’s time for the finishing touches! Adding accessories like colorful coasters or decorative trays will help bring life to any space.
Step 9: Place in Your Home
Now it’s time to place your pedestal table in its desired location. Make sure that you measure the area beforehand and adjust accordingly. Be careful when moving the table as it can be quite heavy.
Step 10: Enjoy!
The last step is to sit back and enjoy your beautiful new pedestal table! With just a few simple steps, you have successfully created an eye-catching piece of furniture for your home. So, what are you waiting for? Get started on your own project today and show off your DIY skills.

By following this guide, you know how to make a pedestal table that will last years. Get creative and have fun with it! With the right materials, tools, and patience, you will be proud of your finished product.
5 Additional Tips and Tricks
- If you’re unsure of your carpentry skills, consider hiring a professional carpenter to help you construct the pedestal table.
- When choosing wood for your pedestal table, opt for a durable type that can withstand scratches or other damage.
- Make sure all the pieces fit together securely and are sanded down smoothly before applying a wood stain and sealant.
- If you’re not confident in your ability to measure correctly, use a sliding T-square to make sure the table is perfectly level and all measurements are accurate.
- To add an extra touch of elegance, consider adding decorative elements such as carving or
- painting on the pedestal table’s surface. This will help it stand out from other pieces of furniture in your home.
With these tips and tricks, you’ll be able to confidently create a beautiful and sturdy pedestal table that can last you for years to come!
5 Things You Should Avoid
1. Not using the right materials. When making a pedestal table, it is important to use sturdy materials that will last a long time and stabilize your table. Make sure to choose quality pieces like solid wood or metal for your frame and legs and proper sealants to protect them from weathering over time.
2. Going Too Big or Too Small. You want your table to be just the right size for your space, so measure how much room you have before starting construction. If your table is too large for the area, it will overwhelm the room and make it look cluttered; if it’s too small, it won’t serve its purpose effectively.
3. Skipping Steps in Preparation Work. Make sure to take the time to sand any surfaces, stain or paint as desired, and seal your table with a high-quality protective coat. If you don’t take these steps now before assembly, they will be much more difficult once your project is complete.
4. Overlooking Safety Measures. Skipping Steps in Preparation Work. It’s important to use proper tools in good condition, like saws and drills, to work safely and efficiently. Be aware of your surroundings at all times while working, and keep yourself out of harm’s way by wearing protective gear like gloves and eyewear when needed.
5. Not Getting Help When Needed. Don’t hesitate to ask for assistance if you find yourself struggling with the project. It’s okay not to know everything, and having help from someone more experienced can save you time and prevent potentially costly mistakes.

By following these simple guidelines, you can ensure that your pedestal table is constructed safely and will last many years! Good luck with your DIY project!
5 Different Design Ideas
1. Industrial: This look uses metal architecture and pipe fittings to create a statement piece that is both stylish and edgy.
2. Mid-Century Modern: This style evokes the 1950s with curved lines, tapered legs, and natural materials like wood and leather.
3. Coastal Living: Bring a beachy vibe into your home with a white pedestal table featuring weathered details or cool blue hues.
4. Glamorous: Make an opulent statement with velvet upholstery, marble accents, and gold detailing for a touch of luxury.
5. Traditional: Take it back to basics with classic shapes like round or square tables paired with ornate carvings for timeless elegance.
With the right materials, tools, and design inspiration, you’ll be able to craft a beautiful piece that will make any space look amazing.
Which Three Materials Can Be Used to Make Table?
1. Wood: a classic material that is easy to work with and can be finished in many different ways. It’s also very strong and durable, making it perfect for furniture.
2. Steel: a modern choice that adds a sleek look to any table design. Steel is strong and long-lasting and won’t warp or rot like wood over time.
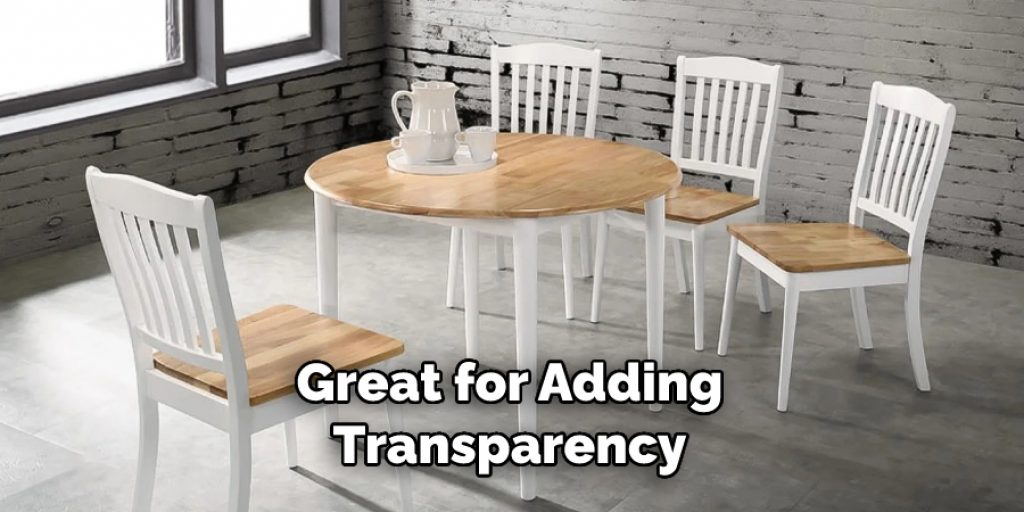
3. Glass: great for adding transparency, lightness, and a touch of elegance to your table design. Plus, glass can be easily cut into any shape you need!
These three materials are the most popular when it comes to creating tables, as they provide the right blend of strength, style, and versatility needed for all kinds of projects.
Conclusion
Making a pedestal table is an easy and rewarding DIY project that anyone can do with the right materials, tools, and design inspiration. Whether you’re looking to create something modern or traditional, industrial or glamorous, there are plenty of options for creating your perfect piece.
Wood, steel, and glass are three popular choices when it comes to making tables, as they provide the necessary strength while also allowing for customization in terms of style. With just a bit of time and effort on your part, you can craft a beautiful pedestal table that will be sure to impress!
Hopefully, the article on how to make a pedestal table has been helpful in giving you the confidence to tackle your own project.
Angela Ervin
Angela is the executive editor of DIY quickly. She began her career as an interior designer before applying her strategic and creative passion to lifestyle and home. She has close to 15 years of experience in creative writing and online content strategy for housekeeping, home decorations as well as other niche efforts. She loves her job and has the privilege of working with an extraordinary team. She lives with her husband, two sons, and daughter in Petersburg. When she's not busy working she spent time with her family.