How to Make a Pegboard Display Stand
A pegboard display stand will provide you with the easiest process to reload your merchandise. So, if you run a store with lots of items, these are the things that will change the entire setting. That’s why these are considered as one of the crucial items for the store owners. Whether you’re running a stationary shop or any other type of store, these are the things that will change the appearance. Well, there are lots of other benefits you can enjoy by installing the stands in your store.

The best part about these display stands is that you can easily make them yourself with some simple DIY instructions. So if you’re willing to learn the process, I’ll show you how to make a pegboard display stand. Just set aside a few minutes to concentrate on the instructions and you’ll be able to make your own stand in no time.
Summary: Making a pegboard display stand is a simple project that can be done in minutes. All you need is a piece of wood, some screws, and a drill. First, cut the wood to the desired shape. Next, use screws to attach the wood to the wall. Finally, drill holes in the top of the wood so that you can hang your displays.
Required Materials For Making A Pegboard Display Stand
- Pegboard
- Eye Screws
- Hooks
Processes on How to Make A Pegboard Display Stand
Process One
Step One:
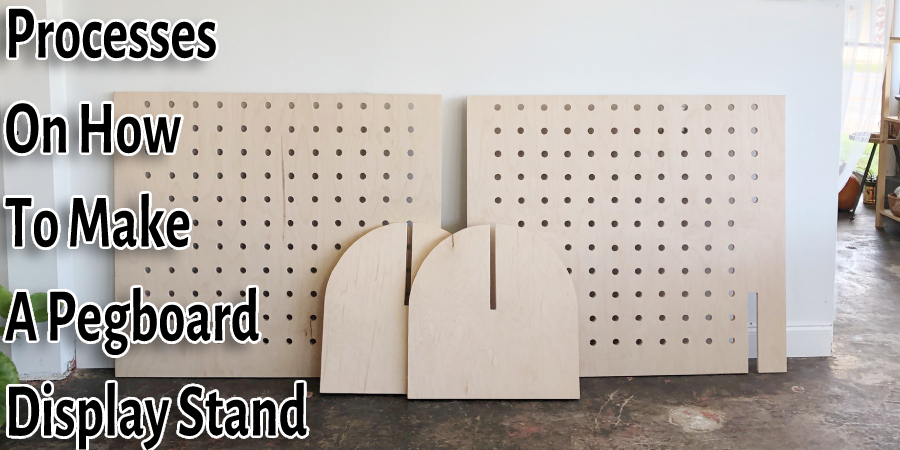
Cut the board to size. Decide where you will cut and measure out your cutting line according to what size of pegboard you are using. For this demonstration, a standard sheet of pegboard was used, which is 48″x48″. The desired width for our project display stand is 24″, so we created a mark at that location with pencil or chalk.

Step Two:
Using an electric saw (or hand saw), carefully make a straight finish from one end along the marked line until it reaches the other endpoint of the break in the wood grain. Ensure not to push too hard when making these cuts because they can be very rough on delicate materials. After you have made your cuts, remove any rough edges from the sides of the cut with a piece of sandpaper.
Step Three:
Now that the board has been cut to size using a straight edge and pencil to straight line both of the new pieces on their opposite sides. Draw two more lines at 90 degrees from this first line, so you have four in total. Place the two new pieces of wood between these four lines and screw them into place using your drill and screws. The screws should be slightly longer than the thickness of the wood. Use as many screws as you feel necessary to make the board sturdy.
It would help if you now had an “X” shape drawn onto your wood which will help us create equal segments for our stand’s support columns (the legs). Once all markings are made, remove any remaining excess with your electric saw or hand saw by carefully cutting along them again; don’t forget to wear proper safety equipment.
Step Four:
After marking off where we want each leg hole placement, pre-drill pilot holes into the corners of these locations using a small drill bit, these holes will be drilled to about one inch deep and should go into the end of each line you’ve drawn, not across them!
Step Five
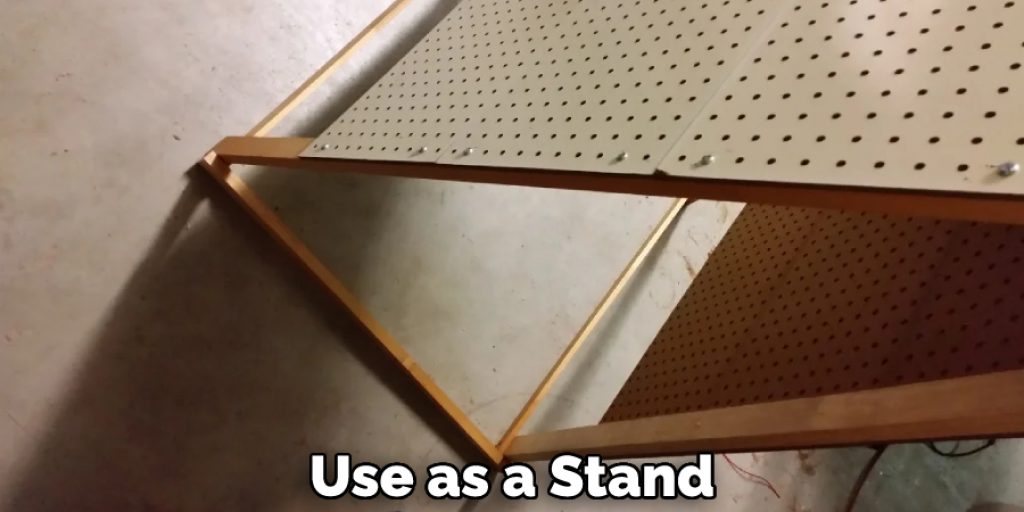
Next, we’ll need to use some bolts or a nail gun with a finishing nail attachment to attach two support columns (the legs) at both ends on either side of the board.
Step Six:
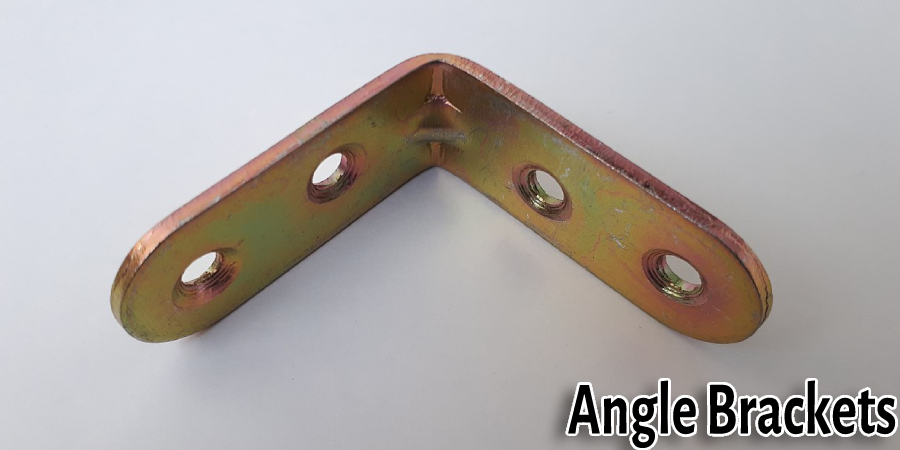
Next, take your right-angle brackets and screw in place by pre-drilling pilot holes for screws using a smaller drill bit than what was used for the leg placement, again being careful where they are placed so that it does not interfere with any other markings that have been made.

This leftover plank can then be cut up as needed for our display items such as hooks or even a small shelf. Now all that is left to do is attach some wire or rope across the top of the board and hang your display items on them.
Process Two
First of all, I went to my nearest shop and brought a 2×4 pegboard for this project. The measurement of the board usually depends on your requirement and then the length that you are willing to make. Okay, then I cut it into three sections; each section is 16 inches in size.
Then I used some hinges to attach the sections. If you want, you can also apply to cut the board from the stores. However, I needed four hinges to attach three sections. But if you have more, you may need additional hinges.
Then I tied some ribbons at the bottom of the board. These ribbons are going to help me a lot while carrying them from one place to another. In this case, I applied a simple technique and put the ribbon at the backside of the board so that it can remain completely unseen.
Okay, once you complete that, attach the merchandise as much as you can. That’s it; your homemade pegboard display stand is ready to use now.
Precautions
- Measure the pegboard, then measure the board you want to use as a stand. You may need to cut down your board if it’s too wide for the pegboard or leave it whole and just fold over onto itself (wrap around) once so that both sides are even with each other. Again, it depends on how many shelves you plan on using in conjunction with this board.
- Choose what size screws will be used; we’ll assume #12 x ½” coarse thread drywall anchor bolts for our example boards here because they’re long enough to go all the way through both pieces of wood but don’t require pilot holes which is helpful when working with pre-primed MDF panels.

Conclusion
You can’t go wrong with a pegboard display stand. It’s an easy way to create an interesting and eye-catching shelving system that is perfect for small spaces like your kitchen, laundry room or even in the hallway!
You May Also Read – How to Shorten an Aluminum Screen Door


