How to Make a Picnic Basket
Picnic season is here, and nothing says summer quite like spending the day with friends or family surrounded by sunshine and good food. But if you really want to make your picnic stand out, it’s all about the preparation—and that starts with assembling the perfect basket.
Packed with everything from delicious snacks to plates, cutlery, and comfy blankets for lounging on a sunny afternoon, making a picnic basket might seem daunting at first… but we’re here to help!
In this blog post, we’ll take you through step-by-step instructions on how to make a picnic basket so that you can assemble an amazing picnic basket of your own. So grab your favorite snacks and gather up the necessary items – because it’s time to get picnicking!
How Do You Make a Good Picnic Basket?
Making a good picnic basket is all about planning ahead to make sure you have everything you could possibly need for your outdoor outing. It’s also important to consider the food that goes into the basket and make sure it will be easy to transport, store, and reheat (if necessary).
To start building your picnic basket, you’ll want to think about what kind of foods you’d like to bring. Generally speaking, a good picnic should include some type of main course (such as sandwiches or salads), sides (like potato chips or crackers), snacks (like fruit or vegetables), and drinks (such as juice or water). Additionally, it can be helpful to pack utensils like forks, spoons, knives, napkins, and plates.
When it comes to selecting food for your picnic basket, try to opt for foods that are easy to transport and don’t require a lot of prep work. Consider packing items like pre-made sandwiches or wraps, chips, pretzels, fruits and vegetables that don’t need to be cut (like apples or oranges), cake or brownies if you have a sweet tooth. Additionally, if you plan on having any cold dishes in the basket (such as salads or dips), make sure they are stored in an insulated container so they stay cool during transportation.
Lastly, remember to pack necessary items like sunglasses, sunscreen, insect repellent, first aid kit and anything else you may need while out in the sun. Don’t forget to also pack a blanket or large towel for comfortable seating and an umbrella for shade, in case the weather turns out to be sunny!
What Tools & Supplies You’ll Need?
When it comes to making a picnic basket, you will need some basic tools and supplies. These include:
- Picnic basket or other containers of your choice
- Plates, bowls, cups, utensils (including a bottle opener)
- Napkins and tablecloth for setting the table
- Cooler and/or insulated bag to keep food cold
- Ice packs or cooler ice, if necessary
- Food and drinks of your choice
- Blanket or beach towel for sitting on the ground
- Any outdoor games you want to play (i.e., frisbee, volleyball)
You can also add other items, such as a picnic blanket, beach chairs, and a first-aid kit. Additionally, if you plan on being away from home for a long period of time, it’s wise to pack items like sunscreen and bug spray. With the right supplies in hand, you can have all the ingredients for a perfect picnic.
10 Methods on How to Make a Picnic Basket
1. Gather Materials:
Choose your preferred coiling material, such as rope, twine, fabric strips, pine needles, sweetgrass, wire, paper, or beads. Select materials that are pliable and suitable for coiling. You may also choose to use a base material such as a basket, bowl, or plastic container to hold the coiled item together.
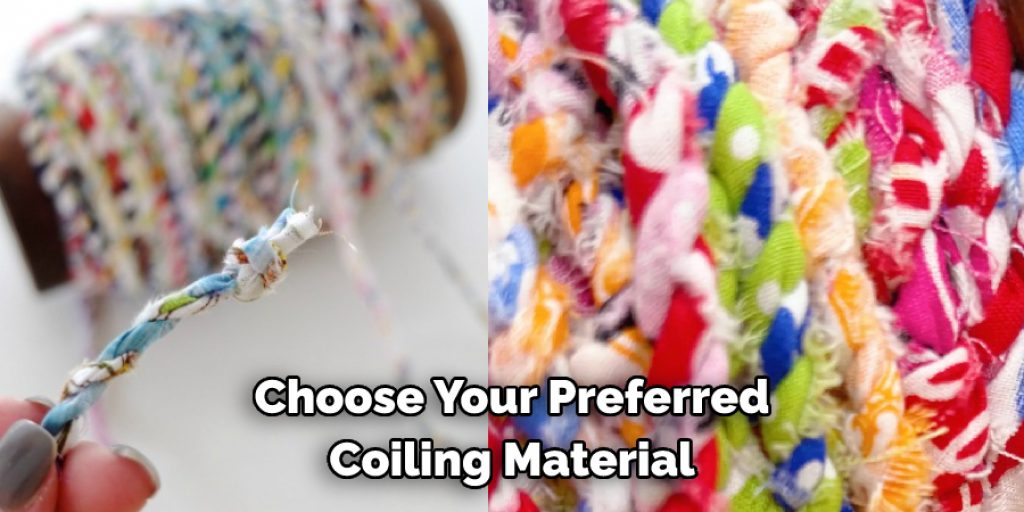
If desired, you may decorate the base with beads, feathers, or other decorative items. While gathering materials, don’t forget to pick up any decorations you may want to add for an extra touch of style.
2. Prepare Materials:
If using natural materials like pine needles or sweetgrass, soak them in water to make them more flexible. If using fabric or paper, cut them into strips of equal width and length. If using wire, make sure it’s malleable and easy to bend.
Gather the handles, clasps, fasteners, decorations and any other materials you may need to construct your basket. If you plan on decorating the basket, lay out all the supplies you will need. While you don’t have to be exact, it is important to make sure all of your materials match the overall theme of the basket.
3. Create a Base:
Start by creating a small coil with your chosen material and coil it tightly to form the base of your basket. This will serve as the foundation for your basket. Attach the coil to a piece of wood or other material to help keep it steady while you are working.
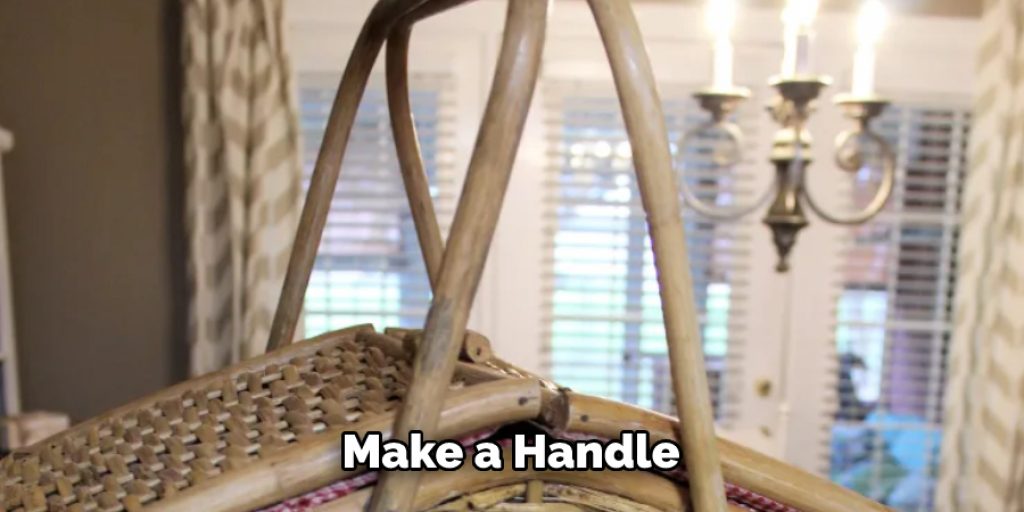
To make a handle, wrap the material around an object, such as a dowel or pole, and secure it with string. If you want to make a basket with a lid, consider using two circular pieces of material joined together. However, you can also make a basket without a lid.
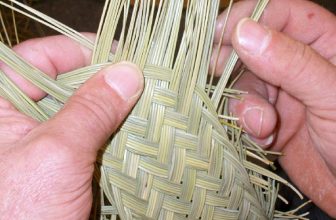
4. Coil and Stitch:
Continue coiling your material around the base, stitching it to the previous coil using a needle or your fingers. Pull the material snugly to ensure a tight and sturdy basket. Repeat this process, coiling, and stitching, to build the sides of your basket to the desired height.
If you want to make a handle, leave an opening in the weaving of your coil. This will provide a space for you to later weave and stitch through to create a sturdy handle. Try to make sure that the sides of your basket are even by inspecting it from all angles.
5. Shape your Basket:
As you coil, you can shape your basket by gently bending and molding it to the desired form. You can create a traditional round shape or an oval or experiment with unique shapes and designs.
Remember to add additional coiling in areas that may require additional support, such as the handle and basket rim. Once you’ve achieved your desired shape, cut off the end of your reed and press it into the last coil.
However, if you’d like a more authentic look, tuck the last coil under an existing stitch instead. This can also help to secure the rim and prevent the basket from coming unraveled. Although the basket is complete at this point, you may choose to sand or smooth any rough edges with a file or piece of sandpaper.
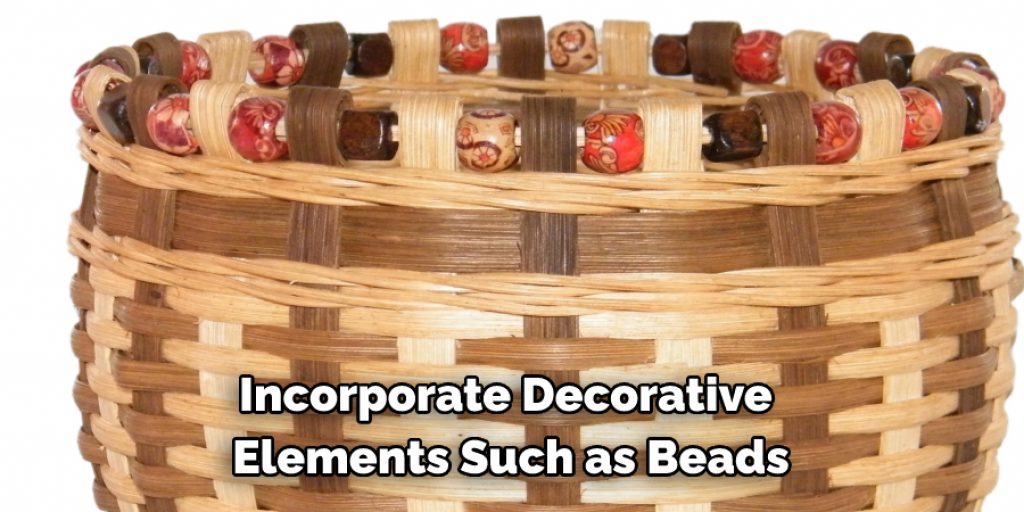
6. Add Decorative Elements:
If desired, you can incorporate decorative elements such as beads, additional colors of material, or other embellishments into your coiling. String beads onto your material or stitch in different colored strips to create patterns or designs.
You can also use other materials, such as ribbon, fabric paint, or felt to enhance your basket. Be creative and have fun with it! Once you’ve mastered your technique, you can experiment with different shapes and sizes to add variety. The possibilities are endless!
7. Secure the Ends:
When you reach the desired height for your basket, secure the ends of your coiling material by stitching it tightly to the previous coil. Trim any excess material if necessary. If you are using a pre-made basket base, simply attach the coiling material to it. While stitching, make sure the stitches are as close together as possible to ensure a strong construction. When you have finished stitching, place the lid of your basket onto the top, and stitch it securely.
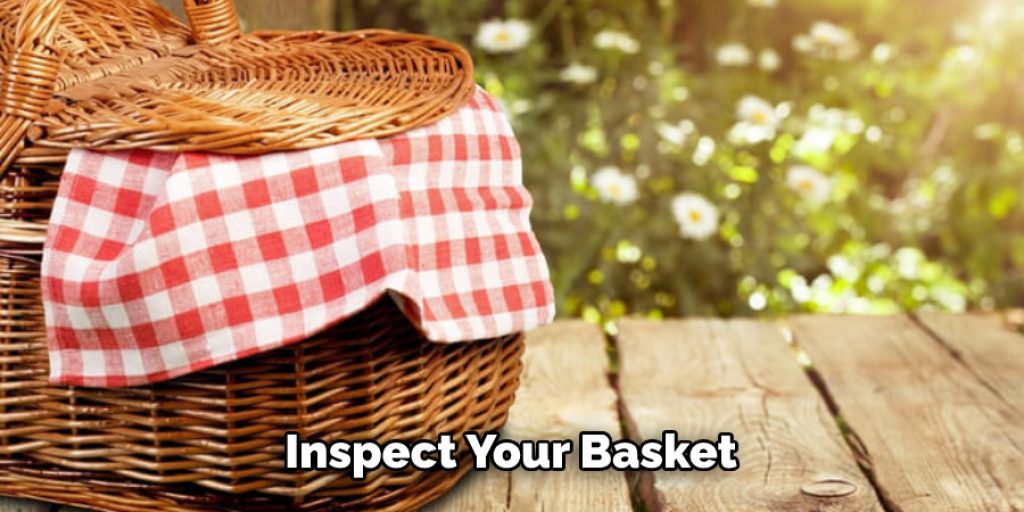
8. Finishing Touches:
Take a moment to inspect your basket and make any adjustments or tweaks as needed. Ensure that all the coils are tightly stitched, and the shape is to your liking. You may want to add a strip of ribbon around the basket or a few decorative touches, such as buttons or bows.
If you’d like, you can also personalize the basket with a monogrammed initial or name. When everything looks the way you want, it’s time to fill the basket with all of your favorite picnic items.
9. Optional Handles or Rims:
If you want to add handles or rims to your basket, you can do so by attaching additional coils of material to the sides or top edge. Stitch them securely to the existing coils, shaping them as desired.
10. Final Touches:
Once you are satisfied with the shape and design of your coil basket, you can give it a final trim, tidy up any loose ends, and add any additional finishing touches, such as a coat of varnish or a ribbon tied around the rim.
Conclusion
If you are looking to take a break from your everyday life and enjoy a picnic in nature, assembling the perfect picnic basket can help make this happen. From choosing a theme for your basket to adding delightful treats, every detail matters. With some imagination and effort, you can create an enjoyable and memorable picnic experience for yourself and your friends or family.
Make sure to pick the perfect place outdoors, and before getting started on packing your basket, remember to double-check the weather and plan for unexpected conditions. So, there you have it – a quick and easy guide on how to make a picnic basket.
Angela Ervin
Angela is the executive editor of DIY quickly. She began her career as an interior designer before applying her strategic and creative passion to lifestyle and home. She has close to 15 years of experience in creative writing and online content strategy for housekeeping, home decorations as well as other niche efforts. She loves her job and has the privilege of working with an extraordinary team. She lives with her husband, two sons, and daughter in Petersburg. When she's not busy working she spent time with her family.