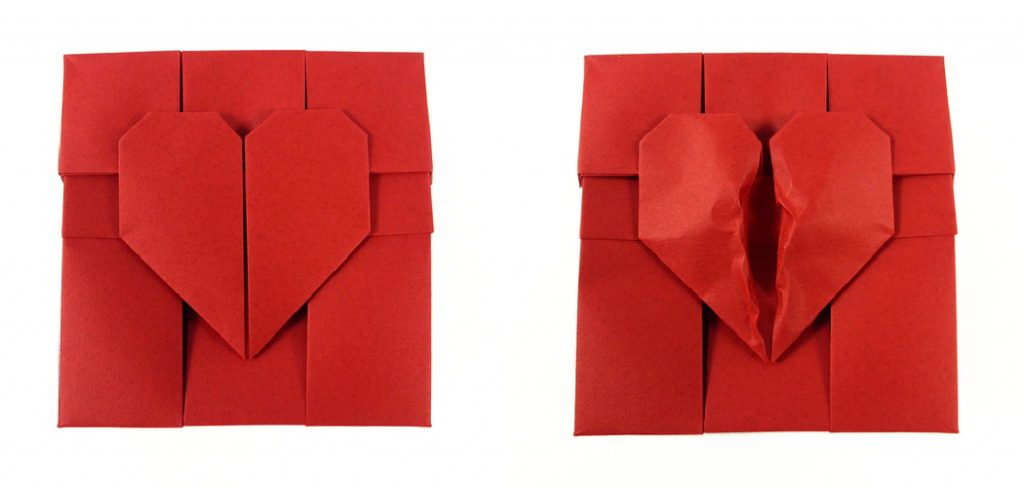
How to Make a Valentine Box Out of Paper
Valentine’s day is a fun holiday and a perfect time to make adorable crafts. Using some simple household items, you can easily make some beautiful items to attract your loved one. They are pretty simple and don’t require thousands of dollars. Your loved ones will love your handmade items more than the things you will buy for them. It is because you are gonna made them with utmost care and love. Anyway, today, I will show you how to make a valentine’s box out of paper.
These little things are way more useful for expressing your valentine sentiments. Besides, they are also cute enough to attract your loved ones. So, rather than buying these items, let’s see how to make them simply at your home.

How to Make a Valentine Box Out of Paper
For this project, I have used: For this project, I have used:
1. La Vie En Rose paper packet2. And CricutArtsite and Art Philosophy collections.
So, if you have got them, let’s get started.
Step 1
To begin, I will use the Cricut Artiste collection to cut an 11” piece of Ruby Cardstock. The mailbox can be found on page 51. It will be on the natural score lines that part put this whole cut. So, you will need to fold the main score lines in to start putting your mailbox together.
Step 2
Once you complete the folding process, you must start folding each front petal. It is very simple because of the score lines around. These are going to be the opening of the mailbox. Do the same on another side. This time you are gonna need to put some glue dots. It is because when you complete folding the taps in, you must put the glue dots on every tab.
Step 3
Now, I am going to put some adhesive on the front layer. To make the panel extra sturdy, I will put two layers of adhesive. After completing that, you must start giving it the shape of a mailbox. Fold the residual part around the entire structure and stick it with the adhesive. When you complete that, you will see that it has taken the shape of a mailbox with an opening from the front.
Step 4
Now, it is time to add some embellishment to the mailbox. It depends on your preference; decorate the mailbox as you need and design it in your own way. Don’t forget to put the flag in your mailbox. You will get the flag right on page 51, so you can simply acquire the design. That’s it; your cute little mailbox is ready. If you want, you can also add a stand at the bottom.
you may also read now


