How to Build a Raised Bar Countertop
The raised countertop designs have created a craze nowadays. Almost every homeowner wished to acquire this design while working on any remodeling projects. In fact, the raised countertops also offer great accessibility for working precisely in the kitchen. So, if you are willing to install a raised bar on the countertops, you will be able to ensure proper accessibility and aesthetic look around your home. But the question is how to build a raised bar countertop? Wanna learn? I will tell you how but that’s going to be a bit tricky so, concentrate on the article until the end.

With a raised bar, you will be able to hide your clutter for which your guests won’t be able to see your kitchen utensils like soap, sponges, sinks, etc. Well, this is one of the greatest advantages of a raised bar. You can also use this bar to take breakfast and spreading the food items at the time of house parties. Honestly, there are several advantages, and if I only start to explain those, I can fill the next ten pages. So, leave all these things, and let’s see how to build a raised bar countertop.
Tools You Will Need
- Drill
- Measuring Tape
- Circular Saw
Materials You Will Need
- Silicon Adhesive
- Screws
- Nails
- Brackets
- 2×6 boards
- Custom Countertops

How to Build a Raised Bar Countertop
If you have gathered everything you need, you can now follow the simple steps below. Are you ready? Then let’s dive in!
Step 1 – Remove the Old Countertops
First, you need to take out the old countertops. If your table has an open design, you can add a raised bar. But first, you need to remove everything from the table, like sinks, dishes, etc. because of the installation process of your raised countertop.
Step 2 – Cut Top Plate
Now, you have to cut the plates according to the measurement of your table. At first, cut the wood lengthwise to fit in on the countertop. Next, cut one board that should be of 2 x 6-inch measurement. This board is going to be used as a top base plate.
Step 3 – Cut Stud Spacers
Before cutting the studs, you have to first identify the height. Determine the height that you want to put on the countertop of your table. Make sure not to cut the studs with too much height. The ideal measurement of the stud spacers is 2×6 inches. My wood has a thickness of 1.5 inches, and I will suggest you use this type of bars because the bars are sturdier with this thickness. With this thickness, the bar will be a bit weightier. That’s why you have to install more stud spacers so that they can hold the bar easily. Maintain at least 18 inches of space between each bar.
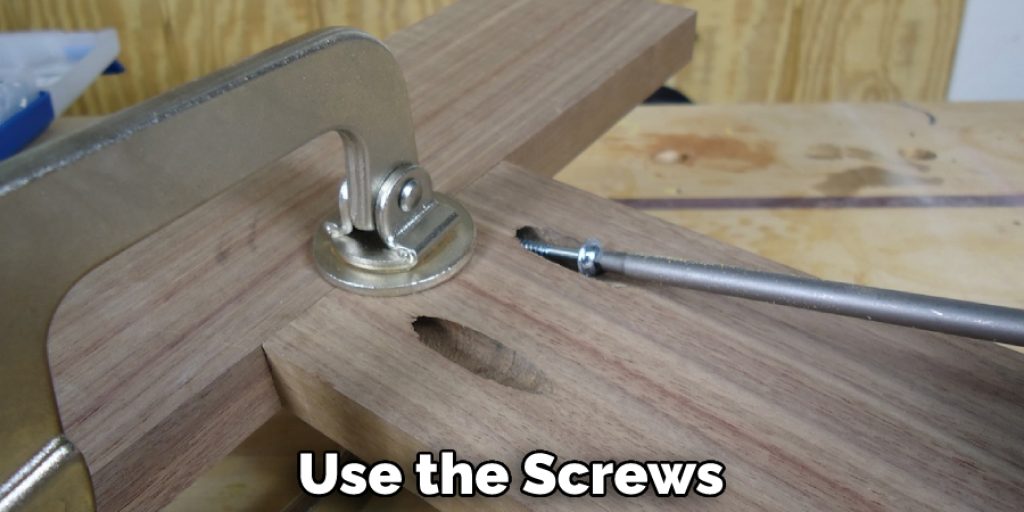
Step 4 – Build Wall Extension
Now, you have to build the wall extensions. Take the spacers and screw them over the counter area. In this case, you have to use the screws that cope with the thickness of the wooden plate and reach the base for proper adjustment. I will recommend you to use the screws or nails of 2 x 6 inches on the counter base. Those are going to incorporate the framework properly. If needed, you can change the diameter and use one that accurately suits the requirement of your installation process.
Step 5 – Install the Countertops
If you have installed the spacers appropriately, then it is time to dive into the main action. You have to now install the countertops. Take the raised bar that you have cut earlier from the wooden panel and place it properly over the studs. Check if it is placed correctly, or it needs further movement. After placing it, you have to now screw it with the studs. Make sure to screw them properly because it’s going to take a lot of weight. Once you complete the installation, check if it wobbles or not. If you find it wobbling, you have to use more screws for securing it properly.
Step 6 – Installing the Front Panel
Due to the raised height, the front panel has opened, right? You have to hide that exposed area with an additional wood panel. Determine the measurement of the gap and cut another wooden panel according to that measurement. Once you have got that, secure it with screws or nails. In this case, you are going to need some assistance to hold the panel accurately in that place. Then screw the panel with the studs. Fill the corner gaps with adhesive and let it dry.
Step 7 – Attach the Brackets
You need to attach brackets under the bar to give the bar extra support. The bar is going to extend a bit, so this support is necessary. So, install some brackets underneath.
Step 8 – Coloring
After you have put all the pieces together, you need to color the table. You can pick any color you want. Some people choose a color that goes with the design of their kitchen. Once you have picked the color, you need to put the sink and other things back in their place. Now your new raised bar is finished!
Final Thoughts
To build a raised bar countertop, you will need to first measure the area where you want the countertop to be. Next, you will need to cut the wood to the size that you measured. Once the wood is cut, you will need to sand it down and then paint or stain it. After the wood is painted or stained, you will need to put it in place and then screw it into the wall.
you may read also –