How to Make a Waterfall for School Project
Introduction
School projects are an important part of the modern education system. They help children develop personal skills and innovative attributes. Today we will show a unique technique on how to make a waterfall for a school project. This is a joint project, and the whole process has been simplified for your kid. The beginners can get a great experience via this procedure.

Procedure
If you want to make a fake waterfall for a school project, there are some easy steps you can follow. You won’t need any professional help – just a few simple materials. First, decide where you want the waterfall to be. Then, create a frame for the waterfall using wire or cardboard. Next, cover the frame with fabric or paper to make it look like water. Finally, add some rocks or other decorations around the waterfall to make it look more realistic.
• Step One
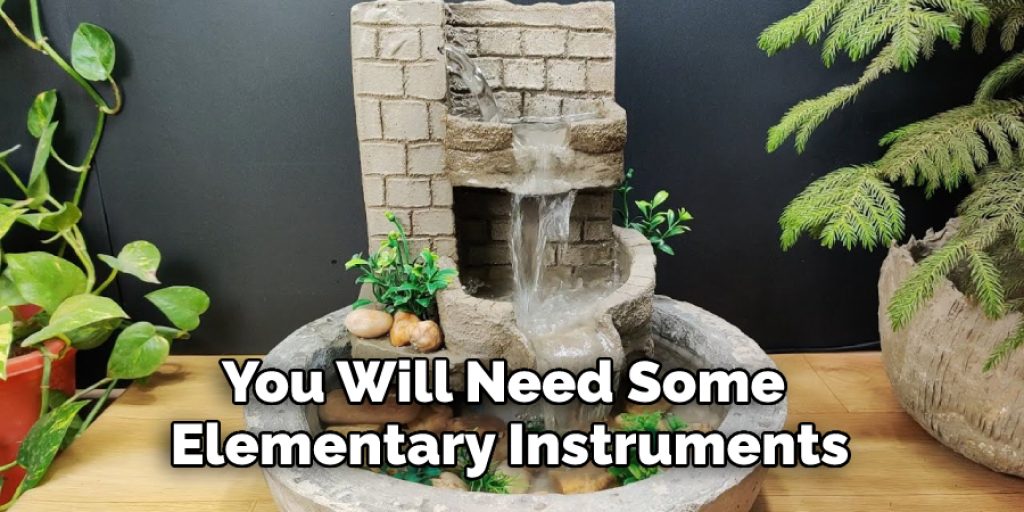
For this method, you will need some elementary instruments. At first, you will need a glass place or a plastic plate. This will be sued as the base to hold the waterfall. Then you will need some cardboard. There is no regulation about the cardboard color because, eventually, you will apply paint on it. Then you will need some foil paper, and some felt. These are much necessary for making the mountain. You will also need a glue gun, some liquid adhesive, and acrylic colors.

• Step Two
In order to make a cardboard mountain, you will need to gather some supplies including cardboard, a glue gun, foil paper, and felt. First, you will need to bend the cardboard in two halves to create a card-like shape. Then, you will use the glue gun to attach the cardboard to the glass base. Next, you will need to create small stone shapes out of the foil paper. These will be used as the stones for the mountain. Finally, you can use some felt to provide a glossy look to the hill.
• Step Three
Now you have to use some white glue and attach the foil paper balls to the cardboard. There is no need to give a proper circular shape to the foil paper. It is better to provide irregular shapes. Then you have to apply some with glue on the foil balls’ surface and then use the felt on it. The felt can easily stick to the foil paper, and then you have to apply color to the whole project. We prefer acrylic paint for coloring purposes, and you can easily simulate any mountain color for this.
• Step Four

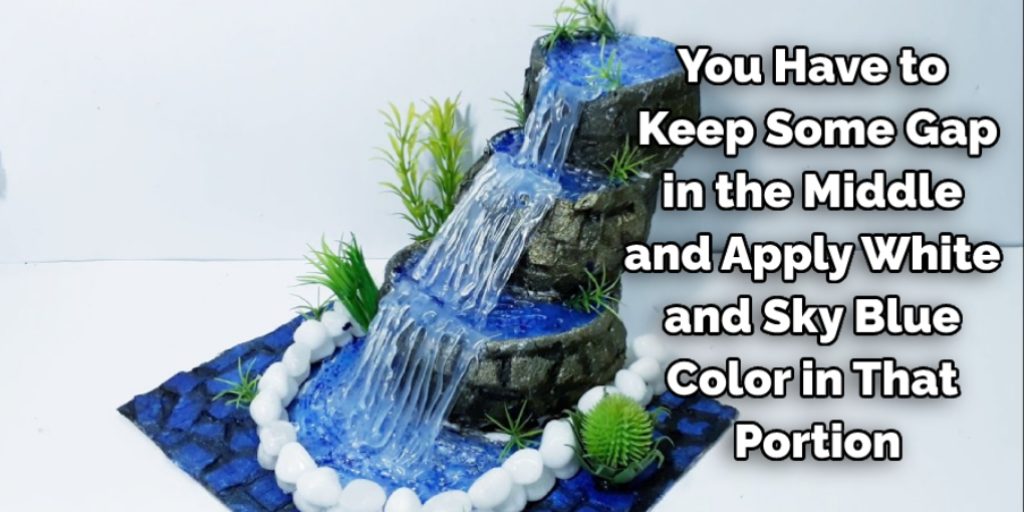
While coloring the mountain, you have to keep some gap in the middle and apply white and sky blue color in that portion. Now you have to use a hot glue gun and spread it through the middle of the mountain. Once the glue is dried, it will look like water falling from the top of the hill. Now take the wooden sticks and glue them to the back of the mountain. Once the glue is dried, your artwork is ready to be displayed.
Conclusion
In conclusion, we are grateful to our readers. We hope that the process we have mentioned will help make the school project easy. The DIY enthusiast can easily make this waterfall, and it will also enhance their skills. Thank you for your time. Have a nice day!
You may read also –


