How to Make a Window Sill
Windows are an important part of any home. They allow us to enjoy the sunlight, fresh air, and beautiful views outside. But did you know that you can improve your windows even more by adding window sills? Not only do window sills provide a place to put plants and decorations, but they also protect the window from moisture and water damage.
And best of all, making your own window sill is an easy and rewarding DIY project. In this post, we’ll guide you through the steps on how to make a window sill. So keep reading to learn more!
Can You Make a Window Sill?
If you’ve ever wondered if you can make your own window sill, the answer is a resounding yes! Not only is it a fun DIY project, but it can also save you money in the long run. All you need are some basic tools like a saw, sandpaper, and a drill, as well as some wood or other material of your choice.
Once you measure and cut the material to fit your window, you can sand it smoothly and add any finishing touches, like a coat of paint or varnish. Not only will you have a beautiful and functional window sill, but you’ll also have the satisfaction of knowing that you made it yourself.
Why Should You Make a Window Sill?
A window sill may seem like a small addition to a home, but it can add plenty of benefits. For starters, it can provide a place to put decorative objects or plants, adding a pop of color and life to any room. Additionally, it can serve as a functional space for holding drinks or snacks, making it perfect for entertaining or relaxing with a book.
Window sills can also help with insulation, blocking out unnecessary drafts and saving money on energy bills. Finally, making a window sill can be a fun DIY project, allowing you to personalize it to your own style and preferences. With all of these benefits, it’s clear to see why making a window sill is worth considering.
7 Steps to Follow on How to Make a Window Sill
Step 1: Measure Your Window Space and Gather Materials
Before you start making your window sill, you need to measure the length and width of the space where the sill will attach. You will also need to gather materials such as wooden boards, wood glue, nails, and sandpaper. Make sure to choose boards that are thick enough to support the weight of plants or other items you plan to put on the sill.

Step 2: Cut the Boards to Size
Use a saw to cut the boards to the correct length for your window. Then, cut the boards to the desired width of your window sill. Remember to add a few extra inches to the length and width in case of mistakes or adjustments.
Step 3: Sand the edges
Use sandpaper to smooth the edges of the boards. This will prevent splinters and make the window sill look more polished. You can also use a router to create rounded edges for an even more finished look.
Step 4: Glue and nail the boards together
Apply wood glue to the edges of the boards and place them together. Use nails to reinforce the joint and hold the boards in place. Allow the glue to dry completely before moving on to the next step.
Step 5: Apply finish to the window sill
Now it’s time to add a finish to your window sill. You can use paint, stain, or varnish to give the window sill the look you want. Apply the finish to the entire window sill using a brush or rag. Allow the finish to dry completely before installing the window sill.
Step 6: Attach the window sill to the wall
Mark the spots where you want to attach your new window sill. Drill small holes in the wall and insert screw anchors if needed. Secure the window sill into place with screws or nails.
Step 7: Enjoy your new window sill
Congratulations! You have successfully made a window sill. Now you can enjoy the fruits of your labor and use them to decorate your window sill with plants, pictures, or whatever else you choose. Have fun!

5 Considerations Things When You Need to Make a Window Sill
1. The Material
The material is one of the most important considerations when choosing a window sill. Window sills are typically made from wood, stone, or concrete. Each material has its own advantages and disadvantages that should be considered before making a decision.
2. The Size
Another important consideration is the size of the window sill. Window sills come in a variety of sizes, so it is important to choose one that will fit the window properly. If the sill is too small, it may not provide adequate support for the window. If the sill is too large, it may block out too much light or make the window look out of proportion.
3. The Color
The color of the window sill is also an important consideration. Window sills are available in a wide range of colors, so choosing one that will complement the rest of the room is important. It is also important to consider how the color will look when exposed to sunlight, as some colors may fade over time.
4. The Texture
Window sills are available in a variety of textures, so it is important to choose one that will complement the rest of the room. Smooth textures are often best for rooms with modern decor, while rough textures may be more suitable for rustic or country-style rooms.
5. The Price
Finally, it is important to consider the price when choosing a window sill. Window sills can vary widely in price, so it is important to find one that fits within your budget. It is also important to remember that cheaper materials may not last as long as more expensive ones. With the right research and planning, you can find a window sill that will be both beautiful and durable.
Benefits of Making a Window Sill
Making a window sill can not only add a touch of elegance to your home, but it also has practical benefits. A window sill can provide additional space to display plants, photos, or decorations. It can also serve as a functional workspace for quick tasks, like repotting a houseplant or writing a note.
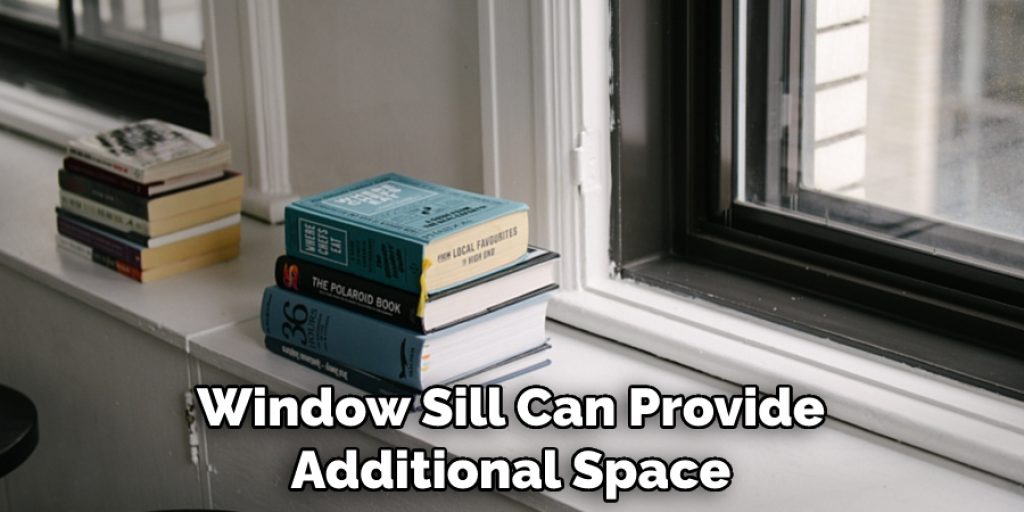
Additionally, a window sill can help insulate your home by preventing cold air from entering through the gaps around the window. Overall, making a window sill is a simple and affordable way to enhance your home’s aesthetic appeal and functionality.
3 Common Mistakes People Make When Trying to Make a Window Sill
1. Not Measuring the Window First
One of the most common mistakes people make when trying to make a window sill is not measuring the window first. This can lead to the sill being too big or too small for the window, which can be very frustrating. Be sure to measure the window before making the sill to get the perfect fit.
2. Not Using the Right Materials
Another common mistake people make is not using the right materials. For example, some people try to use wood to make a window sill when they should be using PVC or another type of material that is more resistant to moisture. Be sure to use the right materials for your project so that it turns out correctly.
3. Not Asking for Help
Finally, another mistake people make is not asking for help when they need it. If you are having trouble with your project, don’t hesitate to ask for help from a friend or family member who may have more experience. Asking for help is better than struggling on your own and making mistakes that could have been avoided.
Can I Paint My Window Sill After Installation?
The window sill is an essential part of your home’s windows. It adds beauty, strength and helps improve the overall appearance of your home’s aesthetics. Installing window sills require professional expertise and precious time. But after installation, you might want to make some changes to complement your home’s interior décor.
A popular question that arises after the installation of window sills is, “Can I paint my window sill?” The simple answer is, “Yes, you can.” However, you need to ensure you choose the right paint and primers to avoid damaging your window sill. Fortunately, painting your window sill is an easy DIY project that will go a long way in refurbishing your home’s appearance.
Conclusion
Making your own window sill is a simple and rewarding DIY project that can add beauty and functionality to your home. By following these steps, you can create a custom window sill that fits perfectly in your window space and protects your window from damage. Give it a try and see how a small addition like a window sill can make a big difference in the look and feel of your home. Thanks for reading our post about how to make a window sill.
Angela Ervin
Angela is the executive editor of DIY quickly. She began her career as an interior designer before applying her strategic and creative passion to lifestyle and home. She has close to 15 years of experience in creative writing and online content strategy for housekeeping, home decorations as well as other niche efforts. She loves her job and has the privilege of working with an extraordinary team. She lives with her husband, two sons, and daughter in Petersburg. When she's not busy working she spent time with her family.