
How to Make Art Books
Are you an artist who likes to keep a physical record of your work? Or maybe you’re just starting out and want to create some simple art books as portfolio pieces. Whatever your reasons, this guide will teach you how to make art books that look great and last for years.
Making an art book is a great way to showcase your artwork in a professional and unique format. First, we’ll go over the basics of bookbinding, then show you step-by-step how to put together your own art book. You can create a beautiful book that will show off your artwork to its best advantage by following these steps. So get ready to learn about the creative process and hone your craft!
Five Easy Methods on How to Make Art Books
Method 1: Stacked Book Sculpture
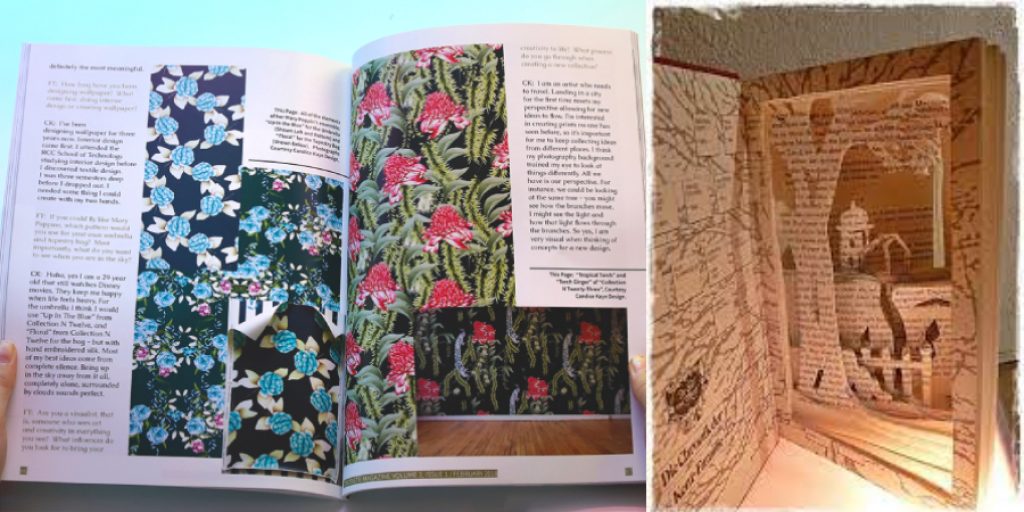
First, take a book with blank pages and remove the covers. If the pages are too thin, stack two or more blank books together and cut them down to one large book of thicker paper. Next, get an image that fits the dimensions of your stack of papers. Trace around the edge of your image using a pencil and cut out your picture with sharp scissors.
Then, take a piece of duct tape and trace a circle on it, about 1/2 an inch from the edge. Stick the picture to the duct tape and cut it down to size. After that, get another piece of duct tape larger than your picture and trace a large circle around the edges of your paper. Add one more strip from top to bottom and fold up the extra tape so that it sticks to the picture. Next, you will need a glue stick and some sort of weight, such as a book or a brick.
Lay your paper out in the newspaper with the image facing up. Use the sponge part of your glue stick to apply glue evenly all over the backside of your picture. Then lay down another piece of newspaper and apply a weight to the top. Allow your paper to dry for an hour or two, then carefully take it out from under all of the weights and cut off any excess edges that have stuck up due to glue.
Method 2: Spiral Bound Book
For this method, you will need paper that is made for crafts or art projects. You can buy it at any store that sells school supplies. First, take your piece of paper and measure the length of where you want your book to be by measuring across both sides. Then, fold the paper in half vertically (along the longer side) and horizontally (across the short side). Finally, draw a line along where you have just folded your paper.
Next, cut out your spiral binding strip from whatever kind of paper you are using. Put down some newspaper on your workspace and use spray adhesive to glue down one end of the ribbon onto the closed side of your book. Then slowly unroll the rest of the strip across to the other side of your book. You can use an X-Acto knife or a box cutter to slice off any excess length that hangs over the edge.
Next, turn your book so that it is wide open and attach another strip of tape across both sides where you have just made your fold lines. After that, fold up the cover and start adding your pages. To do this, you will need to measure out how long each page needs to be by measuring from where the book’s spine starts down to the bottom of your spiral binding strip.
Method 3: Book Painting
First, shake some Modge Podge on your newspaper and spread it around until there are no large visible streaks. Then put your book down on top of the glue mixture. If you are using an old book, it is okay if the glue seeps through to the other side. Next, turn the open book over and use your paintbrush to smooth out any bubbles on the surface of your page until there is no dry glue visible.
After that dries (this will only take a few minutes), go back with another layer of Modge Podge, ensuring that it completely covers your page. Then wait for this layer to dry and add a third layer on the second one. Once the last layer dries, you can paint your book with any color paint or decorate it with paper cutouts.
After your book is finished drying, you need to attach your pages the same way you would for spiral binding, but you will also need to attach your cover material. If any edges are sticking up because of the book’s design, cut them off with scissors so they don’t stick out when you attach your cover. If you want to add pockets or flaps on your inside, use double-sided tape on the edges of your pockets and fold them over. Then attach your cover layer with tape.
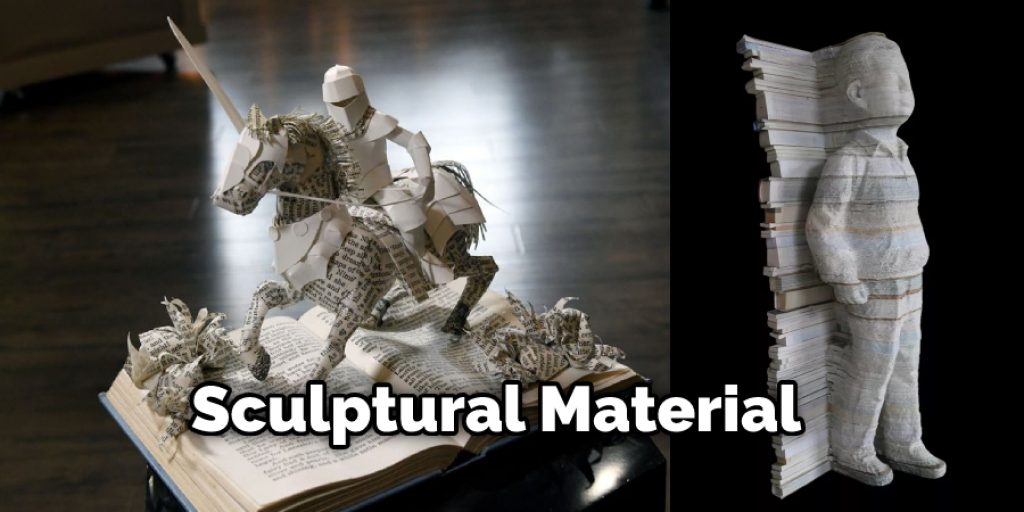
Method 4: Papier-Mache Book Sculpture
First, tear your newspaper into larger pieces that you can easily work with. Then grab some paper and start wadding it up; the tighter the better. You can either make two big balls or tear it into strips and wind them together.
Next, dip the paper in water until it has turned completely wet. Then lay your ball of paper onto your newspaper and start wrapping it around until you have completely covered your entry material with several layers. Make sure that the texture is not too loose or too tight but is something in between. The more layers you have, the harder your book will bend later on.
After that has dried, apply another layer of the same type of paper to cover up any spots where there may not be as much coverage from the first go around. Then wait for this coat to dry and repeat the entire process until you have a minimum of three layers on top of your sculptural material.
Method 5: Book Folding Sculpture
First, take a sheet of paper and fold it in half to make a basic rectangular shape. Then grab the top corner and fold it all the way across to the opposite side. Repeat this step for both sides of the book to have a basic triangle shape. Then fold it in half again along its longest edge.
Repeat folding until your paper is only one sheet thick. If you would like, you can continue to make it thinner using the same method or stop at any point that you feel is right based on how full you would like your book to look. Then, take a pencil and redraw your fold lines on the inside of your folded paper so that you can cut through both layers at once.
Next, use scissors to cut along the line you drew all the way across until you have completely cut out each page in one piece. Now you can decorate your folding book with paint or paper cutouts if you would like. When you are finished, recreate your cuts on the inside of each page and separate them from one another.
You Can Check It Out to: Make Your Art Look Soft
Some Tips and Suggestions
Here are some tips and suggestions on how to make art books.
1. Make sure you have enough time to finish your book.
2. Use the correct materials such as paper, tape, etc.
3. Pay attention to alignment and order in which pages are pasted so certain elements do not overlap each other when it is closed.
4. If you want a textured cover with exposed staples, use a staple gun. Please don’t use a hole puncher to damage your pages because of the pressure needed to make the holes in your book.
5. When you are ready to add images or text, measure it out first so there is enough room for the ink not to spread onto other parts of your book because this might make a white spot in your design.
6. If you add a pencil sketch over the top of the ink part, make sure it’s not too heavy because this might cause a hard spot on your paper that will crack and not look nice when you turn the page.
7. When you want to paint or write with watercolors, do it first before adding text or images because these activities might run on your paper and ruin anything you have previously worked hard at.
You Can Check It Out to: Do an Art Trade
Conclusion
In closing, make sure you consider all of the benefits and drawbacks of each option before deciding on a process. You will need to know how much time your finished product will take and what supplies are required for that particular method. The most important thing, though, is having fun!
We hope this article has given you some insight into how to make art books. If you want to learn more, we recommend reading up on the subject and looking at examples of other artists’ work to get a better idea of what kind of book suits your needs best. There is no wrong way or right way to create an art book; all that matters is that you enjoy making them!
Elizabeth Davis
Elizabeth is a creative writer and digital editor based in the United States. She has a passion for the arts and crafts, which she developed from a young age. Elizabeth has always loved experimenting with new mediums and sharing her work with others. When she started blogging, she knew that DIYquickly would be the perfect platform to share her tutorials and tips. She's been writing for the blog from the beginning, and her readers love her helpful advice and easy-to-follow instructions. When she's not writing or editing, Elizabeth enjoys spending time with her family and friends.


