
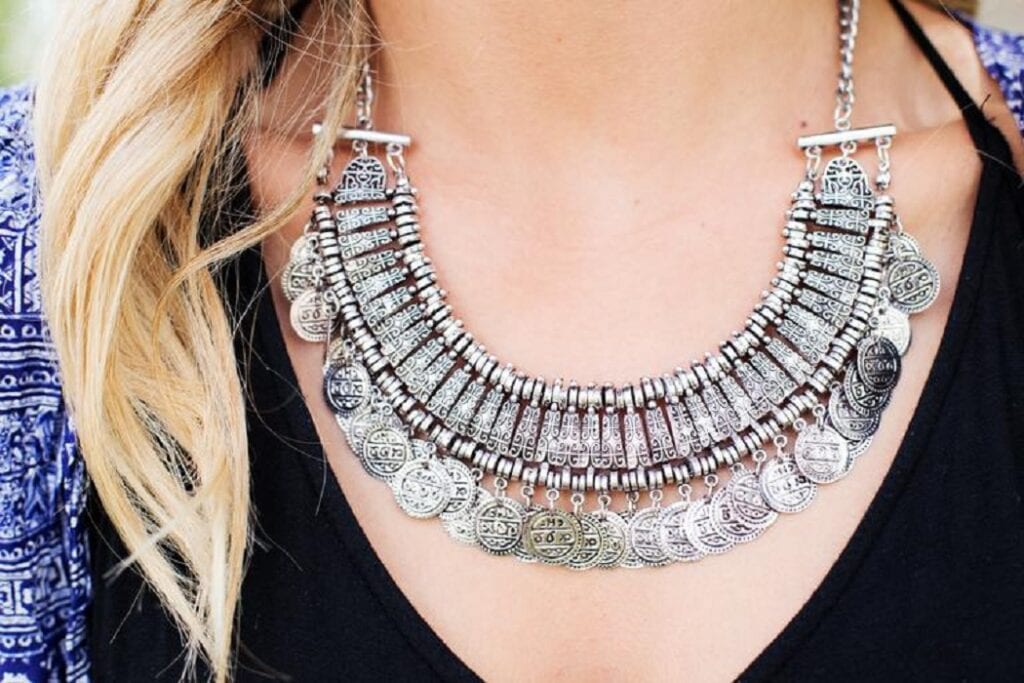
How to Make Hippie Jewelry at Home
There are many reasons why you should make your own hippie jewelry at home, the main one being that it’s cheaper. And because it’s cheap to make and easy enough for anyone to do, there is no reason not to try out this DIY project. Follow the step-by-step process in this guide on how to make hippie jewelry at home using just a few simple supplies. First, gather all the materials you will need to make your own hippie jewelry. The most important thing you will need is a large roll of craft wire in any color that you want. You can find this at any local craft store.
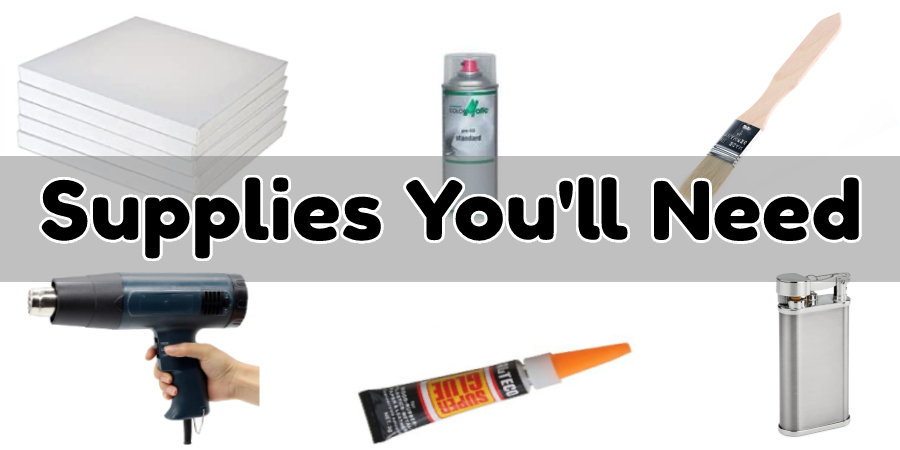
Supplies You’ll Need
- A small canvas
- Acrylic paint in your desired color
- Brush or sponge to apply the paint
- Wire cutters and pliers String or cord for making necklaces or bracelets.
- Jewelry findings (beads, clasps, hooks)
- Hairdryer or heat gun
- Lighter
- Super Glue
Instructions To Follow
Step One
aint the canvas in your desired color and allow it to dry. You can actually paint a number of canvases at once if you want to create different colors for necklaces or bracelets that will match various outfits. Allow each layer of acrylic to completely dry before adding another coat so as not to mix the two together and spoil your palette.
Step Two
Cut the length of your desired string or cord. You can make the necklace or bracelet as long or short as you like, but keep in mind that it should be just tight enough to stay on without falling off and no tighter than necessary. Tie the end of the string or cord around the top of the locket. It is best to use a double knot, so the locket doesn’t come off easily. It is also best to tie the knot on the inside of the locket where it won’t be seen.
Step Three
Using pliers with wire cutters on each end of the tool, cut through one of the strands forming loops at both ends so there are two different lengths sticking out from either side (you may need someone else to help). If using string instead, tie knots approximately five inches apart up near where you plan to start weaving them together. Make sure that there are an even number of loops on each side (by cutting one more strand or tying another knot).
Step Four
Now, take your hairdryer and a heat gun (optional) and blow hot air onto one loop until it’s completely dry. This will help to shrink the loop and make it tighter.
Step Five
Now take your other loop and use a lighter to burn the ends of it until they are charred (be careful not to allow any strands from either side to get into contact with each other, or else you will lose that strand) and then gently place that end of the loop into the water. If you want to be extra careful, you can try holding the end in with a set of tweezers or chopsticks.
Step Six
When both loops have cooled down, gently twist them together so there is one long continuous cord. This should now be strong enough for you to weave through itself in order to form knots/braids on top, which can be secured using super glue as well if desired. Keep weaving back and forth, repeating steps five & six until all sections are woven tightly together and sealed off onto themselves.
You’re done! You just made hippie jewelry at home! If Steps Two through Six are what make up all of the steps necessary for making hippie jewelry at home using this simple project idea. Choose one stepper item you need (necklace, bracelet) when following these instructions.
Check it out to learn to make glass jewelry at home.
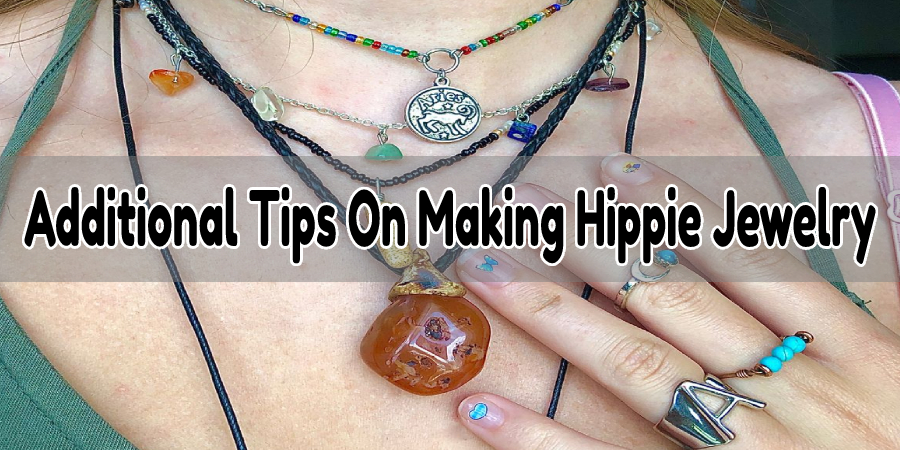
Additional Tips on Making Hippie Jewelry
- Find a song that inspires you and put it on repeat while making your hippie jewelry to get into the right mood.
- Use natural materials in colors that are appropriate for your space, like wood, clay, or feathers.
- Have fun with embellishments by adding buttons, ribbons, and tassels! You can also use your creativity to make your own embellishments
- Use a variety of materials like beads and charms on bracelets, necklaces, or anklets.
- Embellish clothing with jewelry using safety pins. Safety pins are a quick way to add color and personality without making holes in clothes.
Frequently Asked Question
What is a DIY hippie necklace made of?
A DIY hippie necklace is made of beads, a clasp, and string. The beads part (the strand), which goes on first; then comes the clasps with strings attached; finally, there’s a loop attachment where all these strands are threaded through before they’re knotted together on one side of this piece. When assembling these pieces, remember not to pull them too tightly, or they won’t be able to move freely.
Expert Tip: Keep in mind that the string should be long enough to go around your neck twice and tie a knot at the top.
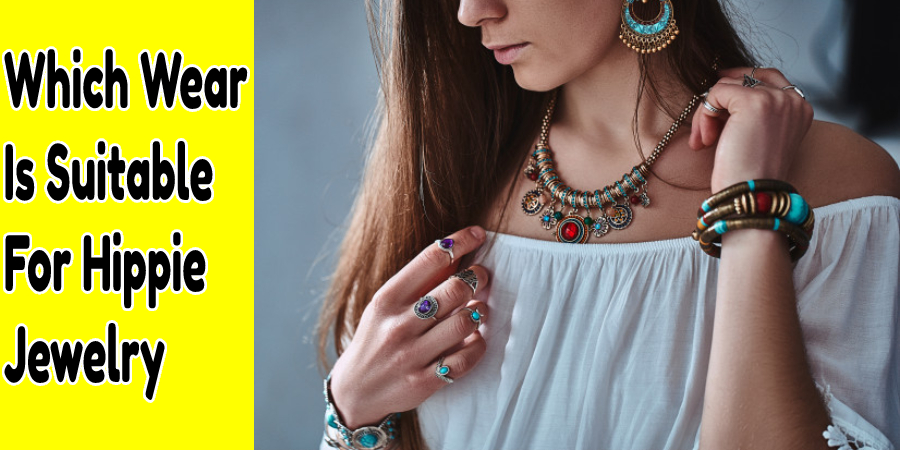
Which Wear Is Suitable for Hippie Jewelry?
You can wear your new hippie necklace with a dress, jeans, and t-shirt combo or even just on its own as it’s so versatile! It will definitely show that playful side of you while still being easy to put together when in a rush for the day ahead.
Where can I find all the supplies?
If you are looking for where to find the supplies that you need, you can find them in your home, or you can make a quick trip to the craft store. I recommend looking through your jewelry box first before making a trip out because it’s possible that you already have some supplies at home!
Any recommendations for people who are beginners with creating hippie jewelry?
If you are a beginner, then I recommend using the simplest and most versatile materials first, such as beads. Once you learn to assemble these simple pieces together in different ways, it is easy to move onto more complex projects that utilize wire or chains. You can always ask for help from an experienced jewelry maker if needed!
Is it Easy to Make Hippie Jewelry at Home?
Yes, it is easy to make hippie jewelry at home! If you’re a beginner, then you can follow this guide to learn how to make hippie jewelry at home. We have covered all the step-by-step instructions with photos to make it easier for you. So you can make your own jewelry at home with the old supply you have.
Conclusion
If you’re interested in how to make hippie jewelry at home, we first recommend materials such as beads and chains. The next step is to create a design for the necklace and decide on which colors or textures you want to use.
Finally, once all of these steps are completed, it’s time to enjoy! You’ll be able to wear your new unique piece with pride, knowing that it was handcrafted with love. Have any tips for us? Please share them below so other readers can learn from our conversation too!
Jane Hubbard
Jane has always been passionate about hair and beauty. After many years of working as a hairdresser specialist, she decided to start her own consultancy business. She is an experienced haircare and beauty consultant, and she loves helping others find the perfect look for them. She has been writing articles for DIY quickly for over 3 years. In her free time she enjoys keeping up with the latest news in the industry, practicing yoga, and spending time with her friends and family.


