
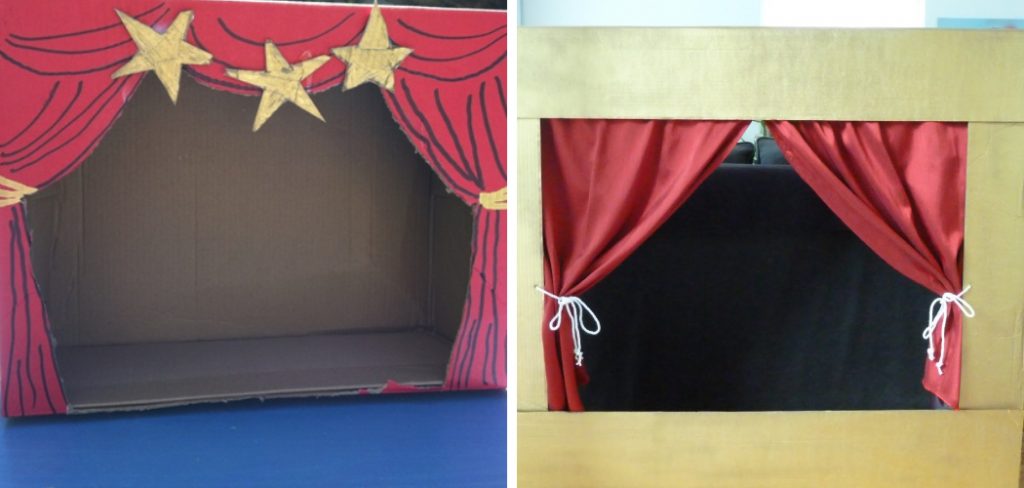
How to Make Stage Props Cardboard
So, you are doing a play and need to make a stage prop. Well, lots of different plays use different types of props and items that create the image you want to make your audience believe. Yeah, you can buy those items from your nearest craft stores, but honestly, that will be a bit costly. In fact, most of the time, the ready-made items fail to deliver the look we want to express. That’s why I recommend making our own props for getting the precision. Don’t worry; it’s not that hard. I am here to make your play on budget and by showing you how to make stage props cardboard with some simplest techniques. So, forget what you have seen before and let your money rest in your pocket.
Things You Will Need For This Project
- Pencil
- Transparency sheets
- Duct tape
- Printer
- Transmissive overhead projector
- Acrylic paint
- Utility knife
- Artist’s paintbrush
You Can Check It Out to Make a Book Rack With Cardboard
How to Make Stage Props Cardboard
Cardboard provides a wonderful way to express our creativity. So, making the props with cardboard is definitely going to be the best idea. To ensure everything is going well before the play, preparing the cardboard props a few days earlier is always better. However, follow the steps below to make your props alive.
Step 1
First, you need to choose the props you want to make for your play. You can search online for inspiration and find what objects you need to make. Once you have an idea of what you want, you can use photos to draw up the layouts of your props. If you’ve already figured out the layouts, grab a pencil and start drawing!
On the other hand, you can use your print out the layout on a transparency sheet by using your printer. It will help you to draw out the layouts easily and effortlessly. If you still feel any complications, you can use the grid technique to draw the images.
Step 2
Mount the cardboard piece on the wall. For this, you can use your duct tape or the pins for a secured attachment. Once it is done, place the transparency sheet on the overhead of your projector. It will shine the image on the cardboard and help you acquire an accurate measurement. So, if you have that, go ahead and start drawing the interior lines according to the image.
Step 3
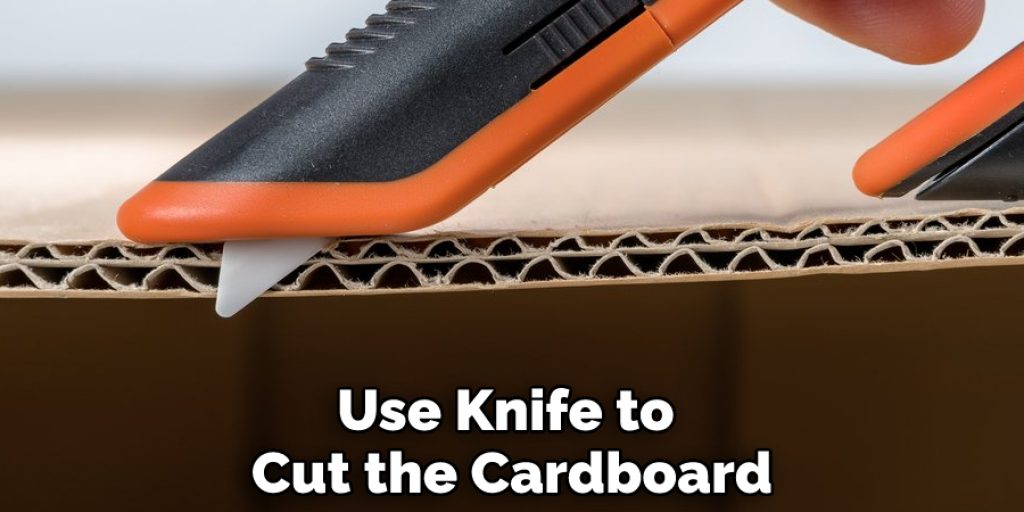
Next, remove the cardboard from the wall and cut the pieces along the outline. Use the utility knife to cut the cardboard slowly and evenly. This will help you to prevent sloppy and unusual cuts throughout the operation.
Step 4
Now, use different colors that will make your props livelier. So, use your acrylic paint to color up your prop. Make sure to work carefully so that the color doesn’t go outside the borders. Keep in mind that you won’t be able to remove the acrylic paint. Once you complete the coloring, your prop will be ready to rock and roll.
Cardboard Related – How to Make a Barrel Out Of Cardboard
Elizabeth Davis
Elizabeth is a creative writer and digital editor based in the United States. She has a passion for the arts and crafts, which she developed from a young age. Elizabeth has always loved experimenting with new mediums and sharing her work with others. When she started blogging, she knew that DIYquickly would be the perfect platform to share her tutorials and tips. She's been writing for the blog from the beginning, and her readers love her helpful advice and easy-to-follow instructions. When she's not writing or editing, Elizabeth enjoys spending time with her family and friends.


