
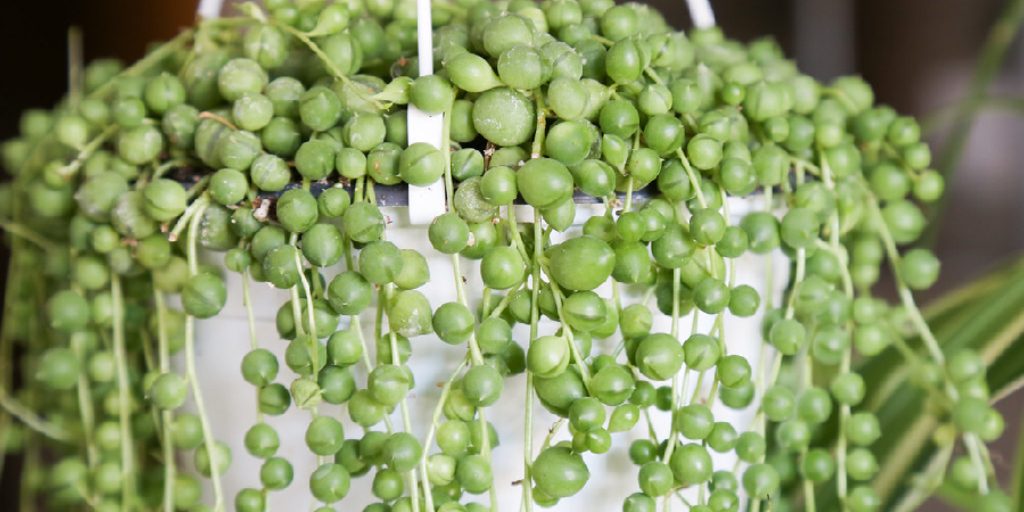
How to Make String of Pearls Fuller
A string of pearls, or rosary beads, is seen as a symbol of faith and devotion. They represent the prayer process that we go through to find peace with our maker. However, this beautiful necklace can lose its luster if it isn’t treated correctly.
One way to help your string of pearls stay together is by adding an elastic band around each bead before you string them on the string.
It will make the beads more secure and less likely to slip off one another when worn for an extended period. The String of Pearls is a classic go-to accessory that can be worn for any occasion.
However, for those looking for ways to make the string fuller, many different techniques could work depending on what you’re looking for. This blog post will cover how to make strings of pearls fuller.
10 Reasons Why You Should Make String of Pearls Fuller:
1. The string of pearls technique is a perfect way to add interest and texture to a project, using simple knit and purl stitches.
2. The string of pearls technique is also effortless to do once you get the hang of it.
3. If done in a contrasting color, the string of pearls will create an eye-catching textured pattern that can be used around borders or as part of the body of a project; on blankets and cushion covers, for example.
4. If you know how to crochet, the string of pearls technique can be combined with single crochet stitches to create a beautifully textured border for blankets and cushion covers or as part of the body of a project; on cushions, for example.
5. Depending on your yarn, a string of pearls can look very effective knitted in one color.
6. Using the string of pearls technique on the edge of a project that will be folded over will help the project fit better.
7. If you aren’t happy with your gauge, you can add a string of pearls technique to the edge of your swatch and measure it, then add or subtract stitches (at each end and in the middle) depending on what you need to do, before working the rest of the project.
8. The string of pearls technique is perfect for using up odd lengths of yarn, particularly DK.
9. It is straightforward to put a string of pearls technique into the middle of a project if you are doing Fairisle knitting or working intarsia.
10. If your pattern tells you how many stitches to cast on, work the number required in the string of pearls technique.
Step by Step Guide: How to Make String of Pearls Fuller
Here is the step-by-step guide on how to make strings of pearls fuller.
Step 1: Cut off Trailers of String
The trailers for a string of pearls come in a roll. The best length to cut off is about three to four feet. You can make more of the loops if you must cut them shorter, but keep in mind that the longer one you cut off will be sturdier. The crimping pliers used in the jewelry industry can also be a cheap tool to help you hold your string of pearls in place while you are doing the wire wrap, but not all of them come with teeth.
Step 2: Place Fork Against Your Fingertips
You may want to place the fork on your middle finger if you are using one hand. If you use two hands, put it on both of your fingers. The tines of the fork should face away from your skin and rest comfortably against your fingertips.
It is also important to know that the thumb and the index finger should be the ones supporting the handle of the fork. If the tines of the fork are pointing away from your fingers, then they are most likely too far away from your mouth.
Step 3: Curl Your Fingers Around Fork
Curl your fingers around the tines of the fork to create a loop that will be placed against your wrist. Depending on how many circles you want, you may need to adjust the tines by pushing them closer together or further apart. Hold the fork in place on your wrist. Use the other hand to bend the prongs around and through the loops, securing them into place.
Step 4: Pull Tines Apart
The loops you have created will be placed against the crook of your elbow. If you want a fuller bracelet, then gently pull the tines away from each other until it forms a complete circle around your wrist. Now, tie the ends together, creating a knot. Do this three times, once on each of the three tines. This way, your bracelet will be able to stay in place. Finally, secure the end with a small piece of string (which you can use as a clasp). Tie this and cut off any excess.
You can choose to add beads to your weaving by threading them onto the string before you start.
Step 5: Adjust Loop
The loop should not be too tight or too loose. It should fit around your wrist comfortably with some extra room for stretching. On the other hand, it’s too close, and you can make the loops smaller to accommodate a looser fit.
Conversely, if the curls are loose and hang off your bracelet, you need to make them bigger.
Step 6: Coil String of Pearls Around Your Wrist
Begin coiling the string of pearls around your wrist. You can begin by going down your arm or up your arm to make the loops closer together. The tighter you coil, the more it will bunch up towards your elbow.
Coil it tightly for a choker that will sit above your elbow or loosely for a bracelet close to your wrist.
Step 7: Finished Product
Note the fullness of this string of pearls around my wrist. Depending on how you want your bracelet to fit, you can add or remove loops to make it tighter or looser.
Some people like to wear them lower near their hand instead of higher up near their elbow, so be sure to vary the number of loops you use.
Step 8: Secure Loops
Make sure that there is enough slack in the string of pearls to create loops and still have a long enough tail at the end. If you cut off too much, tie your bracelet up with a tight knot until you can cut some more length off.
A good rule of thumb is to have 10 feet of the string with about five inches left over.
Step 9: Tie Bracelet Off with Clasp
At this stage, you can choose to knot the string of pearls or tie it up with a clasp for a more finished look. If you do not want to put any effort into your bracelet, then knot it up into a bracelet without tying it off.
Tie the string of pearls with an overhand knot by looping one end around another. Pull tight and clip off any excess tail with scissors or cutters.
Step 10: Finished Product
Here is another finished bracelet with a clasp. This one uses more pearls to achieve the same fullness as the string of pearls without the clutch. Again, you can play around with what works best for you! These are fun to make and even more fun to wear. Happy Crafting!
Well, that’s a wrap! I hope you have enjoyed the Pearls-A-Fooling jewelry projects as much as I have. But no fear, this book has many more ideas for all of you who love making jewelry. I hope you will pick up your own copy and try your hand at some of these fun projects!
Tips to Make String of Pearls Fuller Attractive:
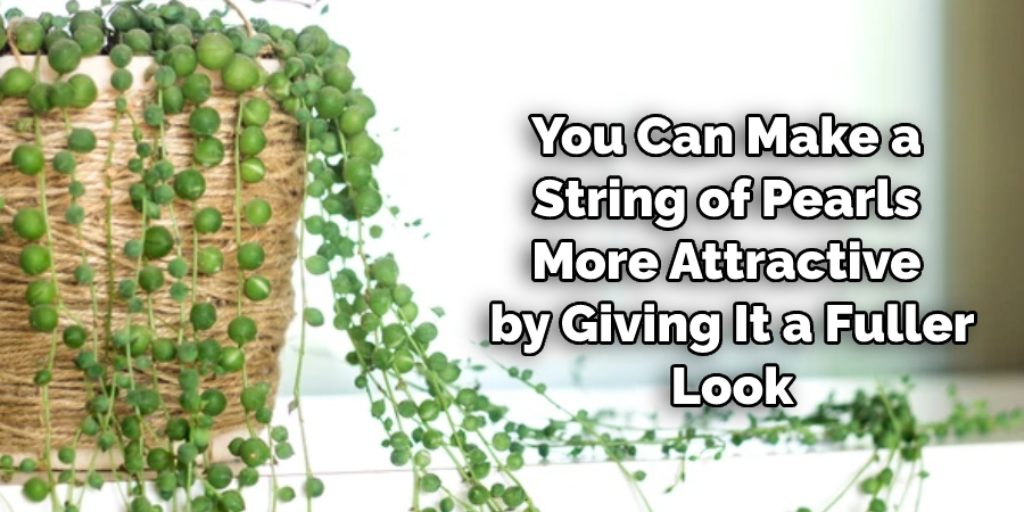
You can make a string of pearls more attractive by giving it a fuller look. Here are some simple tricks that you could follow to achieve this goal:
1. Pearl Size Matters:
This tip is quite self-explanatory but very important. First, try using the right size of pearl beads for your design or project. If you use too tiny dots, the strand will look flimsy; otherwise, if you use too big beads, they will also make your design look vulgar.
2. The Right Number of Strands:
Another critical aspect of making your pearl string look fuller is using the correct number of strands. For example, if you make a multi-strand necklace, it would not look good if you use only two or three strands; instead, you need to use four or five strands, for that matter. This way, it will not only make it more appealing and elegant, but also you will find it easier to handle.
3. Use Rods:
You can increase the volume of your strand by using pearl rods with them. If the beads on a single strand are sitting close together, add a rod in between so that they get separated from each other and appear far apart. That gives the strand a bigger appearance and will look more impressive.
4. Use Bigger Beads:
This tip is again based on the same principle of using larger pearls so that they appear far apart and give your project a fuller look. However, even if you use the same size of pearls, try to use strands with bigger beads because smaller ones appear crowded when placed together. Here, we used the same size pearls (15mm) but with two different beads to give the project a full look.
5. Separate Strands:
One way to make your string of pearls look fuller is to separate the strands with tassels, bugles, or crystals. This will give them a different design and make them more reachable and noticeable.
If you follow these simple tips, it will be easier for you to create a fuller-looking strand of pearls.
Conclusion:
The string of pearls is a traditional and elegant accessory that can be worn with anything. Finding the correct length for your necklace can be challenging, but there are some tips on how you might make it fuller by tying knots in the chain or adding new charms from other necklaces.
The string of pearls necklace is a timeless accessory that should be worn with anything to show your elegance. Stringing these beautiful beads together can become complicated, but it doesn’t have to be! You need the right tools and materials for this DIY jewelry project.
With our help in making the string of pearls fuller, making your string of pearls will be simple as pie!


