How to Make Witch Shoes Out of Duct Tape
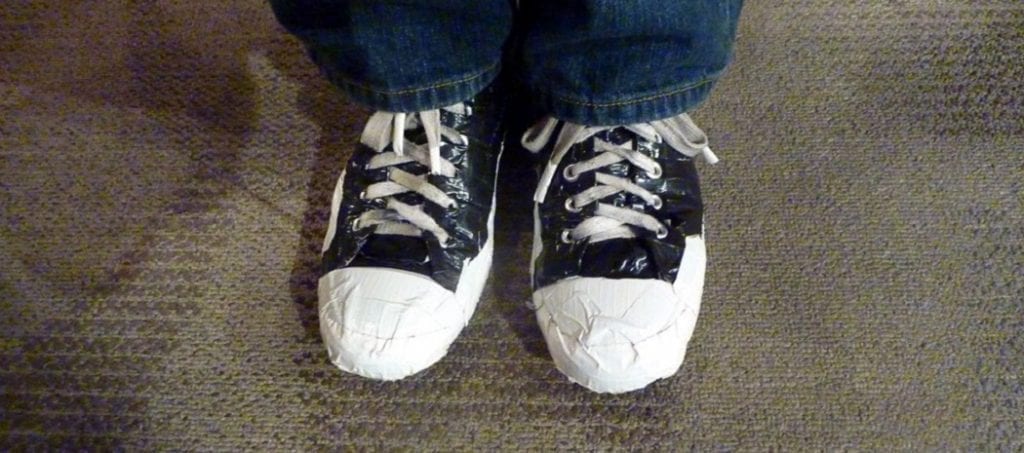
Wearing fancy dresses is a tradition for Halloween functions, and every year people spend a lot of money on buying them. Starting from the dresses to the shoes, all are to be matched appropriately with the ambiance. In this case, wearing witch shoes allows the person to get a proper Halloween vibe. For this reason, today, we will intercut you to the technique on how to make witch shoes out of duct tape. This will be essential for the people because, unlike the costumes, it is quite challenging to get the hand of such shoes.

Summary: Witch shoes are a fun and easy way to spooky up your Halloween costume this year! All you need is some duct tape and some imagination. First, cut a strip of duct tape about 2-3 inches wide. Then, make a design on the strip of duct tape. Be creative! You could use different colors, patterns, or designs. Once you have your design, stick the duct tape to the bottom of one shoe. Make sure the duct tape is sticking well to the shoe. Now, do the same thing to the other shoe. You’re done! Your witch shoes are ready to go!
Requirements
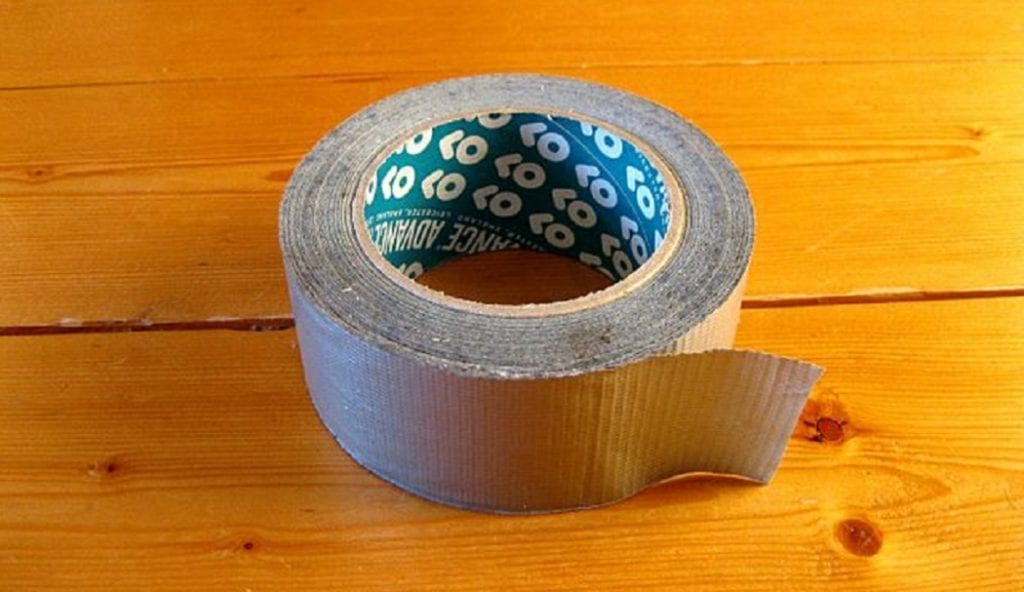
For this process, you will need quite a few things, and these include an old pair of shoes that you do not use often, then you will need newspapers which will act as the main base of the witch shoes. You will require duct tape or masking tape. Then you will need to form a mache using water and flour. This will act as the adhesive, and lastly, you will require a scissor to cut all the papers. You can use colors to paint and decorate the shoe.
Procedure
First, take an old pair of shoes and remove all the designs from the pump. You will detach all the glitters and the additional parts like bows and other decorations from the shoe to give it a clean look. Next, clean the shoe with a soft cloth, this will let the debris fall off, and thus the adhesive will work properly. Now take a piece of newspaper and make the pointy end of the front.
You can check it out to Make Shoes Smaller Without Insoles

For this, you have to wrap the paper in front of the shoe and take the measurement, and then you have to cut that part of the paper and then wrap the paper around the front of the shoe. Apply some tapes to attach them and then again make a swirling pint at the top end. There will be vacant spots between the shoe and the front end, and there you have to put tissue papers. This will make the front part firm. Then you will bind them with tape.
In order to make a papier-mâché shoe, you will need to cover the entire shoe in flour paste and then attach strips of newspaper all around it. Once the shoe is completely covered, you will need to let it dry. You can speed up the process by using an air drier. Once the shoe is dry, you will need to use tape to attach it all around the shoe. The mâché and the tape will act as an excellent adhesive and will also make the shoe more sturdy. Finally, you will need to use paint to give your shoe an exact look.
Conclusion
Lastly, we hope that the technique that we have mentioned has been much helpful for you to make your DIY witch shoes for Halloween. This will be much efficient, and for the occasional use, this is the exact solution. The process will enhance the maker’s skills, and thus the user will be more inclined to learn these things. Happy crafting! Have a beautiful day!!
You may read also –


