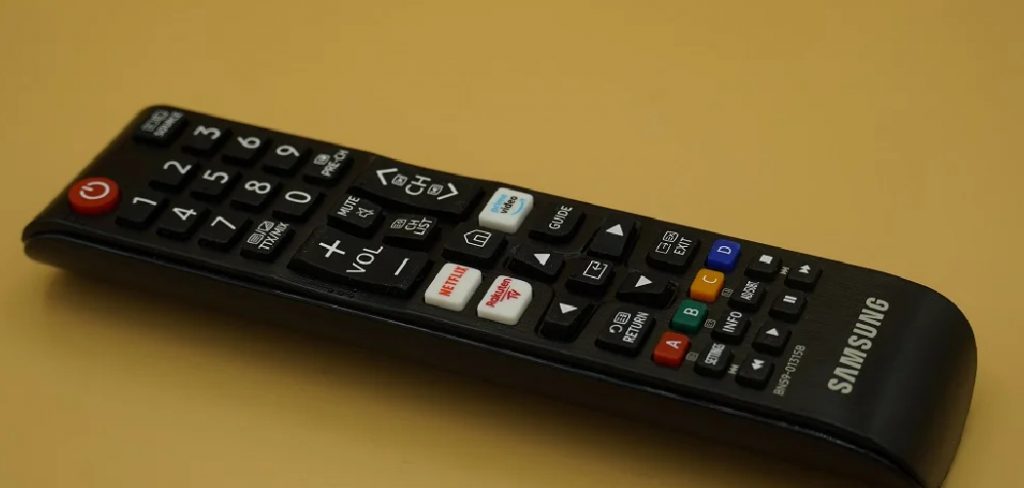
How to Open Samsung Remote
Have you ever found yourself in a situation where your Samsung remote isn’t working properly? If so, chances are that you can repair it by learning how to open the remote and troubleshoot any problems. Thankfully, this is a relatively easy process that doesn’t require too much technical knowledge!
In this blog post, we’ll be discussing some of the basic steps involved in opening up a Samsung remote so that you can diagnose whatever issue is occurring. By following this guide on how to open samsung remote and using just a few simple tools, such as a screwdriver or tweezers, you will be able to ensure your Samsung remote is functioning properly again in no time!
Things to Consider Before Opening Samsung Remote
Before you begin opening your Samsung remote, there are a few important things to consider first. Firstly, make sure that it is the correct model for your device. Some remotes may look similar on the outside but have different internal components and wiring, which could cause further damage or render your remote useless if opened incorrectly.
Secondly, be aware that many Samsung remotes contain small parts or components that could be damaged during the opening process. If this happens, it is important to note that these parts may not be available to buy from shops and so you should take care when opening your remote.
Finally, if possible, try to open your remote in a well-lit space rather than in the dark. This will help you to identify any problems quickly and easily, as well as see exactly which components need to be replaced or checked for faults.
Needed Tools
The very first step is to gather the tools you need. You’ll likely need the following:
- Phillips head screwdriver
- Tweezers or
- Small pliers and possibly a
- Flathead screwdriver
10 Instructions on How to Open Samsung Remote
Once you have considered the above points, it is time to begin opening your remote. The steps involved vary depending on the model of your remote, so if you are unsure of which method to use, it is best to follow the manufacturer’s instructions.
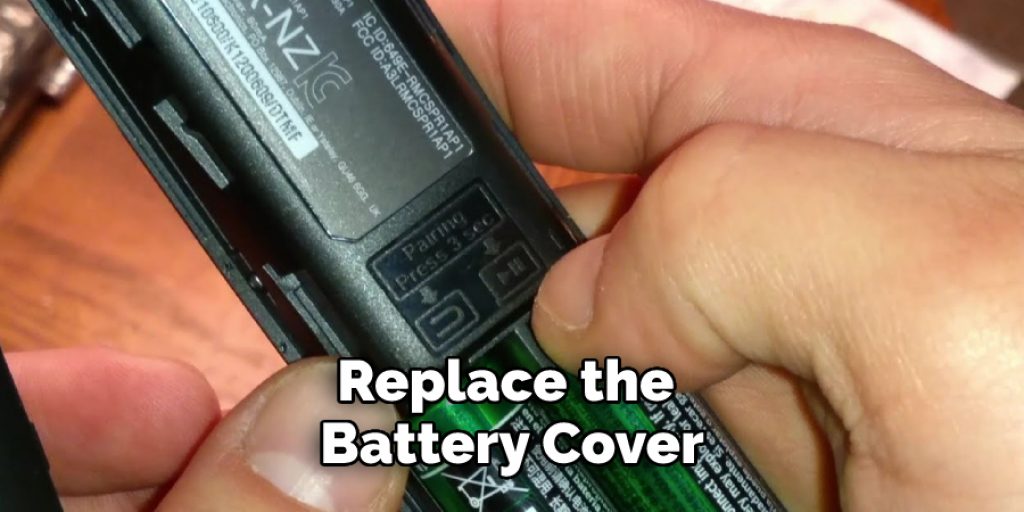
1. Remove the Battery Cover
Start by removing the battery cover from your remote. This should be easy to do, as it is usually held in place by a few small screws that can be unscrewed with a Phillips head screwdriver. Screws may also be hidden underneath the battery cover, so make sure to check for these too.
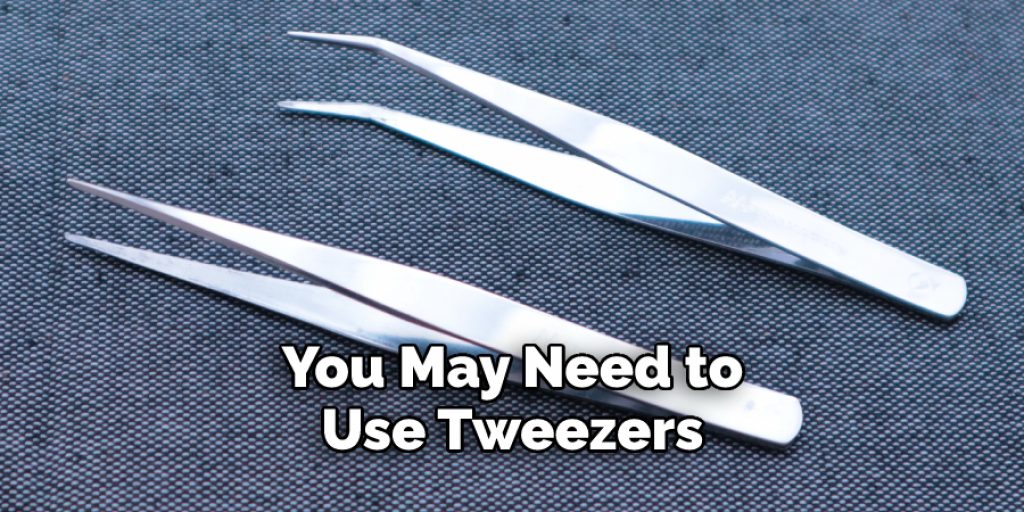
2. Use Tweezers
Once the battery cover is off, take a close look at the inside of your remote. You may need to use tweezers or small pliers to remove any screws that are holding the various components in place.
3. Remove the Screws
After you have removed all of the screws, you should be able to see the internal components clearly. Carefully disconnect any wires that may be connected to them.
4. Remove Modules
You can then start to remove any modules or components that are attached, such as circuit boards, capacitors, and other electronic parts. Be sure not to damage these components when removing them from the remote.
5. Access the Case
Once all of the components have been removed, you will be able to access the case of your remote. Again, use a Phillips head screwdriver to unscrew the screws that are holding this in place and then carefully remove it from the remote itself.
6. Replace the Damaged Parts
You should now be able to see inside your Samsung remote’s case, which will give you a better view of the wiring and internal components. If there are any damaged parts or wires, these can be replaced with new ones.
7. Identify Problems
At this point, you should be able to identify any problems with your remote’s circuitry. For instance, if the problem lies in a broken wire or circuit board, you will be able to spot it straight away.
8. Reassemble
Once any problems have been identified and fixed, it is time to reassemble the remote. Start by placing the new or repaired components back in place and then reconnecting any wires that may need to be attached.
9. Place the Case Back
After everything has been put back together, you can then place the case back on and use the screws to secure it. The screwdriver will be needed once more for this step.
10. Replace the Battery
The very last step is to replace the battery cover, which can be done by reversing the process you used in the first step.
And that’s it! You should now have a fully functional Samsung remote that is ready for use. Hopefully, this guide has been helpful, and you now understand how to open Samsung remote.
7 Safety Precautions
- Make sure you are in a well-lit area. Working on the remote control with inadequate lighting can put your safety at risk, especially if you’re handling small parts or sharp objects.
- Disconnect the Samsung Remote from any power sources and ensure that it is completely powered off before attempting to open it up.
- Use the right tools for the job – make sure you have the correct size screwdriver to open the remote or a small pry tool if necessary.
- Be aware of any electric shocks from static electricity that could damage your remote control. Ground yourself by touching an earthed object, such as a radiator or cold water pipe, before working on it.
- Wear safety glasses and gloves when handling tiny parts. Keep a bowl or container handy to keep the screws and other pieces secure. Safety glass prevents any particles from getting into your eyes.
- Work slowly and methodically, being careful not to force the screws or pieces of plastic apart. Work in a clean, dry area and keep small objects away from pets or children.
- Take time to get familiar with the internal layout of the remote control before attempting to open it up. This will help you avoid any missteps and make sure that you reassemble everything correctly.

Follow these 7 safety precautions when opening your Samsung Remote, and you’ll be able to open it up with confidence and safety.
It’s important to take your time when working on any electronic device and make sure that you’re following the manufacturer’s instructions. With careful attention and preparation, you can have your Samsung remote up and running in no time!
Frequently Asked Questions
How to Fix Samsung Remote?
If your Samsung remote is not functioning properly, the first step is to identify what the problem could be. If you’re experiencing any technical issues that you can’t solve on your own, contact Samsung customer support for help and advice. They may be able to provide troubleshooting steps or replace your remote if necessary.
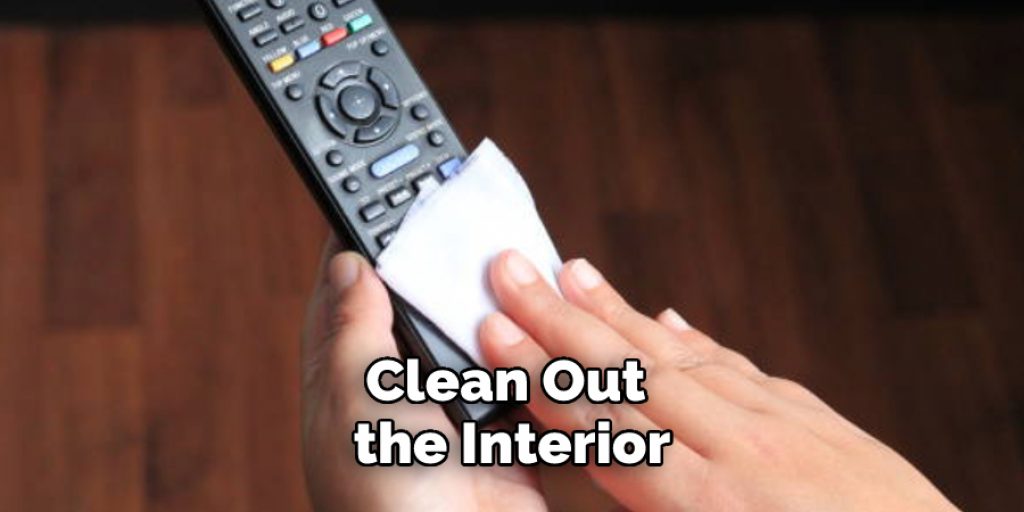
It’s also a good idea to check the user manual for your specific remote model to see if there are any known issues that can be addressed. If you’re experiencing stuck buttons, broken parts, or an unresponsive remote in general, opening up the remote and cleaning out the interior may help restore its performance. However, if you don’t feel comfortable doing this on your own, seek professional help.
Can I Replace the Batteries in My Samsung Remote?
Yes, you can replace the batteries in your Samsung remote. Make sure to use the correct size and type of battery for your model. Most remotes take either AAA or AA batteries. When replacing the batteries, ensure that you are in a well-lit area and disconnect the remote from any power sources.
Carefully remove the back cover of your remote, change out the old batteries with new ones, and reassemble the remote. It’s also important to dispose of old batteries responsibly to prevent environmental damage.
What Are Some Common Issues With Samsung Remote?
Some common issues with Samsung remotes include unresponsive buttons, disconnected pairing, or a dead battery. If your remote isn’t responding to any input or buttons are stuck, you may need to open up the remote and clean out the interior.
You can also try resetting the device by pressing down on a specific button combination. If the batteries are dead, make sure to replace them with the correct size and type for your remote. Finally, if you’re having difficulty pairing your remote to your device, check the user manual for more information or contact Samsung customer support for assistance.
Conclusion
All in all, opening the Samsung remote is easier said than done. Depending on the model you have, opening it can be daunting. But with some patience and the right tools, you can quickly open up your device and get to the bottom of any potential issues. Just remember: make sure to handle the components with care and be mindful of what kinds of lubricants or oils are used when cleaning out old dust or dirt particles.
This way, you’ll not only keep your remotes in great condition but also check if they need replacement components or resetting. Finally, take extra caution when handling these components as they are fragile and easily damaged. So make sure to follow the proper procedure on how to open samsung remote when tackling this job!