How To Paint A License Plate
Introduction
Bringing traditional, outdated, and then once used in a wholly new function and making it unique seems fantastic. In your world, DIY License Plate DIY Suggestions will help you want more recycled materials! Find out such excellent and completely innovative applications for the older stock of items—ideal for a guy’s cave or a rustic colored pick.

Decorating a number plate is not as quick as pouring color on it and watching for the paint to dry if you are in it for decoration intentions. It takes a particular technique to spray on metal since it is reasonably fast, mainly metal exposed to different atmospheric environments.
Required Materials
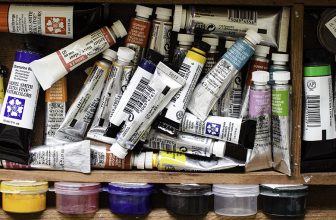
- Paint (your choice)
- Plate (of your choice to paint)
- Pliers or screwdriver if you need to remove the registration sticker on the plate.
- Rags and paper towels for cleanup, safety gear such as a mask or gloves, newspaper strips for creating stencils, and rattle cans of spray paint if desired.
Processes on How To Paint A License Plate:
Process One:
- Purchase a license plate from your local DMV.
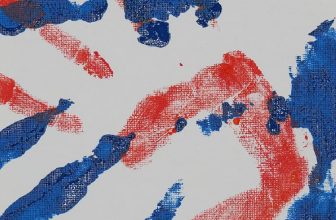
- Coat both sides of the surface evenly with paint. Add extra coats until you’ve used up some or most of the paint, if necessary. This will create a better look than just one coat would.
- Let dry for about 20 minutes per side (or more) before touching again. The drying time may vary depending on what kind and how much type of paint you use, as well as temperature and humidity levels in your area at the time, but let’s say approximately 20 minutes is good enough right now to get started with painting plates by hand without worrying too much about not knowing many details yet.
- Once dry, it should be pretty much ready to use. Now that you know how to paint a license plate by hand make some cool-looking plates for your next project!
Process Two:
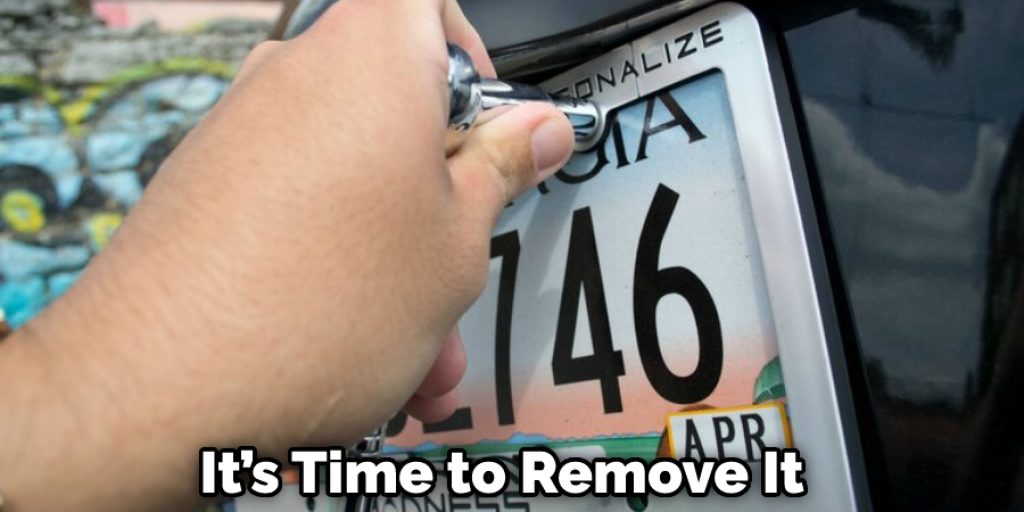
When the license plate displays scratches, stains, or corrosion indications, it’s time to remove it and offer it a fresh coat of paint. And instead of going for a package to get it finished somewhere, you could color a number plate in your workshop with the appropriate equipment. Instructions:
Phase 1: Keep a vent shield and safety hand gloves on. Clear from the plate any residual ink, or use several fresh towels, several clumps of steel wool, and a color stripper.
Phase 2: Put an adhesive primer layer on the plate number, accessible at a particular car shop. Effectively make to dry.
Phase 3: To add a dense topcoat of your selection’s epoxy polish, add a giant, gentle, bristled paintbrush. Leave to dry.
Phase 4: Put a thin, gentle brush into a different epoxy color scheme. Quite slowly, graze the bushes on the number plate from over elevated figures, taking good care not to have any splashes or stains on the base layer. To have the high sides of the digits, use the edge of the brush and the top of the damp sponge to have the system names at the upper of the number plate. Leave to dry.
Spray a layer of acrylic or metallic paint to cover and polish all over the plate.
Precautions
- Wear protective eyewear and gloves as you paint.
- Wash your hands often to keep the paint from drying on them.
- Paint in a well-ventilated area or outside if possible, such as under an open garage door with fans running so that fumes don’t build up while painting. Fumes can cause headaches and nausea when inhaled over long periods, so it’s important to take breaks during the process and not work too much at one time.

Cover all furniture surfaces before starting painting for protection against drips and splatters – this includes things like televisions, tables, couches, plants, etc.
Prepping the area before you start painting will make your life much easier. Give the surface a good wash with a degreaser like TSP or trisodium phosphate, give it a light sanding, and use an acid-based primer if necessary.
Which Color Will be Best for Painting The License Plate?
It is important to choose the right color for your license plate. Using too light or dark colors will make it difficult to read. Some people might also think you’re trying to hide something. If you want, you can contact a car painter to have them paint over your old license plates with new ones if they aren’t readable anymore and replace them with different numbers.
Final Thoughts
I hope this article has illustrated the process of painting a license plate. It can be difficult to paint these plates because they’re small, but you will get it right after several tries and patience!
Even if your first attempt doesn’t work out as planned, don’t give up – keep practicing! The more practice you have with smaller details like these, the better prepared you’ll be for bigger craft projects in the future. Happy crafting!
You May Also Read – How to Paint Flat Over Semi Gloss without Sanding
Elizabeth Davis
Elizabeth is a creative writer and digital editor based in the United States. She has a passion for the arts and crafts, which she developed from a young age. Elizabeth has always loved experimenting with new mediums and sharing her work with others. When she started blogging, she knew that DIYquickly would be the perfect platform to share her tutorials and tips. She's been writing for the blog from the beginning, and her readers love her helpful advice and easy-to-follow instructions. When she's not writing or editing, Elizabeth enjoys spending time with her family and friends.