
How to Paint Cardboard Without Warping
Introduction
Cardboard is a very versatile material that can be used in many different ways. It’s also inexpensive and easy to find. But before you head off to the store to stock up on boxes of it, there are a few things you should know about painting cardboard first. Paint tends to warp cardboard when applied too heavily or without proper preparation.
That means that if you’re going for anything other than an all-white paint job, then your surface needs some prep work before any paint goes down. The good news is that there are many solutions–some better than others–that will help prevent warping from happening again! In this article, I will discuss how to paint cardboard without warping.
What is Cardboard Warping?
The common problem of cardboard pieces warping into irregular shapes after the painting is caused by moisture and heat from a dryer or temperature differences between different parts of the cardboard. To paint cardboard without warping, we should first understand why it happens and take steps to prevent it.
One prevalent example that could happen in any painter’s life is painting your miniatures in a room with an air-conditioner (or heater) and then moving them to another place, which might be really hot (or cold). It will cause moisture and heat differences between the two locations, causing different rates of expansion/contraction inside your miniature boxes! This problem has been there for as long as I can remember lurking in painting communities.
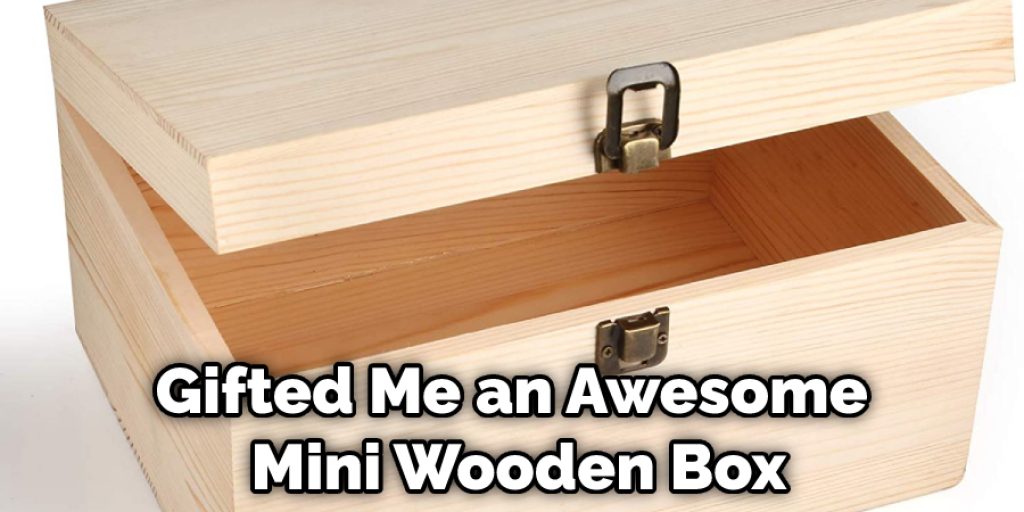
I initially had a lot of problems with it, until one day, my miniature painting buddy gifted me an awesome mini wooden box! It turns out that wood is pretty good at keeping temperature and moisture level stable, thus reducing the risk of warping tremendously!
Why Are Heftier Boxes Better?
The important thing here is not whether your boxes are larger or smaller. You can even use things like cake boxes to store your miniatures in as long as they’re properly wrapped up (covered by bubble wrap will do). What’s more important is how ‘hefty’ the boxes/wrapping paper is.
Cardboard is actually made mostly from wood fiber which makes it relatively porous. This quality allows cardboard to be light and fluffy. In turn, this means that cardboard doesn’t really hold its shape. After you’ve removed what’s inside, it will take on a new form.
This is the reason why we wrap card boxes in plastic wrap and tape everything up so well. This ‘sealing’ process allows us to keep the form/shape of our box intact – since plastic does not absorb moisture easily (and won’t ripple from held water). However, air can still pass through it, which is another factor to consider when choosing your wrapping material!
Step-wise Guide on How to Paint Cardboard Without Warping
Prepare the Tools:
Tools that you will need to paint cardboard without warping are few. Paintbrush, roller, masking tape, or some other material for covering your work surface. It would help if you also had a container filled with water and drying cloths to wipe off extra paint.
Step 1: Cover Your Work Surface:
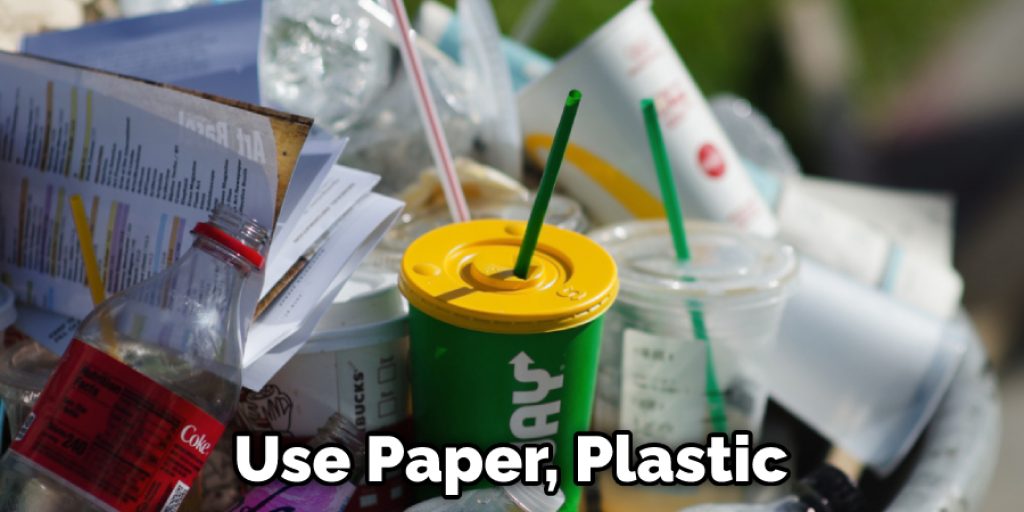
You can use any material such as paper, plastic, or cardboard to cover your work surface. Please spread it out on the table before you start working on a project. If available, place an object over the paper like the book so that the sheet does not fly away while painting. As you continue painting over it, keep doing that until your cardboard doesn’t move at all. Remember to use a water-resistant material for this purpose.
Step 2: Cover Your Object With Masking Tape:
If you are working on a small object, it would be good to cover it with masking tape so that the paint doesn’t seep underneath. However, if you are painting articles like chairs or desks and are big in size, use masking tape at regular intervals. This will prevent your cardboard from absorbing lots of paint and becoming uneven when dried up.
Step 3: Paint With A Roller:
Paint your cardboard with a roller instead of using a brush. Make sure that the roller is clean before you start painting if you do not want any other color on it due to mixing up with other colors as you progress. Once done, you can then remove the masking tape to expose a clean surface.
Step 4: Use Plastic Wrap To Prevent Smudging:
If you are working on a smaller object like an ornament and realize that it is difficult to cover it with masking tape, try to put a plastic wrap over it instead. This will help prevent paint spillage by covering your work area completely.
Step 5: Allow Your Cardboard To Dry In A Safe Area:
It would be better to allow your cardboard to dry in a safe place without sunlight or air circulation when using rollers. If there is any chance of rain, then you should get them inside before they become wet as this may cause warping.
Step 6: Use A Blower To Speed Up The Drying Process:
A blower is a must-have if you want to prevent your cardboard from warping and drying up fast. By doing this, paint has time to set even if you are not painting the entire surface at once. In fact, even if it’s raining outside, using a blower will also help speed up the drying process. Some people also use hair dryers for this purpose but make sure that their tip is narrow, or you might damage your work area.
Step 7: Let It Dry Completely Before Handling It:
Once done with painting cardboard without warping, let it dry completely before handling it if you used rollers. If you are using a brush, make sure that the paint is completely set and hard before handling it, as even now, there is still a chance of smudging if you put your hands on wet paint.

Step 8: Allow Your Object To Sit In Sunlight For Drying:
If possible, allow your object to sit in sunlight for drying so that the color gets baked properly into the cardboard. This will help prevent damages from warping or buckling and obtain a nice paint finish. However, this may not always be possible, especially if you have several things to do. Thus, use these tips when painting cardboard without warping successfully.
Precautions While Performing How to Paint Cardboard Without Warping
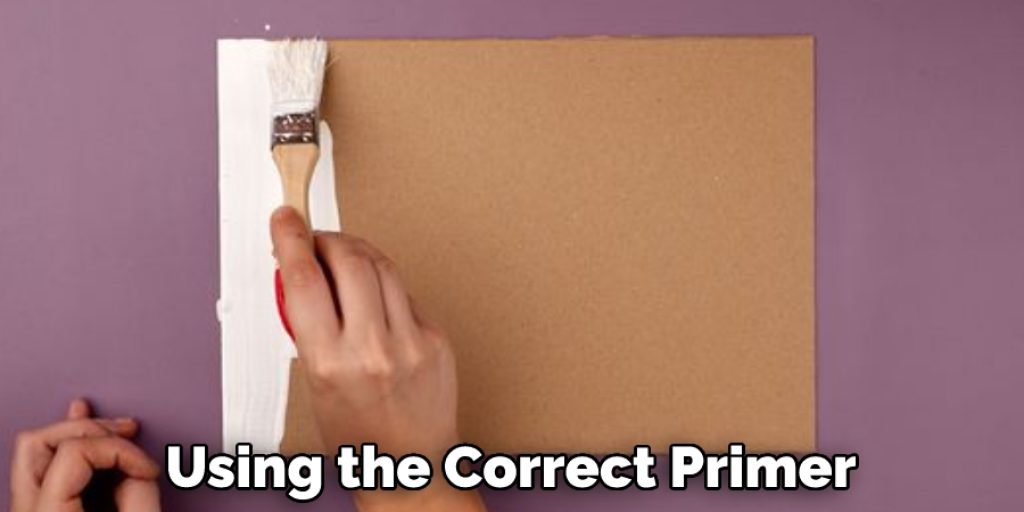
- Use the recommended color and primer from your packaging of choice. It is vital to follow instructions here as the paint can be very unforgiving when misapplied.
- Work in a well-ventilated area. Your work area should not have too much moisture or humidity in it so that you do not warp your project surface as you paint on them, especially if using an acrylic coating over cardboard (more on this later). Avoid painting in your house near areas with high moisture, such as bathrooms, etc… Remember that many paints require time to dry, so if it’s hot and humid outside, try to work inside until the paint dries completely before handling your project.
If using the recommended materials and methods, you should not get any paint on areas that are not supposed to be painted, so no need to worry about getting it on your skin or clothing. - If you have never primed or painted with a certain material before, research how this material behaves with primer and/or paint before attempting use with your chosen coating. For example, some plastics will warp when coated with paints, while others work perfectly fine (and vice versa). We recommend finding and using the correct primer for each specific type of surface you intend to coat. This is usually guaranteed to work correctly without warping much of anything if used at all.
Once you know what primer works best, move on to testing out a specific type of paint with the surface you are coating. If it is your first time using this material, we recommend testing out a small area first and waiting for it to dry before handling (usually overnight) completely. Then handle the test piece to see if any warping or stretching occurs when handled. If so, try again using different methods until you find something that works well for you.
Essential Tips to Reduce Warping in Cardboard
Avoid Humidity:
Humidity can make cardboard warp more easily. Consider using a dehumidifier if you don’t have a well-ventilated work area. It will help your painting projects dry faster and make the surface of your cardboard smoother and less likely to warp.
Selecting Cardboard:
Cardboard can be made from either recycled paper or corrugated fiberboard (a stiffer version of cardboard). Both types are easy to paint and inexpensive. Still, they require different care when spraying paint: Painted recycled paper is generally easier to handle and cut than painted fiberboard, although it is more prone to warping as it dries.
The recycled paper absorbs less moisture and tends to buckle rather than bend in humid environments. Fiberboard is more rigid and thicker than cardboard and uses a combination of glue, water, and pressure to bond the fibers together. A painted fiberboard surface remains smooth while it dries and is less likely to warp during this period.
Not Oversaturating the Paint:
One of the most common causes of warping is over-saturating the cardboard surface. A proper application will reduce this risk and allow you to use your material longer.
Studying Your Board Carefully:
Studying your board carefully before painting can also help you avoid warping. Look for any areas that may be warped, even if only slightly, and work around those areas when spraying paint or applying decoupage medium or glue. Be careful not to get any moisture in the cracks caused by warp because it could cause further damage as it dries.
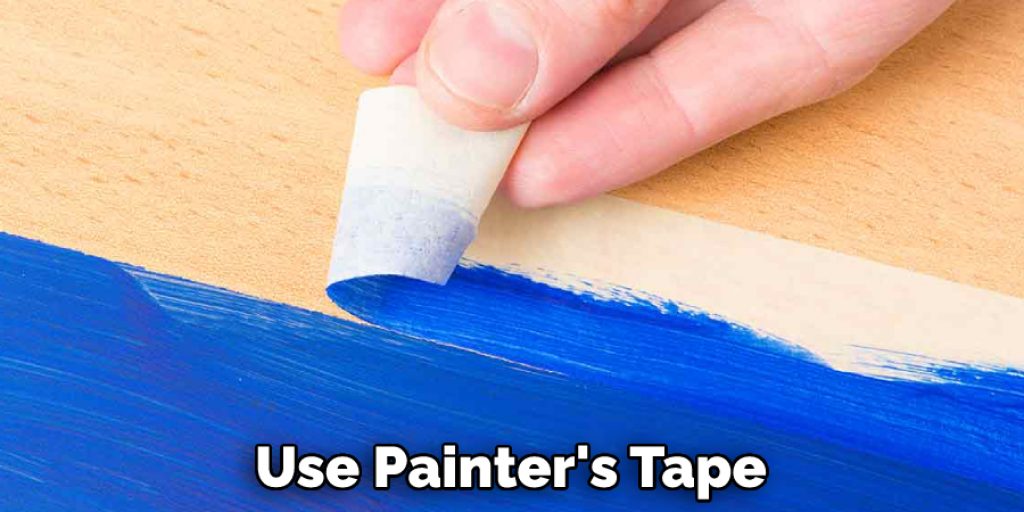
Use painter’s tape (typically blue) to mask off these areas while you spray paint or glue them down with a decoupage medium. If any moisture gets inside a crevice created by a warped piece of cardboard, it can cause an irreparable bubble or warp as the moisture evaporates.
Conclusion
I hope this article has been beneficial for learning how to paint cardboard without warping. Ensure proper safety while performing the process. Thank you, and have a nice day!
You May Like These Articles As Well – How to Paint Cardboard to Look Like Stone


