How to Put Box Braids in a Ponytail
Anyone who has ever had box braids knows that they can be a pain to style. But did you know that there’s a simple way to put them in a ponytail without completely unraveling them? This blog post will show you how to put box braids in a ponytail. So whether you’re headed to work or out for the night, these simple steps will help you look your best.
There are many different ways to style your box braids, and one of the easiest is to put them in a ponytail. First, gather all of your hair at the nape of your neck and tie it off with an elastic band. Next, take a small section of hair from the ponytail and braid it. Finally, secure the end with a rubber band. Keep reading for more tips!
How To Put Box Braids In A Ponytail: 10 Easy Steps
Step 1: Prepare Your Hair.
You will need a rat tail comb, some light moisturizer or oil that is good for your hair type, and a clear rubber band. Section off a piece of hair on the crown of your head with the rat tail comb to make a ponytail from ear to ear. Secure it with the elastic. You will be working backward from the ponytail after you braid your hair.
Step 2: Start Braiding.
To make a French braid, start by separating a small section of hair from the right side of your face. Then, fold the section of hair towards yourself and grab a small piece of hair from underneath to add to it. Repeat this process on the left side of your face. Once you have braided down to your neck, secure the braid with a clear rubber band. Finally, use a hair clip to keep the braid in place, or ask a friend to help you.
Step 3: Make Sure to Braid Loosely.
Fold the elastic band down to see your braid. If you can’t, it’s too tight. Make sure to braid loosely to have room to work with once you start adding your box braids. Add your box braids. Once you’ve added all of your box braids, take your elastic band off and tuck the tail of your braid underneath the box braids.
Step 4: Divide and Conquer.
Take a small section of hair from behind each ear and cross them over to the opposite side. They should overlap in the middle of your head. Repeat this step until you reach your nape. Secure with a clear rubber band and then divide into three sections (6 total). Start the braid by crossing the middle section over the right, then the left. Continue this pattern all the way down, adding sections from the side as you go. To add a section, pick up a piece of hair from behind one ear and cross it over to the opposite side.
Step 5: Add Your First Box Braid.
Take one section and fold it toward yourself, making sure to get equal amounts of hair. Next, grab a small piece from underneath and add it to the top. Keep everything forward until you reach the end. Secure with a clear rubber band and repeat on the opposite side of your head. French plaits are a timeless style that works on all hair types. From straight to natural, these braids look good on everyone!
Step 6: Secure Your Braid With a Clear Elastic Band.
Take two sections from behind each ear and cross them over each other in the middle of your head. Repeat this step until you reach your nape. Secure with a clear rubber band and then divide into three sections.
Step 7: Add a Box Braid to Each Side.
Take one section from behind each ear, cross them over to the opposite side, and keep everything forward along the way. Continue braiding until you reach the end and secure with a clear rubber band. Repeat on the opposite side of your head. Part your hair into three sections, and make a regular braid with the middle section of your hair. Then take the right side, and bring it over to the left side, crossing it over the center section.
Step 8: Finish Off Your Braid.
Take one last section from behind each ear, cross them over to the opposite side, and keep everything forward along the way. Continue braiding until you reach the end and secure with a clear rubber band.
Step 9: Section Off the Remaining Hair.
You should now have most of your hair in two braids, but there will still be some leftover. Take the remaining section and divide it vertically to make two small sections. Then, braid them together with a regular braid instead of four.
Step 10: Wrap Your Hair.
Take the small braid and fold it toward yourself so it’s tight against your head. Wrap rubber bands around to secure, making sure to put them at different points on the braid to get a uniform look.
Few Helpful Tips and Suggestions
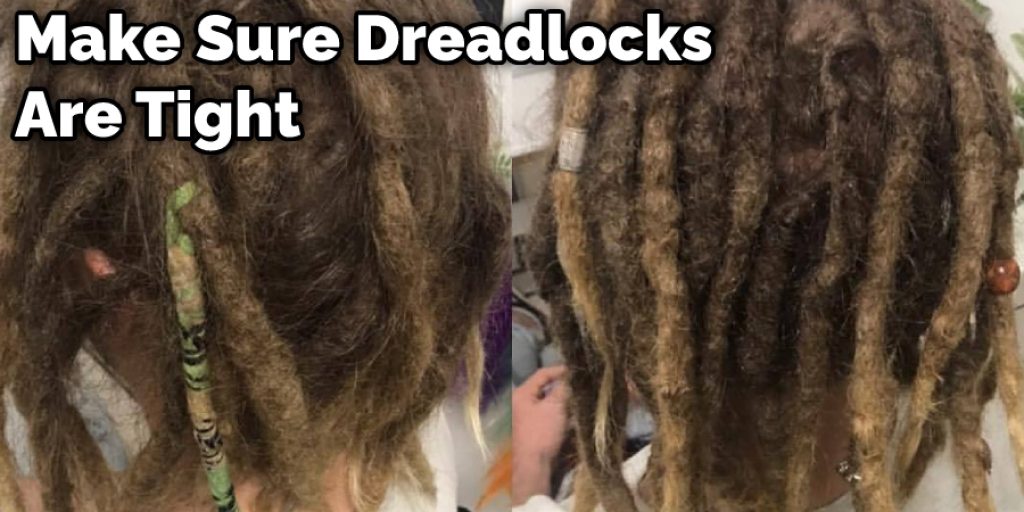
1. Try to make sure your dreadlocks are tight. It will be very difficult to put the box braids in a ponytail if they are not. The tighter the knot, the better.
2. Your natural hair should be about one inch long or just below that length so that you can take them out later without having crazy hair growing out.
3. Make sure you have your hair clean and moisturized with butter or oil. Then, do a nice twist out.
4. If you have a silk scarf, use it to cover your head while you sleep at night so that the braid pattern will show up well when you take them down.
5. You can make dreadlocks look funky or keep them simple like mine and put hair accessories like flowers, feathers, beads, etc.
6. Separate your hair into two sections so that no hair shows between the sections.
You Can Check It Out to: Put Box Braids in a Box
Final Thoughts
The following steps will guide you through how to put box braids in a ponytail. We’ve also included several helpful links and videos at the bottom of this post that provide additional tips if you’re looking for more information. Enjoy! The first step is to take your hair out of its original styles, such as cornrows or twists. Next, use rubber bands around each section until all sections are separated from one another.
This part may be difficult if your hands aren’t coordinated enough with handling small pieces like these; it might help to have someone else do it while you watch closely so that they know what they should expect when putting them back together again later on. Finally, braid each section and secure it with a rubber band. You can also use small butterfly clips to keep braids from falling out.
If you have anything to ask, feel free to comment below! We will be happy to answer any questions about our service or help guide you through how to install these styles yourself at home.
Jane Hubbard
Jane has always been passionate about hair and beauty. After many years of working as a hairdresser specialist, she decided to start her own consultancy business. She is an experienced haircare and beauty consultant, and she loves helping others find the perfect look for them. She has been writing articles for DIY quickly for over 3 years. In her free time she enjoys keeping up with the latest news in the industry, practicing yoga, and spending time with her friends and family.