How to Reinforce Backpack Straps
Backpacks are essential items for the outdoor enthusiast. It holds all the crucial items so that a camper or hiker can get all the needed things in one place. Maybe you are also one of them and love your backpack. But the problem starts when the shoulder straps rip off due to the significant amount of weight.
When you fill your backpack with all those items, it will increase the weight to the fullest. This puts the maximum amount of pressure on the straps, and that’s why the stitching lines come out, making the bag completely unusable. But before you dive deep to search for a new backpack, I have got good news for you.
In this article, I will show you how to reinforce backpack straps with some simple DIY techniques.

Obviously, you can search for a new backpack that best suits your needs and preferences. However, this situation can also occur with them eventually. If you travel frequently, then the chances of this happening are increased. So, are you going to buy a new backpack every month?
If you follow my simple techniques, you can extend the lifespan of your straps and save thousands of dollars every year. So take a couple of minutes to concentrate on the steps below and leave all your other tasks for now.
Summary: If your backpack straps are starting to feel a little loose, there’s an easy way to reinforce them! All you need is some strong glue and some sturdy fabric. Cut a piece of fabric that’s at least as long as the strap, and glue it along one end. Then, thread the strap through the fabric and tie it in a knot.
How to Reinforce Backpack Straps

Step – 1
To fix a ripped bag, the person first needs to open up the bag and undo the stitches. Then, they need to take the strap entirely out from the stitches. This will help them to get the perfect alignment.
However, once you undo the stitches, take the strap out. Now, cut the edge where the stitches had gone previously. That’s it, the strap is ready to be bolted through the hole from the inside out.
Step – 2
While reinforcing the bag, you may notice some loosen stitching lines. Pay proper attention and fix them too. Open the space a little more. As soon as you get a little more hole in it, put it on the sewing machine again and start reinforcing that place too.
In order to get the perfect finish, you may have to stitch a bit more. It depends on the type of bag and its stitching process.
Step – 3
After you finish sewing the bag, you need to cut off any extra thread. Then, you sew the seams closed. This will make the bag stronger. Finally, you sew a few extra stitches to keep the seams in place.
Step – 4

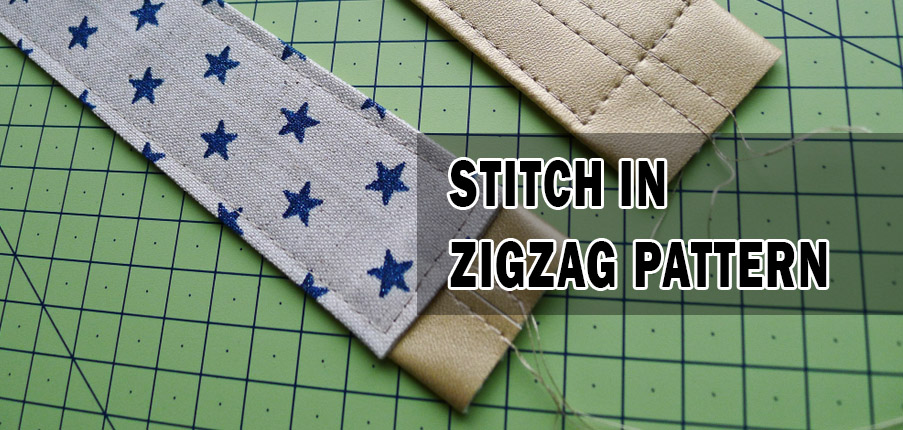
If the straps of your bag are ripping off from the bottom point, or you want to reinforce them from there, you will need to stitch them up in a zigzag pattern. It is because the zigzag pattern stays longer than the regular one, and the bag manufacturer follows that pattern at the bottom portion. If you look closely, you will notice that too. So, follow the previous process.
At first, undo the stitches. Then take out the strap and cut the previous end. After doing that, you have to place it on your sewing machine and sew it up. Just make sure to switch the setting to the zigzag mode. The rest is the same. That’s it; isn’t it easy?
Conclusion
Hopefully, the above process is going to help you a lot, and you won’t have to ask anyone how to reinforce backpack straps again. If you are still confused and then don’t hesitate to let me know through the comment section.
You May Read Also. How to Decorate Your Backpack


