How to Remove Bathroom Light Cover
If you’ve found that your bathroom light cover is broken, it may be time to replace it. Replacing a bathroom light cover can seem like a difficult task at first glance; but, the process of replacing one is fairly straightforward. Luckily for you, we’ve put together this easy step-by-step guide to walk you through the process of how to remove bathroom light cover!
Bathroom light covers are an important part of any functional restroom. They keep the room lit up while also preventing anyone from seeing in from outside. But when these fixtures break or stop working correctly, they become more than just an eyesore; they pose safety hazards as well! So if you notice that your bathroom light has stopped working, don’t wait; it’s time to replace the cover!

Tools & Supplies Needed:
- Screwdriver (either flathead or Phillips)
- Pliers
- Flashlight
- New light cover (if the old one is broken or damaged)
- Bucket or Step Stool
- Wrench or Crescent Wrench
- Masking Tape & Marker
Step by Step Guide: How to Remove Bathroom Light Cover
Step 1: Preparing the Room
Before you get started with actually removing your bathroom light cover, take a few minutes to prepare the room for your DIY project. This should be something that should be done either way; this will help you out even more afterward. First, make sure the area is well lit. If you are working in a poorly lit room or cannot turn any additional lights on, it may be best for you to wait until another time when it’s brighter.
Step 2: Make Sure There are No Small Children Around
It is best to keep small children away from the bathroom while working, so that nothing happens to anyone. Not only can they be injured, but their curious nature will surely get them into trouble if they aren’t supervised closely.
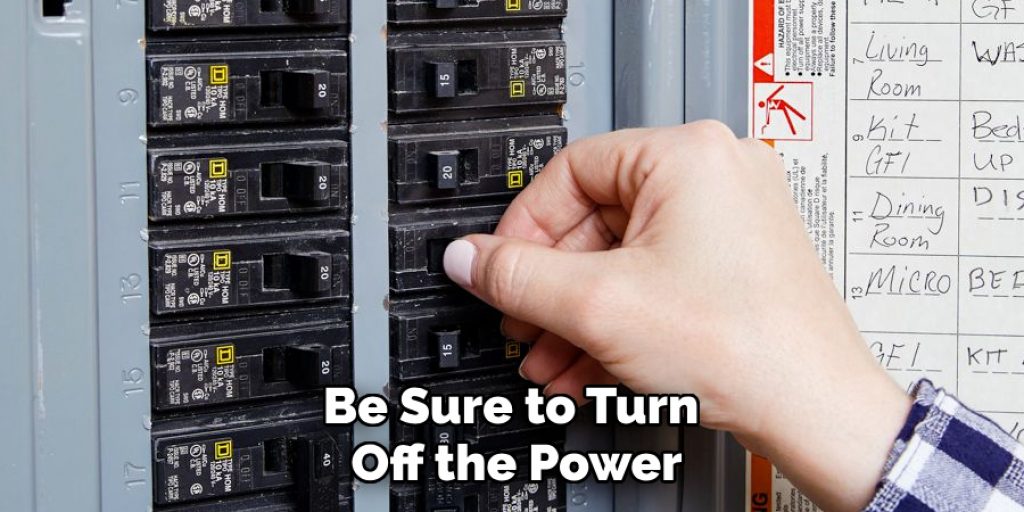
Step 3: Turn off the Power
Before removing the light cover, be sure to turn off the power to it. You can usually find a nearby switch or breaker to do the trick. This will prevent any injuries if you accidentally touch the live wire while working on your project.
Step 4: Remove Light Fixture
Now it’s time to remove the actual light fixture itself. There should be a few screws holding it in place and clamps that will need to be removed before you can fully take your cover down. But, again, make sure not to lose any of these components, as they may be needed later for installation!
Step 5: Prepare for New Light
To install your new light cover, first remove the broken one by peeling it off the wall and disposing of it properly. Make sure there is no residue or dirt left behind from the old fixture. You may need to scrub a bit before the new light sticks.
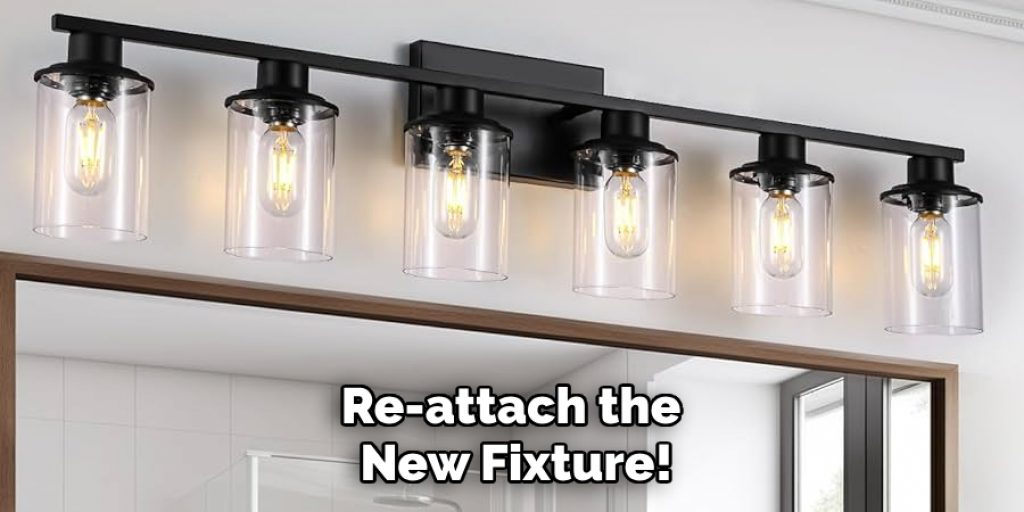
Step 6: Re-attach New Light Cover
Now that your wall is prepared correctly, it’s time to reattach the new fixture! Slide it back into place where the old one was and screw or clamp it back down again. Just like that, you have successfully removed your bathroom light cover!
You Can Check It Out to Remove a Bathroom Mirror With Clips
Step 7: Turn on Power and Test it Out!
Finally, turn the power back on and make sure that your replacement light cover is working properly. If everything did not go as planned, you might have to try to get it right a few times! However, if all seems well, then you can consider this project to be finished and congratulate yourself on a job well done! When to Call a Professional
You Can Check It Out to Prevent Bathroom Light Fixtures From Rusting
Tips to Maintain Your Bathroom Light Cover:
1. Buy a new light cover as soon as you start to notice it looking old. Don’t wait till it falls apart or is too difficult to clean anymore. It might be expensive, but it will save money in the long run because you won’t have to deal with a dirty and damaged bathroom light cover.
2. Replace your light cover every six months to keep it looking new. This will ensure that it doesn’t get dirty, moldy, or rusty.
3. Check your light fixture daily for any leaks, rust spots, or corrosion on the metal parts inside the bathroom. If you find any damage, replace all of it immediately because if left there long enough, it will lead to a problem with your light cover.
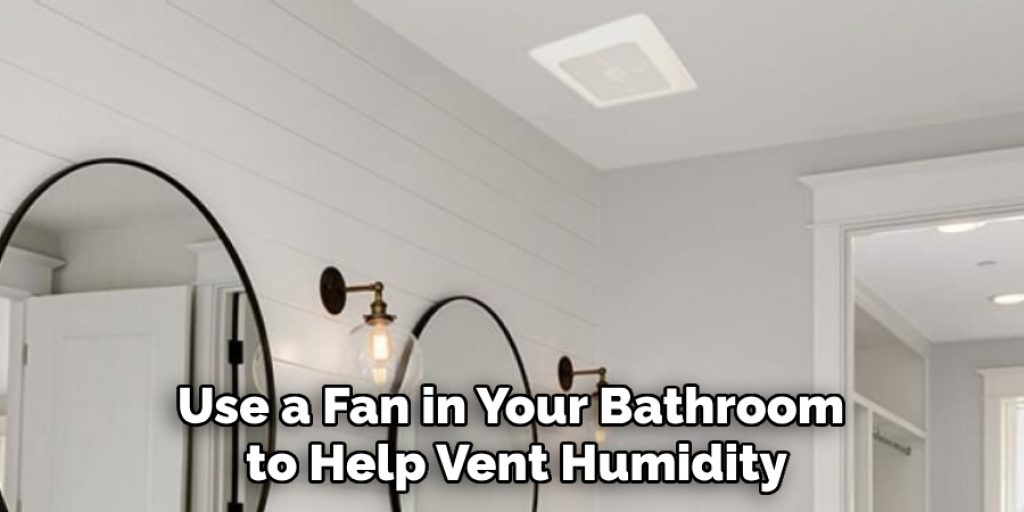
4. Use a fan in your bathroom to help vent humidity and moisture from the room. This helps prevent mold and mildew from growing on the metal parts of the light fixtures.
5. Only clean as much as you need to on your light covers! If you clean them constantly, it will eventually damage the porcelain and metal parts of the fixture. Also, the dirtier it gets, the less often you need to clean it, so don’t overdo it!
6. If your light covers are made out of ceramic or plastic, use a damp cloth instead of any harsh chemicals or cleaners because this could destroy your light covers.
7. If you have a really dirty bathroom light cover, use clean water and mild soap to remove the grime from it. Never submerge your ceramic or plastic light covers in water because they could get damaged!
Safety Measures and Precautions:
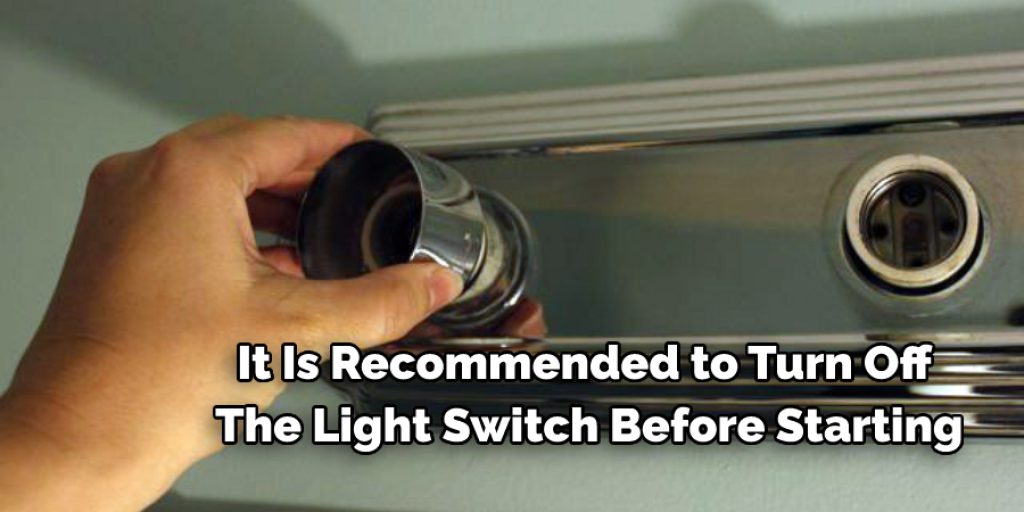
1. It is recommended to turn off the light switch before starting.
2. Remove any personal items such as towels and rugs from around the fixture to avoid damage.
3. Be sure to wear rubber gloves and eye protection as the glass is sharp and can break easily.
4. If the fixture has a light bulb, make sure to remove it before starting any work (if you haven’t already).
5. Have a container ready to support the glass cover when it falls.
6. Have a backup light bulb available in case there isn’t one already.
7. Ensure that pets and children are out of the way, as they could be injured otherwise.
8. If your bathroom door has a lock, this is an added safety measure to ensure that no one enters the room.
9. When removing the glass, be sure to wear gloves and eye protection and work in a well-ventilated area.
10. Ensure that the glass is supported throughout the entire event to avoid breaking and injuring you or a loved one.
Can You Remove Light Fixture Cover Without Screws?
Light fixture covers (or light shades) are usually removable with minimal effort. You don’t need to take the screws out; you need to twist and slide it off. The trick is knowing which method works for your specific situation.
Sometimes, even if you cannot unscrew the entire cover, you can (carefully) remove the screws holding it in place and take the cover off that way. For example, if the cover has a lip around the edge that is meant to sit flush with the ceiling, you may be able to push down on it and delete it.
However, if your fixture hangs straight down (i.e., this isn’t an enclosed light that needs its cover), then just twisting it counter-clockwise (to the left) will remove it. If you can’t twist and slide, try twisting and pushing up.
Or, put your fingers on opposite sides of where you’re trying to remove it from, grip firmly with one hand while gripping the fixture with the other, and pull down quickly in opposite directions. Also, you can take the screws out of the fixture cover but leave them in place on the ceiling.
Conclusion:
You can now remove the light cover from your bathroom with this step-by-step guide on how to remove bathroom light cover. Follow these instructions, and you’ll be well on your way to a brighter, cleaner bathroom! However, if the bathroom light is too bright for you or someone in your household with sensitive eyesight, it may be time to replace the cover. A new one can make a big difference and not cost much at all.
After reading this blog post on how to remove a bathroom light cover, we hope that you have some ideas about where to start looking so you can find an affordable replacement. After a long day of work, the last thing anyone needs is a blinding fluorescent bulb staring them down as they try their best to relax! So let us know if everything goes to plan.
Angela Ervin
Angela is the executive editor of DIY quickly. She began her career as an interior designer before applying her strategic and creative passion to lifestyle and home. She has close to 15 years of experience in creative writing and online content strategy for housekeeping, home decorations as well as other niche efforts. She loves her job and has the privilege of working with an extraordinary team. She lives with her husband, two sons, and daughter in Petersburg. When she's not busy working she spent time with her family.