
How to Remove Bubbled Rear Window Tint
Introduction
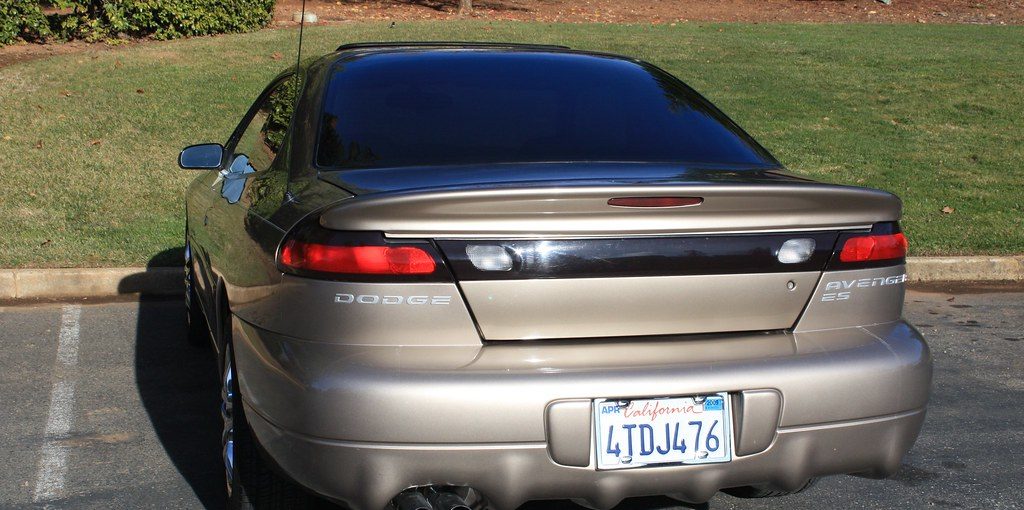
A bubbled rear window tint is a cracked or damaged piece of film on the rear window. This is more than likely due to age and long-term exposure to sunlight and extreme heat. Tint bubbling occurs most often in the 5% window tints because they are so light, and to prevent it from happening, you should apply a ceramic coating to help protect your tint film. Today I will discuss a process on how to remove bubbled rear window tint. So let us get started.
How Does Bubbled Rear Window Tint Happen?
When car owners have their windows tinted, they are usually told to protect them from direct sunlight for up to 72 hours while the film sets into the existing tint, sometimes longer depending upon your climate and time of year. It can be a natural assumption that you should keep your vehicle out of direct sunlight during this period;
however, when we factor in short trips with an occasional stop at a gas station or busy parking lots, we do expose our auto glass to sunshine without thinking about it too much (just as you don’t think about it in your home or office).
Over the past couple of years, I have seen a lot of bubbles and “sun-shatter” appearing on tinted windows within two weeks after the installation.
Customers who bring their vehicles back to the shop after paying for a quality service should not be told that the issues they are experiencing are normal or that there is nothing wrong with the film that was applied. If an amateur installer does not care enough to do things correctly, by law, this may be true, but most people don’t realize that they paid for a cheap job. Quality services should last long term without issues like this occurring.
How to Remove Bubbled Rear Window Tint: Step by Step Guide
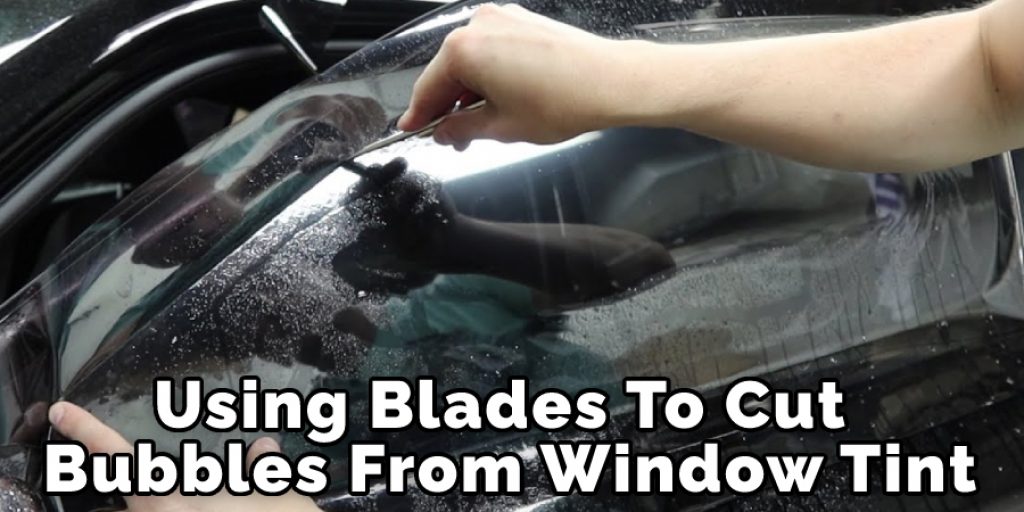
Step 1: Use a Razor Blade
Start by using a razor blade to cut away any air bubbles clinging onto the window tint. Cut along the edge of the bubble, but not too close, so you do not cause any damage to your car’s paint.
Step 2: Wet the Window Tint
Get some water and moisten the window tint. You want it to be soaking wet but not dripping. If you are doing this on a rainy day (or if your car is covered in the rain), use that water; otherwise, try getting out a spray bottle. Just make sure the water does not pool up.
Step 3: Use Rubbing Alcohol
You should use some rubbing alcohol to soak in and lightly cover up the air bubbles. The alcohol will help thin down your rear window tint film and make it easier for you to remove affected areas on the window tinting without leaving behind any residue or damaging your vehicle’s paintwork through friction between working feet and car bodywork applying pressure.
Make sure that you do not saturate the alcohol more than needed because doing so might run some drying agent into sensitive parts of the car.
Step 4: Apply Heat
Use a heat gun, hair dryer, or even the defroster in your car to apply intense heat to the window tint and prevent it from drying out while you work on the air bubbles. Keep wetting the window tint with water as you work and continue applying heat until all air bubbles are gone.
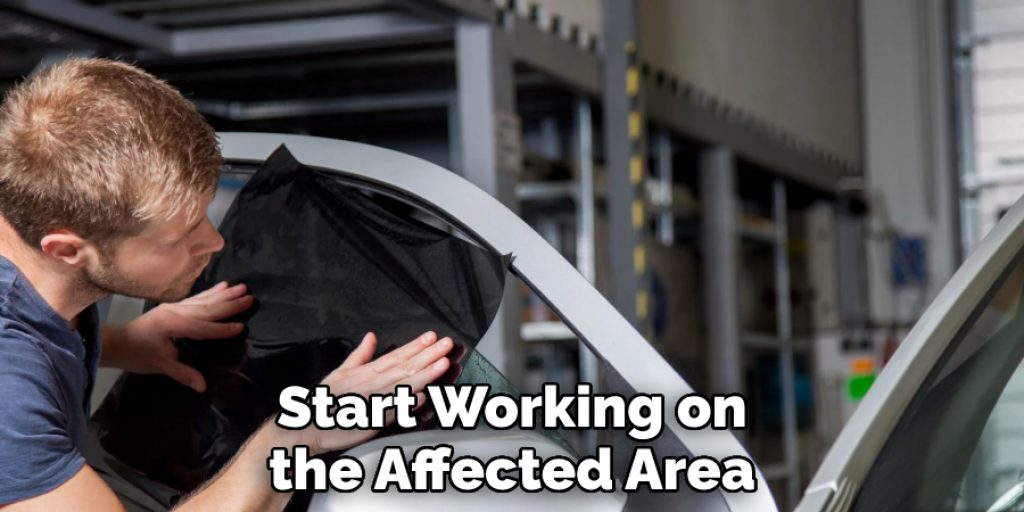
Step 5: Use Some Pulling Force
Start working on the affected area of the air bubble by using a razor to cut away small portions from the tinted film. Again, take your time and try not to make too many aggressive nicks into the window tint film because doing so will cause more damage or add more bubbles onto your rear window once you obliterate it.
You can also use some pulling force to remove larger tint areas in one swoop, but there is no guarantee that your final product will be perfect since any unwanted edges might remain with the remaining film.
Step 6: Scrape the Window Tint
Scrape off any remaining window tint using a plastic razor blade or credit card. You can use the same one you used on the bubble, so it shouldn’t be too difficult to scrape away what is left of your window tint film without causing any damage to your car’s paint.
Step 7: Clean the Window Tinted Surface
Use some glass cleaner or rubbing alcohol to clean off any dirt, oil, or residue on the window-tinted surface. Ensure all chemicals are fully removed before applying a new piece of window tint.
Step 8: Cut New Tint
You can now cut a fresh piece of tint on the window using your preferred method. You can also use shears or razor blades; either way, make sure to cut the tint slightly larger than the area you need it for so there is no need to apply any more heat and work to get the tint in place.
Step 9: Apply Heat and Press
Apply heat to the rear window and press down on the new piece of tint, working out any bubbles with your hands or use a squeegee if you have one to help smooth out the film. Ensure that you start from one edge and work to another edge so there is no overlap or wasted tint, giving you a less than perfect finish; then leave it to dry overnight.
Step 10: Check and Finish
Check your work, and if there are still bubbles left after the first try, you can do another round of wetting, applying heat, rubbing alcohol (or water), allowing time for it to dry, and then pulling on the tint. You should be left with a smooth new window tint job guaranteed not to bubble up anytime soon!

Precautions While Performing How to Remove Bubbled Rear Window Tint
- Mask the areas that are NOT bubbled yet, such as the rear door glass and the upper window trim, because you do not want to spread the bubbles from one corner to another or make more bubbles when removing it.
- If your car is a foreign brand with electric rear defroster wires (such as Honda Civic FD/FG), you should cover them up with tape, too, so they will not get melted by the heat from a hairdryer. You can also use an old towel instead of taping it if you do not mind the cloth color touching there, but be aware that this means any dust on the towel gets stuck in there too…
- Do NOT set the hairdryer at high temperatures. As long as the rear window is clean and not yellowed, you may set the temperature to the same as or even lower than what you would use on regular glass.
- Do NOT remove the defroster wires or other things attached to the glass. They are important for car safety, especially if your car’s rear window does not have a wiper on it.
- You DO want the hairdryer to heat your windows; just do NOT want bubbles spilling over from one corner of the glass to another! The best way is to apply the average amount of heat with high frequency from every angle possible and let the glue seep out from between the glass and tint rather than pushing the bubble towards the edge by pressure applied by hand or other tools. They will stay where you can clear them up without spreading them out more than necessary and should start to shrink as soon as the glue starts getting pulled out from between.
5 Reasons to Remove Bubbled Rear Window Tint
- Reduced glare from the sun – Removing bubbled rear window tints can reduce annoying glare from the sun while driving, allowing for better visibility and a more enjoyable driving experience.
- Improved aesthetics – Bubbled rear window tint often looks unsightly due to its distorted appearance and removing it can improve the overall look of your car.
- Easier cleaning – Without bubbled rear window tint, it will be much easier to clean the back windows since you won’t need to move around the film in order to get into tight areas.
- Enhanced safety – With improved visibility, you’ll be able to spot potential threats on the road faster and react accordingly, boosting your overall safety while behind the wheel.
- Increased privacy – As an added bonus, removing bubbled rear window tint may allow for more privacy in your vehicle since there won’t be any bubbles or distortion blocking your view when looking through the windows.
How to Keep Window Tint in Good Condition?
When Applying Tint to New Vehicles, You Must Keep the Following in Mind:
For window tinting film, several things must be considered to stay clean and enhance vision through your windows. Failure to do so can cause harm to your vehicle’s paint job and/or make the window film peel off faster than normal. These are just a few tips on how best to maintain any window tinting application:
One of the most important aspects of keeping your car or truck looking good and prolonging the life of the film is proper care and cleaning procedures. Window tint films should always be hand washed instead of being put through an automatic car wash which has been known to scratch certain films, even though this may vary depending on the tinting film you choose to install.
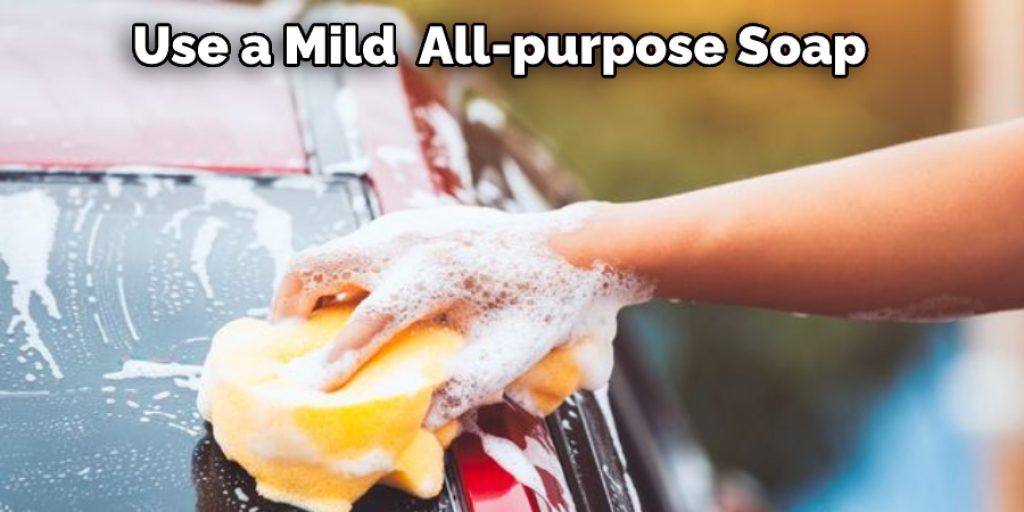
Use a mild, all-purpose soap such as dishwashing liquid or washing up liquid to clean the window tinting film. Be sure to avoid using soaps that contain oil or other solvents.
Avoid getting any water into the edges of your window tinting film since this can cause it to discolor over time. When drying, use an air blower rather than paper towels to prevent lint and dirt from being trapped under the edge of the window tinting film.
To remove stubborn stains and grime, use non-abrasive cleaning products such as vinegar and water mixed 50/50 with a soft cloth or sponge and gently wipe down in circular motions without applying excessive pressure. Once a month, you can also apply an all-purpose cleaner or glass polish with a damp cloth to help remove built-up dirt and grime that may accumulate on the window film over time.
How Often Should I Wash My Car?
The perfect time to wash your vehicle is when it needs washing. How often you need to wash your car depends on the number of contaminants found in the air where you live. More frequent washes will be required if you reside in an area with a lot of industrial pollution. On average, car owners should wash their cars every 2-4 weeks.
A new car will have factory-applied chemicals and dirt repelling coating, which might fade or wear out over time. Leaving this film intact helps protect your paint from minor scratches throughout the lifespan of your vehicle. Washing too infrequently may result in buildup on paint, making it difficult to remove by hand detailing techniques and/or by machine polishing methods such as those used by your local car wash.
Frequently Asked Questions
What Causes the Rear Window Tint to Bubble?
Rear window tint can bubble because of:
1. The adhesive that is used to install the tint bubbles as it dries and shrinks, causing wrinkles or bumps in the film.
2. Warping from heat caused by a sunroof or other glass with a tight seal around it.
3. Mold from water damage from rain or leaks in the car’s interior (or both).
What Happens if You Roll Down Windows After Tint?
If you roll down the windows after applying tint, it will remove the film from the window. Applying a new layer of tint over the old one will not be as clear and dark as before.
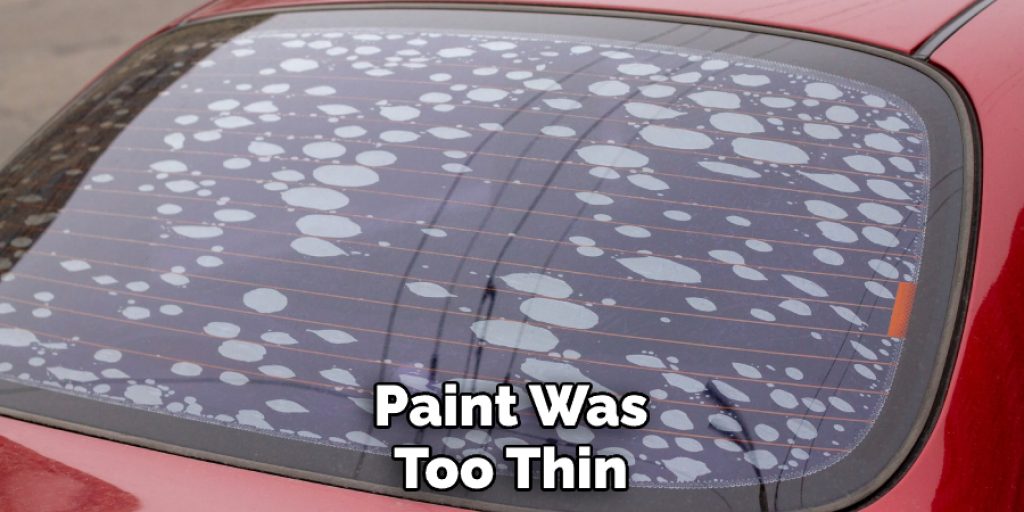
Is It Normal for Tint to Bubble at First?
There are a few reasons why tint bubbles at first. The most common reason is that the paint was too thin, and it needed to be applied multiple times to cover the whole surface of the window.
The other possible cause is that there are air bubbles in the paint, indicating that you need to apply more pressure when spraying.
Can You Use Windshield Wipers After Tint?
It is best to use windshield wipers before and after tinting the windows. The window should be clean and free of any dirt or debris that could cause scratching when the wiper blades are being used.
What Is the Best Solution for Tinting Windows?
Window tinting is a simple and effective way to add privacy, security, and comfort to your home or office.
There are different ways of tinting windows, such as:
1. You can use paint or colored pencils on the window with an opaque finish.
2. You can install film on the window with an optical finish reflecting light while letting some light through.
3. You can also get laminated films that are made from layers of material that block 99% of visible light and reduce heat gain in your home or office space.
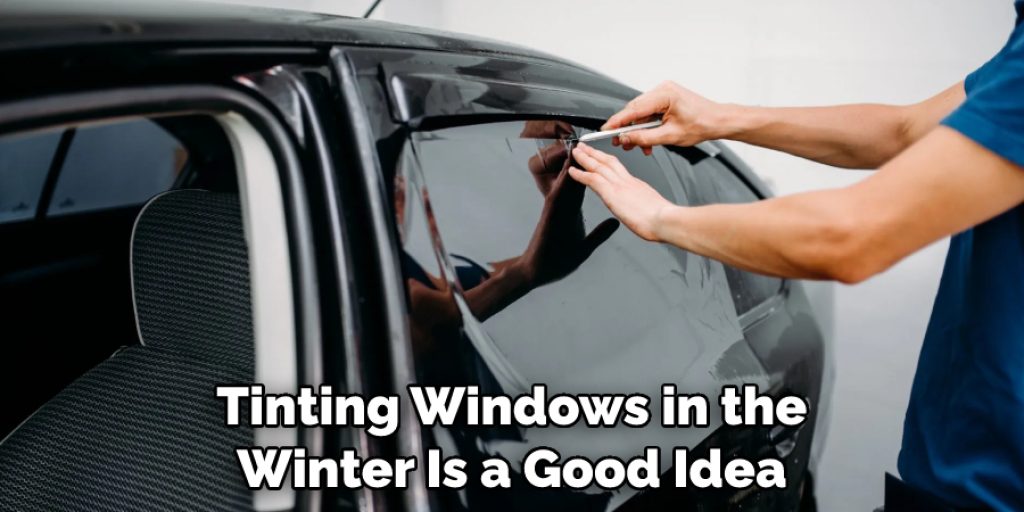
Is It Ok to Tint Windows in the Winter?
Tinting windows in the winter is a good idea. Tinting will help keep your home warmer and reduce energy bills by lowering the amount of heat lost through the windows.
However, you should ensure that the tinting you choose has been approved for use in your area and be aware of any health risks that may come with using certain tints.
Conclusion
Applying window tint is an easy way to increase the privacy and security of your vehicle. The film itself comes in various shades, so you can choose one that blends well with your car’s look or for maximum heat reflection on hot summer days. Window tint also helps protect your car’s interior from harmful UV sun rays and provides greater comfort for passengers by blocking heat transfer through windows.
For these reasons, window films should be part of all vehicles’ maintenance processes. But you must always be sincere about the bubbles created due to tint malfunction. I hope this article has been beneficial for learning how to remove bubbled rear window tint. Thank you and have a nice day!
Louis Wein
Louis has always been fascinated by cars. He loves the way they look, the sound of the engine, and how they make him feel when he's driving. He is always keen to learn more about different mechanics of cars and how the engine contributes to other aspects of the car. As an automotive technician with over 10 years of experience, he knew how they worked and loved taking them apart to see how they went back together. He was especially interested in the mechanics of combustion engines and loved finding ways to make them more efficient. He loves to work on cars and help people keep their vehicles running smoothly. As a senior editor, he enjoys contributing to Diy quickly because it allows him to share his knowledge and expertise with others.


