
How to Remove Burner From Oil Lamp
Oil lamps have been around for centuries; their beauty and charm cannot be denied. But, unfortunately, they may also pose some problems precisely when it comes to replacing or cleaning their burners. Fortunately, however, if done correctly, there’s no need to worry about harming either yourself or your lamp as long as you take proper safety precautions.
A common problem that many people face is removing the burner from an oil lamp. The good news is, with the right tools and supplies, this can be done quickly in just a few steps. If you are having trouble removing your old burner or would like to know how to remove burner from oil lamp so you can clean it up for future use, keep reading!
How to Remove Burner From Oil Lamp: 6 Tools You Can Use
1. Latex Gloves:
You can purchase these at any grocery or convenience store. These are for your protection against the hot burner when trying to remove it from the oil lamp.
2. Needle-Nosed Pliers:
You can find this in any hardware store, usually near the screwdrivers section of tools. This one is for your safety because you will need to remove the burner from your lamp with pliers. The pliers will help you get a firm grip on the burner without getting burnt by the hot metal.
3. Wire Cutters:
You can find this in any hardware store near where they sell nails, screws, and bolts. The wire cutters are used for removing the wick from your oil lamp. They are not essential for removing the burner itself, but they make it easier to remove the wick.
4. Screwdriver Set:
This will help you open the oil lamp. Make sure to get one with either a flathead or Phillips head, which are necessary for opening up an oil lamp. You can find this at any hardware store.
5. Wax Brush:
This is used for scraping off excess wax once you put your newly cleaned oil lamp together. You can find this at any hardware store near the paint section or where they sell brushes.
6. Paper Towel:
You will need a paper towel for cleaning your hands after using the latex gloves, wire cutters, and pliers, so a roll of paper towels will be most helpful. You can find this in any grocery store or shopping mall food court.
Instructions: How to Remove Burner From Oil Lamp
Step 1:
Before you begin, do your research on properly disassembling and reassembling the oil lamp. Find and read any related documentation on the oil lamp.
Step 2:
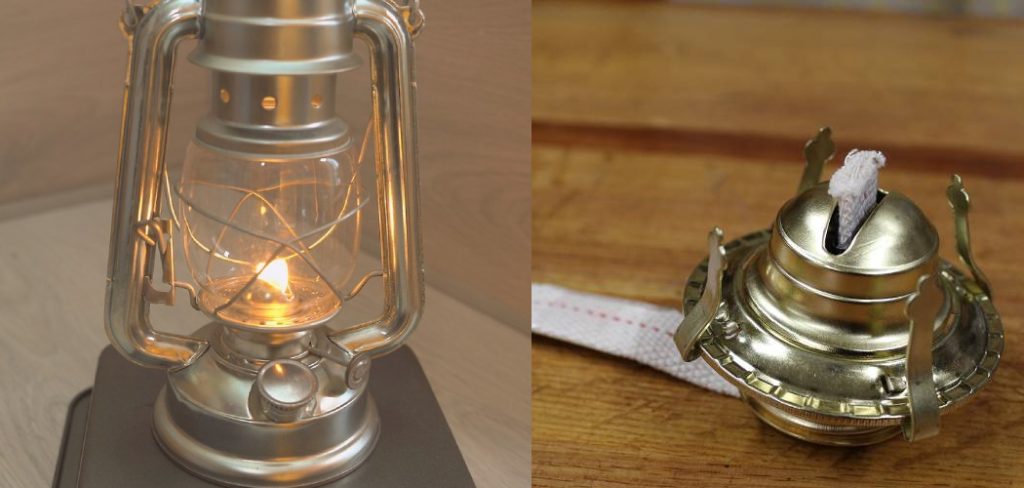
Remove burner from glass shade. There is a rubber spacer between them; put this somewhere safe so it can’t get lost. Next, remove the burner from around the wire.
Step 3:
Remove fragments of glass that are still attached to the bottom wire. This is easy if you have alligator pliers. If not, use tweezers or something else small and thin to remove any remaining bits of glass.
Step 4:
Remove the rubber tubes from the burner. In some cases, the glue will hold them in place. If so, just cut it away with a knife or scissors leaving you with bruised hands and maybe a cut if the glass is particularly sharp.

Step 5:
Clean off all traces of oil lamp fuel from both the burner and glass shade to ensure proper adhesion of the new glue.
Step 6:
Once everything is clean, you can begin gluing the burner back onto the shade. Make sure there isn’t anything left on the glass that will prevent it from adhering correctly to the burner, or else you’ll end up with a lamp that smells like gas and emits little blue flames when turned on.
Step 7:
Make sure the burner is aligned correctly, then pull it back up into position and clamp it in place. Leave the clamp on overnight to make sure that everything will hold until you are ready to glue it permanently in place.
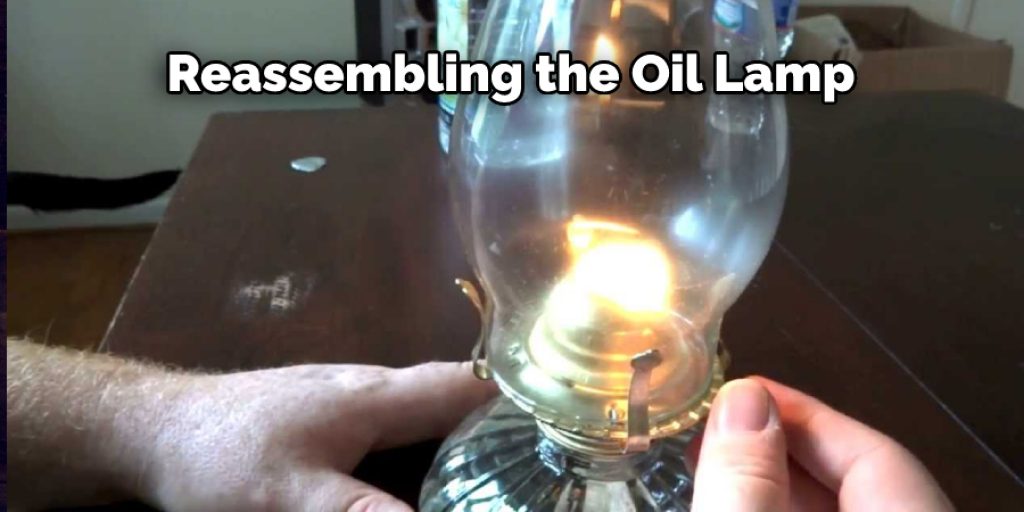
Step 8:
Remove the clamp and finalize the reassembly process by reinstalling everything on the oil lamp. Turn the lamp on and see if everything works. Make sure there aren’t any missed leaks or wicks, then you can enjoy your newly repaired oil lamp!
Safety Measures and Precautions:

- Wear goggles when working with tools to prevent injury from flying parts.
- The glass on oil lamps tends to be thin, so handle with care.
- Wear gloves when handling hot metals. So as not to burn your hands by touching the metal barehanded.
- Do not use any sharp implements near the area where the burner sits. This could damage the lamp.
- Handle the lamp’s glass gently, as it is susceptible to breakage even by inertia or contact with another item.
- Be very careful when removing and installing screws not to strip them; use only the correct type of screwdriver for your screw head (Phillips/slot/etc.).
- Turn off the lamp before handling it to prevent accidental ignition.
- Always try to handle the glass with a cloth or paper towel between your hand and the glass at all times when possible, to reduce any chance of breakage.
Frequently Asked Question
What Do You Do With Old Oil Lamps?
Do you have an old oil lamp that you no longer use? If so, you may be able to recycle it! Here are some tips on how to do so:
1. Remove the glass globe and any other pieces of glass.
2. Remove the wick and other combustible materials.
3. Put the lamp in a trash bag and seal it shut.
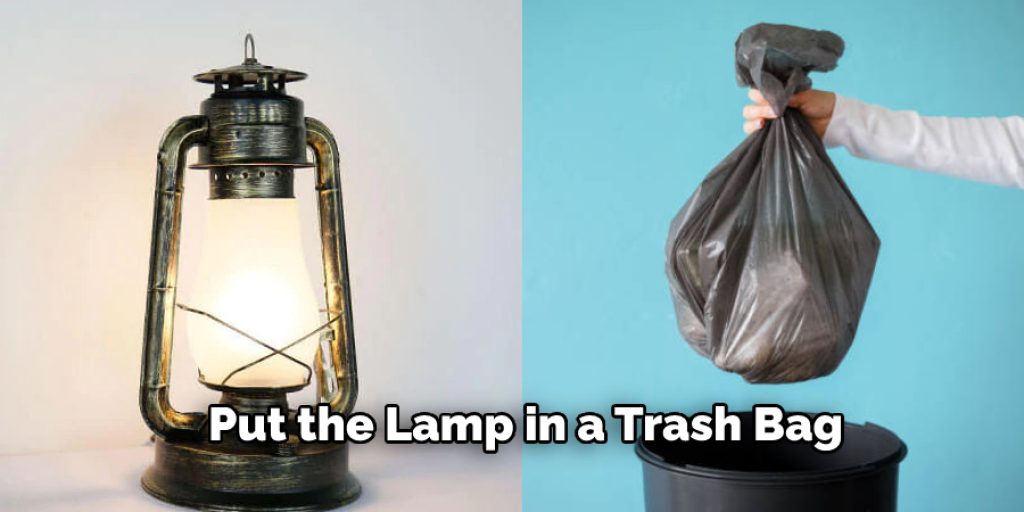
4. Take the lamp to a local recycling center.
5. Let the recycling center personnel know what type of lamp it is and what materials it contains.
Does Lamp Oil Expire?
Yes, Lamp Oil does expire. Just like any other product that you would store in a cabinet, Lamp Oil will go bad and will need to be disposed of properly. Lamp Oil should not be stored in the light because it can create a fire hazard. Instead, it should be stored in a cool, dark place.
Can Oil Lamps Explode?
Yes, oil lamps can explode. This is due to the fact that oil lamps are filled with flammable material, such as paraffin and are used to light candles or lamps. If the oil lamp is knocked over, the fluid may leak and cause a fire. Additionally, if the oil lamp is dropped, the fuel may spill and catch fire. If this happens, use a fire extinguisher to put out the fire and get out of the area.
What Happens if Lamp Oil Freezes?
If your lamp oil freezes, it will become solid and difficult to remove. You will likely have to break up the frozen block with a hammer or an ax in order to get it loose and usable again. If you can’t get the oil loose, you will need to thaw it out and break it up again before using it.
Conclusion:
If you need to know how to remove burner from oil lamp, many ways can be done. It’s essential to choose the best method for your situation and type of lamp. You should first turn off all heat sources in the room where the lamp is located so it does not get damaged or catch on fire if any fuel spills out while removing the burner.
Once this has been completed, please take caution when handling hot surfaces. They will retain their temperature for several minutes even after being removed from direct flame or other heat sources such as sunlight shining through windows. Next, locate the wick assembly at one end of the interior tube and gently pull it down until it reaches its bottom position.
The steps above should help you remove the burner from your oil lamp. Please let us know if this information was helpful to you, and we will share more tips on how to maintain or troubleshoot other parts of an oil lamp in future blog posts.


