
How to Repack a Hydraulic Cylinder
Repacking a hydraulic cylinder may seem like a daunting task, but it can be done in just a few easy steps with the right instructions. In this blog post, we will walk you through the process of how to repack a hydraulic cylinder, so you can get your machine back up and running in no time.
If you use a hydraulic cylinder in your business, it’s essential to know how to repack it when it starts to leak. Learning this skill can save you time and money in the long run. We will go over the steps necessary to do this yourself. However, if you are not comfortable with the process or are unsure of what is involved, we recommend taking the cylinder to a professional for servicing. Let’s get started!
What Does It Mean to Repack a Hydraulic Cylinder?
To repack a hydraulic cylinder means to replace its packing. A common task for any hydraulic technician can be tedious and frustrating. When replacing filling on a hydraulic cylinder, it is crucial to make the correct measurements and ensure they are all uniform before cutting new packings. This ensures that the cylinder functions properly and that there are no leaks.
Packings are made of metal, usually stainless steel or bronze. Packing can be solid (one round piece of filler is installed) or segmented (multiple smaller pieces are stacked together). The number of layers varies by application; however, multi-segmented packings are more common.
There are many different types of hydraulic packings, so it is best to check the step-by-step guide on how to repack a hydraulic cylinder to get the correct type of packing for your application.
Why Is Packing Important for Hydraulic Cylinder?
Packing prevents leakage during operation and keeps the hydraulic fluid clean. The filling with a cylinder is usually made from neoprene rubber or butyl. Both materials are naturally soft, so they automatically adjust to the system pressure and temperature and any slight irregularities in the cylinder wall. Therefore, there is no need to pack a hydraulic system with pre-tensioned materials that require hand or machine tightening.
11 Step Process: How to Repack a Hydraulic Cylinder
Step 1: Using a C-wrench.
Loosen the rod from the base. Use a C-wrench to hold the rod so you can loosen the nut. If it is stuck, use penetrating oil to help break it free.
Step 2: Remove the Retaining Ring.
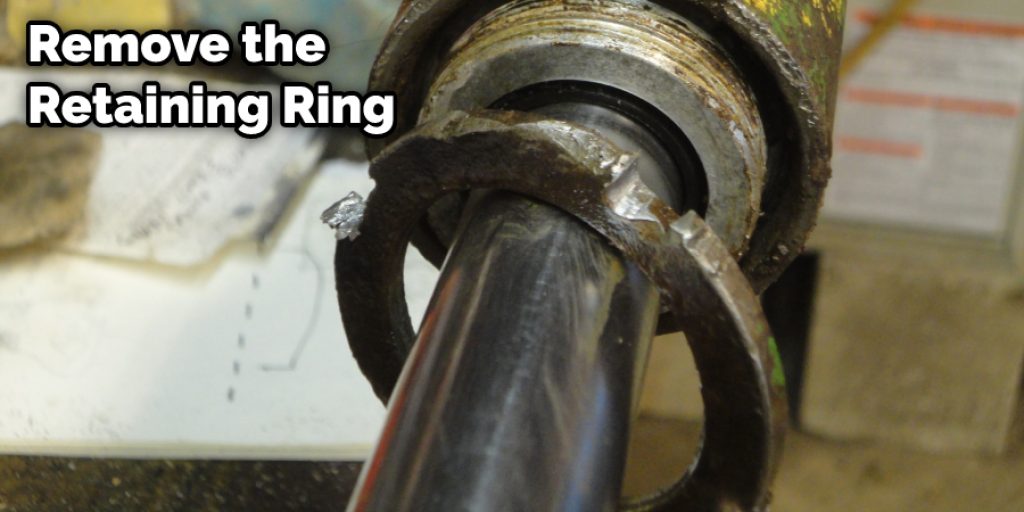
Spray penetrating oil onto the retainer where it meets the gland. Wiggle, pop out with a screwdriver, or loosen with pliers until it comes off. Sometimes you can’t get to every angle, so spray in between for best results.
Step 3: Slide Off the C-cup if Equipped.
Place a large piece of wood at the bottom of the cup to keep it from damaging the O-ring. Then, use a screwdriver or wrench and work it off by prying gently. There will be a few different sizes, so try them all until you get it off.
Step 4: Remove the Outer Cage if Equipped.
With your fingers, grab the outer cage and slide it out. If you can’t get to all of the screws, use a pry bar and put it between the cage and hydraulic cylinder. This will make sure not to damage your internal components like O-rings or rod packing gland seal.
Step 5: Remove the Rod Packing Gland O-ring.
You will need to remove the rod packing outer gland seal/O-ring. This is what keeps fluid inside and outside of your cylinder separate. Pop it off with a screwdriver or pull it out with channel locks if you can’t get in there. If you damage this O-ring during removal, you will need to replace it with a new one. Keep in mind not all parts are included with the cylinder so order replacements if needed before starting this process.
Step 6: Remove Packing Nuts and Carbon Brush Holder Guide.
Place Channel Locks on nuts where they meet the rod packing gland seal. Spin the wrench to remove these parts. Next, loosen the carbon brush guide; it will be at the very bottom of your cylinder, so use extra caution when trying to pull this small part out without damaging anything.
Step 7: Remove the Rod Packing.
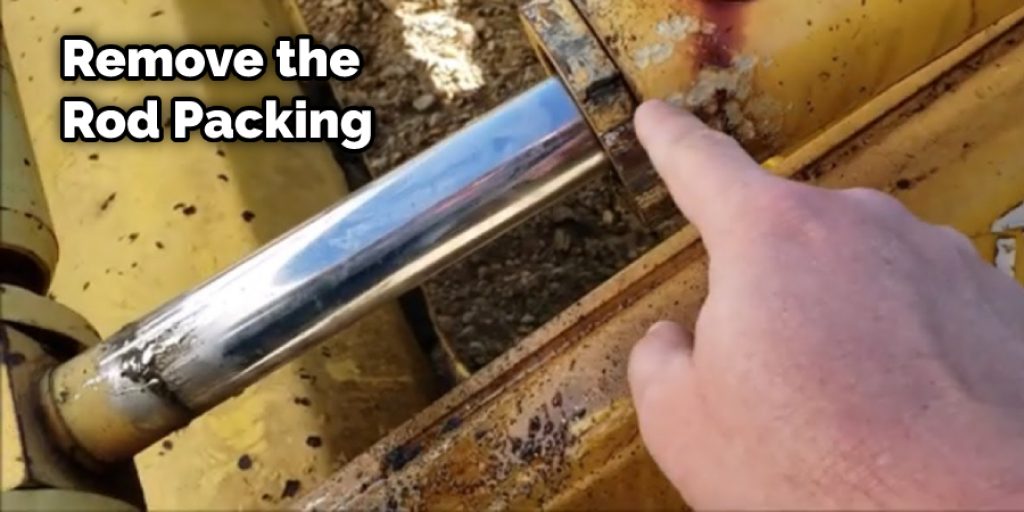
Grab your channel locks and rip them out of the cylinder. Spray some more penetrating oil into the gland stuffing box if you get stuck. Remove all parts from your hydraulic cylinder before going further to make sure nothing falls in later on during the rebuilding process.
Step 8: Cleaning Process Start.
It is a good idea to clean your hydraulic cylinder thoroughly before starting the rebuild process. Clean off excess oil, so you have a nice surface to work with next. We recommend using a machine degreaser and paper towels to get the job done right.
Step 9: Re-pack Your Hydraulic Cylinder.
Now that you have a nice clean surface, it is time to repack your hydraulic cylinder. Grab a rebuild kit and follow the instructions carefully to ensure everything gets done right the first time. After this is done, it’s on to reassembly!
Step 10: Reinstall Parts in Reverse Order From Disassembly.
Do this step in reverse order to make sure you put the cylinder back together correctly. This is also an excellent time to replace any parts that are now worn or damaged from removing your internal components earlier.
Step 11: Testing Your Hydraulic Cylinder.
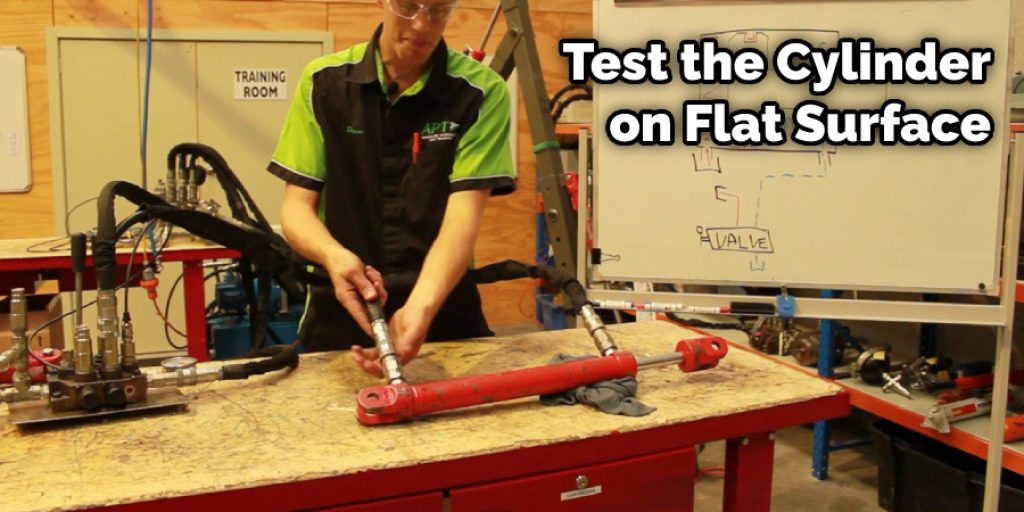
Ensure everything is working correctly before reinstalling your hydraulics back onto your product. We recommend testing it on a piece of material or flat surface so nothing gets damaged if something were to go wrong. After you are sure it is working correctly, reinstall your hydraulic cylinder.
You may also read How Often Should You Change Hydraulic Oil in a Tractor
Some Tips and Suggestions
1. If you find that the old packing in your hydraulic cylinder is still in good shape, reuse it. It might save you some money if packing isn’t too expensive where you are.
2. Cleanliness is essential when dealing with any fluid or hydraulics. Therefore it is important to clean the area around your cylinder thoroughly before even touching anything.
3. If you are reusing packing, remove all of the old packings from the hydraulic cylinder and replace them with new ones.
4. Make sure that all fluid in the cylinder is cleaned out; this includes any hanging hoses that might have fluid left in them.
5. If you are repacking your cylinder at home then you should have all of the materials that might be needed to do so; if not, buy them first before continuing with your work. This includes any fluid that your hydraulic cylinder may need after repacking it.
6. Never attempt to repack a hydraulic cylinder with fluid in it.
7. Be sure to use the correct packing size for your hydraulic cylinder.
You Can Check It Out To Hone a Cylinder With Sandpaper
Frequently Asked Questions
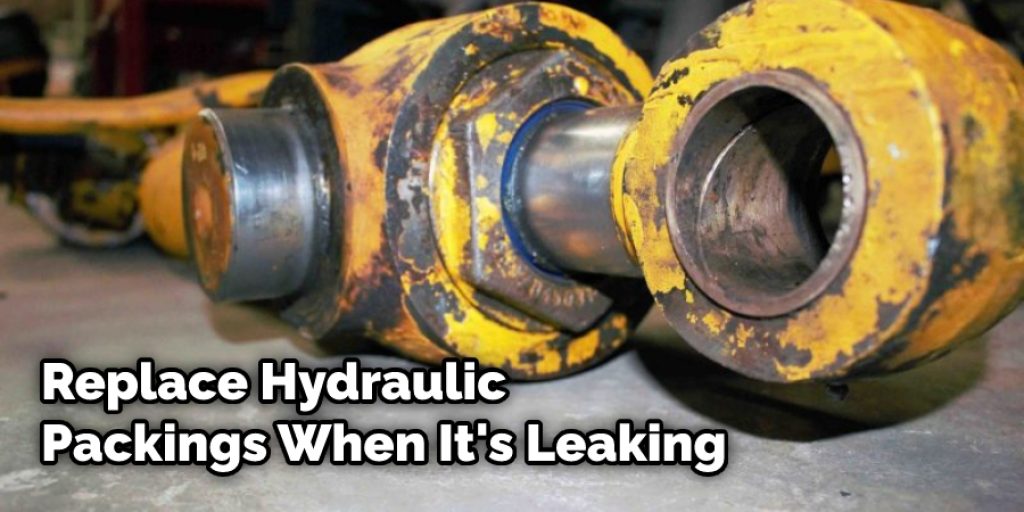
Q: How Do You Know When It’s Time to Replace Hydraulic Packings?
Hydraulic cylinders have an average life expectancy in which they function as intended. Once a cylinder is past this point, it will begin to leak. Cylinder replacement should be scheduled for before the packing has become so worn that its failure could cause major damage or injury. The hydraulic oil color can help determine if there is wear in the packing.
White and light tan are normal conditions, whereas if the oil is dark or black, it may mean that there is some fluid degradation. This could be a symptom of poor-quality hydraulic fluid if the cylinder does not have an automatic filter or gum deposits. Oil will typically drip out of the cylinder when it is extended. This is normal, but if there are puddles of oil under the machine or on the floor, you should inspect the cylinder further to see any signs of damage to it.
Q: How Can You Tell If Packing Is Worn?
Packing that has worn down by more than 50 percent will be very apparent. However, if you’re unsure, grab a large adjustable wrench and try to turn the nut on the end of the cylinder rod that goes into the hydraulic pump or valve actuator. If it turns easily, the packing is worn out.
Packing also gets worn down when the cylinder is over-pressurized. For example, if a hydraulic circuit has been opened or if a valve in a closed-loop system has malfunctioned and started to flow in reverse. In this case, it may be necessary to replace all of the packings, regardless of how much is worn.
You Can Check It Out To Rebuild Convertible Top Cylinders
Conclusion
Repacking a hydraulic cylinder can be done in many different ways, depending on the type of sealant you use. The following is a general guide for repacking a hydraulic cylinder and should apply to most brands of cylinders. However, follow those instead if your brand or model has instructions that differ from this guide.
If the seals are not leaking but feel too dry or exposed to liquid nitrogen/liquids other than water, lubricate them with oil rather than repackaging them. This way, they will still last much longer before being replaced again! We hope this blog post on how to repack a hydraulic cylinder has been helpful. Let us know your thoughts in the comments below!


