
How to Seal Acrylic Paint on Denim
Introduction:
Acrylic paint, also known as “acrylic emulsion,” is a fast-drying type of paint that comes in two forms: oil-based and water-based. This type of paint can be used on different surfaces, including wood, metal, fabric, and plaster. Acrylic paints are often preferred to other types because they’re easy to clean up with soap and water.

They also dry quickly – which means you can work faster without worrying about ruining your project by leaving it out too long. In this article, I will discuss how to seal acrylic paint on denim. So let us get started.
Summary: Looking to seal your acrylic paint on your denim? This tutorial will show you how! First, mix a small amount of white paint with some black to create a light gray. Then, use a brush to apply the gray paint to the back of your jeans. Once it’s dry, use a sealant to protect your paint and finish up your look!
Step-wise Guide on How to Seal Acrylic Paint on Denim:
Step 1: Wash and Dry Your Jeans
Be sure to wash your jeans in hot water and dry them thoroughly. Keep them away from sunlight or any other ultraviolet light source for at least a week. This will ensure that the fabric is free from any dirt or oil, which may prevent the adhesion of paint to the surface. Also, it will dry out the denim completely so that paints do not bleed onto one another while drying.
Step 2: Keep Your Supplies in Place
Line up your tools near enough to the work area to stay organized. You will find yourself running here and there when painting time comes! I usually start with the brush handle on one side, and the rest of the brushes lined up above it (covered), so they don’t get stained even before use! You can also arrange the tools you plan to use for a particular design, like the measuring tape, stencils, etc.
Step 3: Prepare Yourself
Read through all the instructions and guidelines carefully to get an idea of how long it would take you for each step. Then, don’t try out anything without knowing what there is at stake! The last thing you need is to waste your precious denim because of some silly mistake! You can even practice with some old clothes before painting something valuable in front of you!
Step 4: Prepare Your Work Area
Now comes the most important part – prepping up your work area! A clean and organized workspace would allow you to focus more on grabbing that perfect shade or dirtied-up look altogether rather than running around hunting for items from one corner of the studio to another!
I usually place all my stencils on top of an old newspaper to not get stained; you can also place a cloth or paper towel underneath your denim/clothes to keep them from getting dirty. Many people prefer placing their clothes on top of newspapers to avoid stains, but I prefer to spread out my tools and materials first before starting with the painting itself – let me tell you why!
Step 5: Clean the Area

This step is essential to achieve
A Professional Look With
Flat-effect Paint Jobs
! If you have got any chunks that are still attached (like dirtied parts from rolled cuffs), make sure you remove these too before applying any paints. This will save you from applying too many layers on top of each other and give your denim a really sharp look!
Step 6 : Apply Some Rubbing Alcohol
Take a paper towel or some thick cloth and apply some rubbing alcohol onto it to wipe out the dirt stuck in all those nooks & corners; else paint would not adhere evenly and would have tiny spots around your jeans – now that’s something no one wants to see on their perfectly painted pair of denim!
Step 7 : Give Your Artwork a Flat Finish
Now is the time for adding depth to your artwork by selective application of acrylic paints with a flat finish (such as matt/flat latex), which generally come in color tones like black, gray, dark blue, etc.! You can even use white pastel chalks for certain artwork parts to make it look like the clothes have been dug up from some archeological site!
Step 8 : Start Adding Different Color Tones
Once you are done with the base paint, you can start adding different color tones on top of one another for a more vintage look! It is equally important to ensure that all your paints mix well and don’t leave any lines at the edges of each layer. If you have used a white or yellow undercoat earlier, making sure that even these colors blend incorrectly would also prove essential.
Step 9 : Make Sure Your Brush Has Dried Out Completely
Ensure that your brush has dried out completely before using them again. Else they might end up shedding loads of bristles and ruining your finished product! For this purpose, allot enough time for drying between each layer.
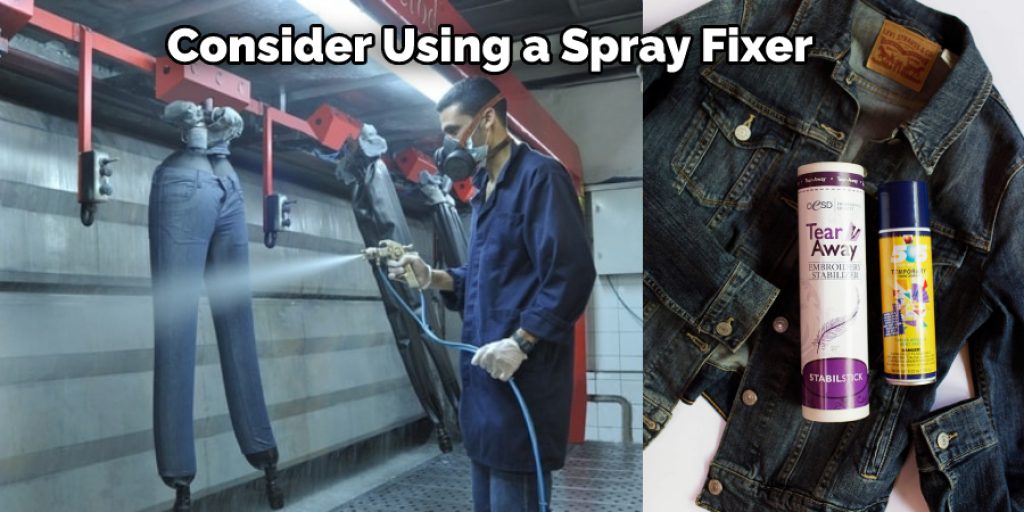
Step 10 : Consider Using a Spray Fixer
Apply a spray fixer to avoid your paints from smearing off anytime someone touches them! You can also use a matte coat of varnish if you want to eliminate any glossiness! For extra protection and durability, you may even consider using an acrylic sealant that locks the paint in place just about anywhere you apply it!
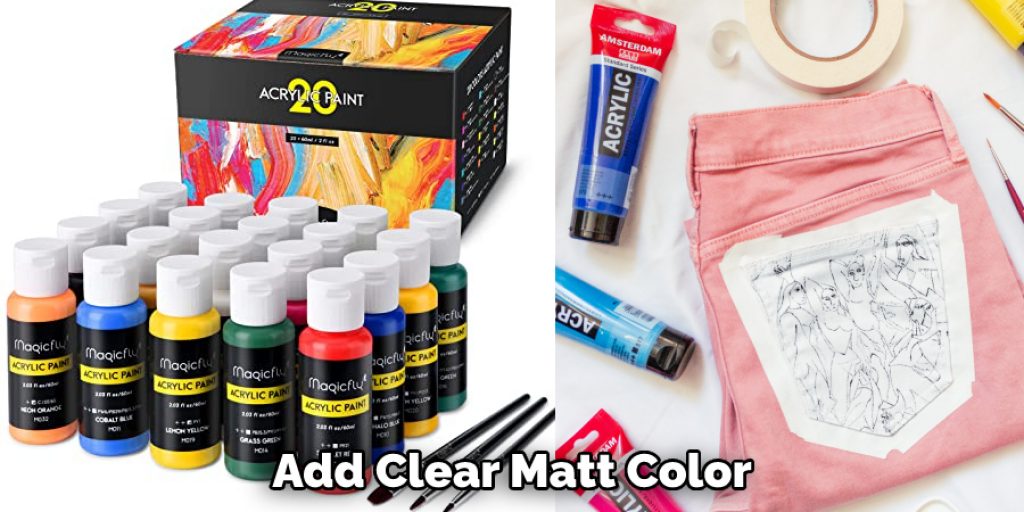
Step 11 : Add Clear Matt Color
A little goes a long way when it comes to adding clear matt color over top of white ones to add more depth and make it look like dirty denim; you must also ensure that all colors mix nicely, or else there will be streaks forming here and there (this is why I always spread out my tools first).
Step 12 : Do Not Rub Too Hard
While dabbing away the clear color, avoid going back to the same spot over & over again since that would result in a gleaming end product! Even if you have applied your fixer already, do not rub too hard, or you might end up with unnecessary areas of shine.
Step 13 :Use Fabric Softener
Apply a generous amount of fabric softener directly onto the painted area while spreading it out evenly with your fingers – this will ensure that paint dries out completely, and nothing sticks to it; now that’s something I love about acrylic paints!
Step 14 : Allow Some Time to Dry
Once you are done painting every corner of denim/old clothes, allow them to dry for some time before throwing them in your washing machine on a regular cycle (do remember not to place any other clothes along with them).
Step 15 : Place Them Inside a Pillowcase
If you are placing your painted denim and other clothes in the washing machine, then it will be better to place them inside a pillowcase to avoid any damage to the paint from rubbing against each other. Also, allow enough space for free movement while they get tossed around by the spinning drum!
Some Helpful Tips and Suggestions:
1. Don’t paint on your jeans if humidity is high; this causes the paint to bleed.
2. If you will be painting with acrylics, it is recommended that you use an acrylic sealer or a fabric medium for fabrics instead of water. Most acrylic paints are “water-soluble,” so using water may cause the colors to run and stain your jeans. If you use acrylic paint, choose a fabric medium instead of water; it is easier to work with and dries more quickly on the fabric.
3. If you want to use oil paints (instead of acrylic), some people suggest applying hair spray over the surface just before covering it in wax for protection.
4. Use an iron on a low setting to seal the paint onto your jeans, especially if you use acrylic paint, because it tends to dry quickly and could bead off the fabric if it is too hot. The heat of the iron will help smooth out any wrinkles or creases in your denim so that the color is
5. If you want to use oil paints (instead of acrylic) on your jeans, ensure they are compatible; some people suggest applying hair spray over the surface before covering it in wax for protection.
6. Using any sealer or hairspray will cause the paint color to look more matte and less shiny than if you did not seal it.
7. If you are concerned about the paint rubbing off your jeans, one way to protect them is to use acrylic varnish or a clear acrylic spray sealant on top of the paint after it has dried thoroughly (usually 24 hours or so).
What Are the Benefits of Sealing Acrylic Paint on Denim?
The benefits of sealing acrylic paint on denim are that the paint will not fade away or get ruined. In addition, you do not have to worry about the paint flaking off while it is being worn, which can happen if you do not seal acrylic paints. If you want your clothing design to last for a long time, then sealing the paint is the best way to go about it. The paint, in this case, is sealed to the material.
You could always use other paints like fabric paints, which are already designed to be both durable and washable. However, acrylic paint is your best option if you do not want to spend more money on something you can do yourself without spending too much. You also do not have to worry about the paint getting ruined if it gets wet or washed.
Precautions While Performing How to Seal Acrylic Paint on Denim:
1. Make sure to protect the pants from any dirt or oil before you start painting them. Dirty paint will ruin your design and make it look patchy, so be careful where you are standing while painting your jeans.
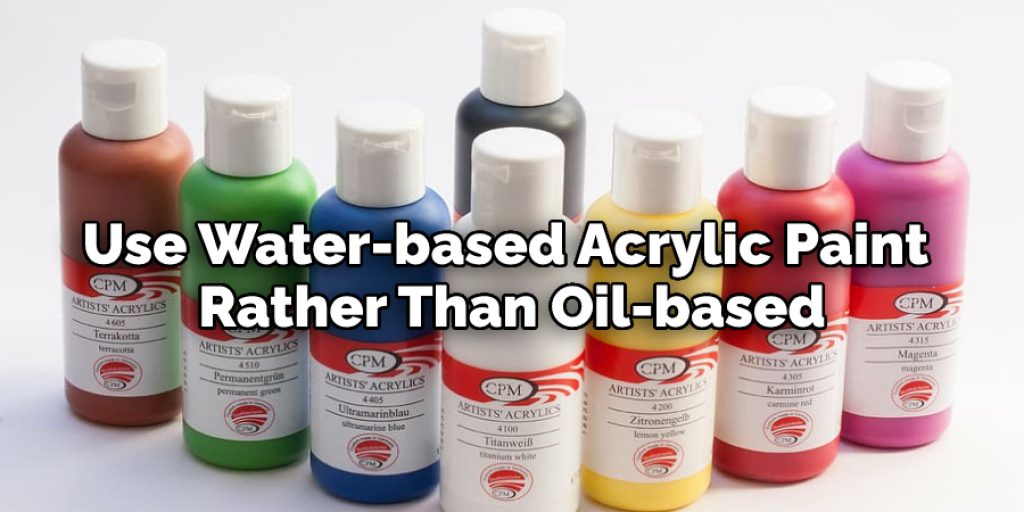
2. If possible, use water-based acrylic paint rather than oil-based, as this does not wash off when it gets wet. Acrylic paints can be washed out with water, so they’re a little easier to clean up if you get paint on yourself or something else while you’re working.
3. Use a pre-made sealer solution or make your own to protect the paint you plan to apply.
4. If you plan on working outside, try doing it during a nice day with low wind speeds and no chance of rain. You don’t want to ruin all of your hard work because it started raining while your pants were drying!
5. Denim is not very sturdy, so be careful about what tools and materials you use to apply the paint and then seal it with this method. Work slowly (but steadily), rest often, and watch for knots or other areas that might start ripping before they should!
6. Denim paints can only be applied by hand with brushes or rollers. They can not be applied by airbrush or any other kind of paint spraying method.
7. The paints will start to look a bit dull after being sealed with the alcohol and acrylic sealer mixture. Don’t try to layer more paint over them in an attempt to save them! If you got some on your clothing or skin when painting, it should wash out fairly easily after it has dried up a little more (so don’t jump in the pool right away!)
You Can Check It Out to Remove Lash Extension Glue
Frequently Asked Questions of How to Seal Acrylic Paint on Denim :
Why Sealing It?
It’s one of the most frequently asked questions related to acrylic paints. Water-soluble inks are great for temporary tattoos or t-shirts, but what about paintings on fabric that need protection from the washing machine, sun, or rain? In addition to keeping your design looking great over time,
it helps protect the fibers of your garment from damage caused by abrasion and light, as well as ink transfer (when using white ink). The good news is that any expensive cost for this process will be saved often compared to the price you’ll pay for having your garment professionally dry cleaned or laundered.
What Should You Know Before Sealing?
There are many sealing products on the market, but I’ll focus on water-based sealers because of their eco-friendly properties and ease of use. If there is any chance your design will be touching skin after the wash, don’t forget to test for any allergic reaction first. The method used in this tutorial isn’t intended to ‘lock’ nonremovable paint into the fabric (such as painting directly onto a t-shirt).
This technique is good for clothing that has already had acrylic paints applied (perhaps some months ago) and now needs protecting against further wear and fading before washing or storage afterward. As with anything that involves chemicals, read all instructions carefully! Packaging instructions are usually more conservative than you need. Remember that most paints are acrylic and thus water-based unless otherwise specified.
Conclusion:
Denim is a popular material for jeans, overalls, and other clothing items. Unfortunately, it can be challenging to paint on denim because the fabric is thick and durable. However, with the proper techniques, you can create a lasting paint finish on denim that will last through many washes.
This guide shows you how to seal acrylic paint on denim using a heat setting and a sealant spray. With these steps, you can create beautiful painted clothes that will last for years! Have you tried either of these techniques? Let us know in the comments below!
Elizabeth Davis
Elizabeth is a creative writer and digital editor based in the United States. She has a passion for the arts and crafts, which she developed from a young age. Elizabeth has always loved experimenting with new mediums and sharing her work with others. When she started blogging, she knew that DIYquickly would be the perfect platform to share her tutorials and tips. She's been writing for the blog from the beginning, and her readers love her helpful advice and easy-to-follow instructions. When she's not writing or editing, Elizabeth enjoys spending time with her family and friends.


