How to Transfer Ink From Paper to Skin
Introduction:
Ink transfers from paper to skin in a variety of ways, the most common being by contact. The ink is transferred when the person touches their hands or fingers to the area that has been spilled. It is also possible for ink to be transferred onto a person’s body due to rubbing against an object that has been stained with ink. Ink can transfer from paper through friction, such as when someone runs their hand across a printed page. Ink will also transfer if one takes hold of something touched by another person who had their hands covered in ink and then puts their own hand into contact with something else. In this article, I will discuss how to transfer ink from paper to skin. So, let us get started.
Needed Materials:
Ink and Paper:
You will need ink and paper to transfer the design onto your skin. The ink should be a high-quality, non-toxic ink that is safe for use on skin.
Transfer Cream or Gel:
This is necessary if you are using a laser printer to print your design. The transfer cream or gel acts as a medium through which the ink can be transferred onto your skin.
Scissors:
You will need scissors to cut out the desired design from the paper.
Alcohol Wipes/ Rubbing Alcohol:
This is important for cleaning and disinfecting your skin before applying the ink transfer. It also helps to remove any excess ink after the transfer process.
Water:
Water will be used to wet the transfer paper if you are using a water slide transfer method.
12 Stepwise Guide on How to Transfer Ink From Paper to Skin:
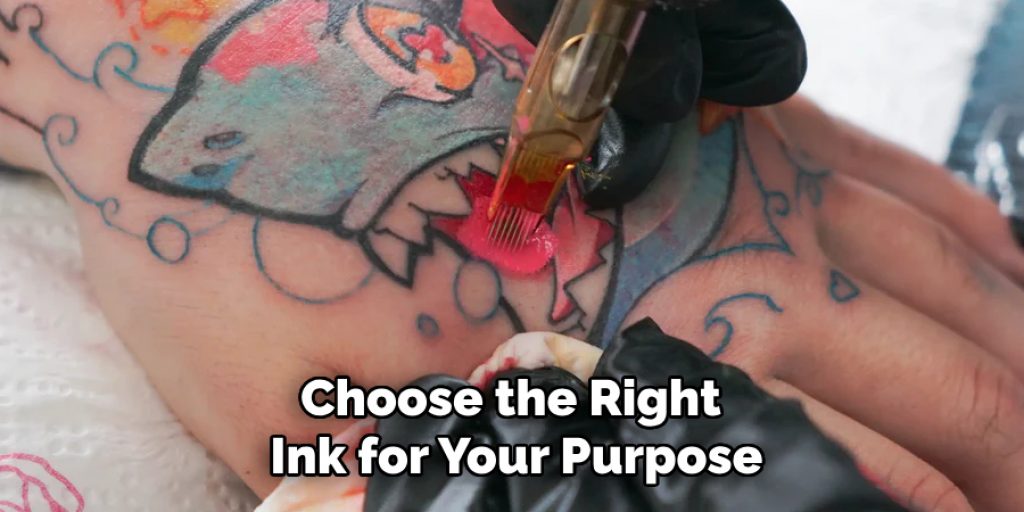
Step 1: Choose the Ink
Before you transfer any ink from paper to skin, it is essential to choose the right ink for your purpose. Make sure that the ink you choose is non-toxic and safe for use on the skin. It should also be easily transferable and visible on the skin. You can use markers, pens, or even printer ink for this purpose. It is always better to do a patch test on your skin before transferring the ink entirely. But make sure that the ink is not permanent on your skin, which could be harmful. It is always better to use temporary ink, such as henna or washable markers, to transfer designs onto the skin.
Step 2: Choose the Design
Choose a design that you want to transfer onto your skin. It can be anything from words to symbols or even a picture. Make sure that the design is in black and white for better visibility. Otherwise, you can use a black marker or pen to outline the design. It is essential to note that the design will appear as a mirror image when transferred onto your skin. You can use a computer to create and print out the design or draw it by hand. It is recommended to keep the design simple and not too intricate for easy transfer.
Step 3: Print the Design
If you are using a printer, make sure to use transfer paper for printing. The transfer paper has a slightly different texture on one side, which helps to transfer the ink to your skin efficiently. Make sure to follow the instructions provided by the manufacturer for the best results. Otherwise, you can draw the design by hand directly onto the transfer paper. You can also use a tracing paper to transfer the design onto the transfer paper. Once the design is ready, cut it out with scissors.
Step 4: Prepare Your Skin
Clean and dry the area of your skin where you want to transfer the ink. Use an alcohol wipe or rubbing alcohol to disinfect the area and remove any excess oils or dirt that may hinder the transfer process. It is essential to have a clean and dry surface for better adhesion of the ink. You can also use a moisturizer or lotion to prevent the ink from sticking to your skin. The lotion will create a barrier between your skin and the ink, making it easier to remove after the transfer process.
Step 5: Cut Out the Design
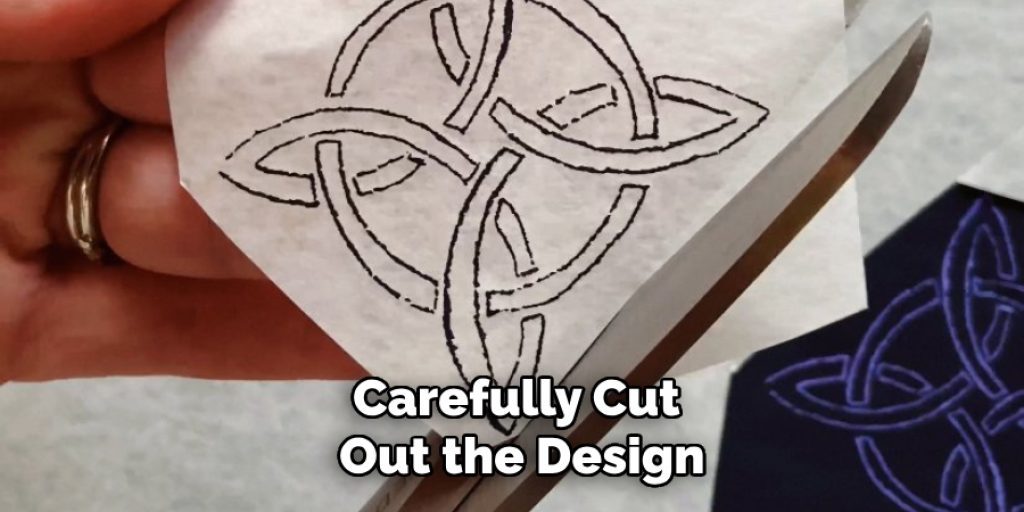
Carefully cut out the design from the paper, leaving some extra space around the edges for better handling and application. Use scissors to get clean and precise edges. But be careful not to cut the design itself. The design should be slightly smaller than the area of your skin where you want to transfer it. It is better to cut excess paper rather than have a design that is too big. You can also use a pen or marker to outline the design on the paper before cutting it out. It will help to position the design correctly on your skin.
Step 6: Apply Transfer Cream/Gel
If you are using a laser printer, apply a thin layer of transfer cream or gel onto your skin. Spread it evenly and make sure to cover the entire area where you want to transfer the ink. This will act as a medium to transfer the ink onto your skin. If you are using a water slide method, skip this step. It is essential to follow the instructions provided by the manufacturer for the best results. You can also use petroleum jelly as an alternative. It will work as a barrier between your skin and the ink. It is especially useful for sensitive skin types.
Step 7: Wet the Transfer Paper
If you are using a water slide method, wet the transfer paper with water before applying it to your skin. Make sure that the entire design is covered in water and that there are no dry spots. The transfer paper will start to loosen up, making it easier to remove after the transfer process. The water acts as a medium to transfer the ink from the paper onto your skin. You can also use a damp cloth or sponge to wet the paper. You can also use a water spray bottle for better control and coverage.
Step 8: Place the Design
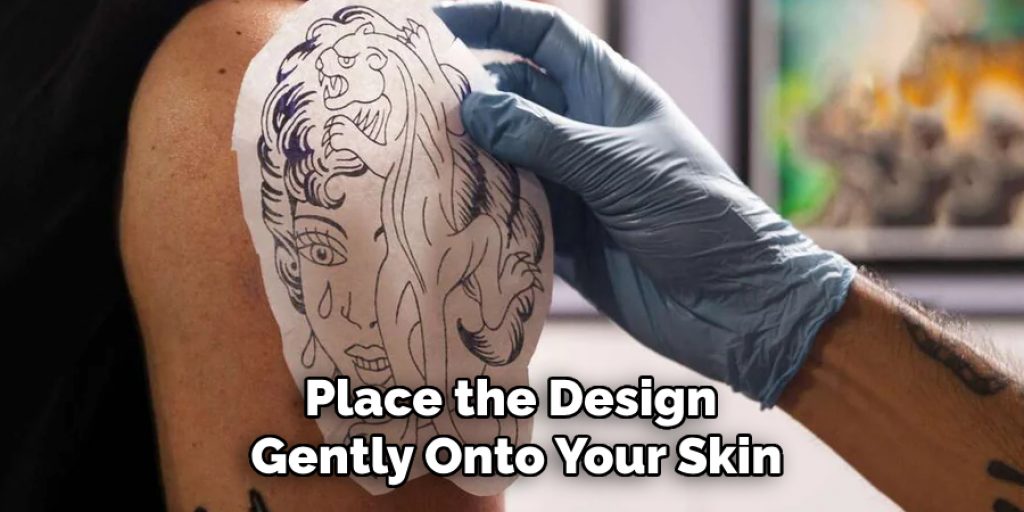
Place the design gently onto your skin, making sure that it is in the correct position. If you are using a laser printer, place it with the cream or gel side down on your skin. For the water slide method, place it with the wet side down. Make sure that there are no air bubbles or wrinkles on the paper, as it can affect the transfer process. Otherwise, the design may appear distorted or incomplete. The transfer paper should be in direct contact with your skin for better adhesion of the ink.
Step 9: Press and Hold
Press down gently on the paper, making sure that it is in contact with your skin properly. Hold it in place for 30 – 60 seconds to ensure that the ink has fully transferred onto your skin. Be careful not to move the paper or design during this time. You can also use a damp cloth or sponge to gently press down on the paper. If you are using a laser printer, make sure to remove any excess transfer cream or gel before pressing. Although the design may look darker when pressing, it will lighten after removing the paper. It is essential to press down evenly to avoid any patchy areas.
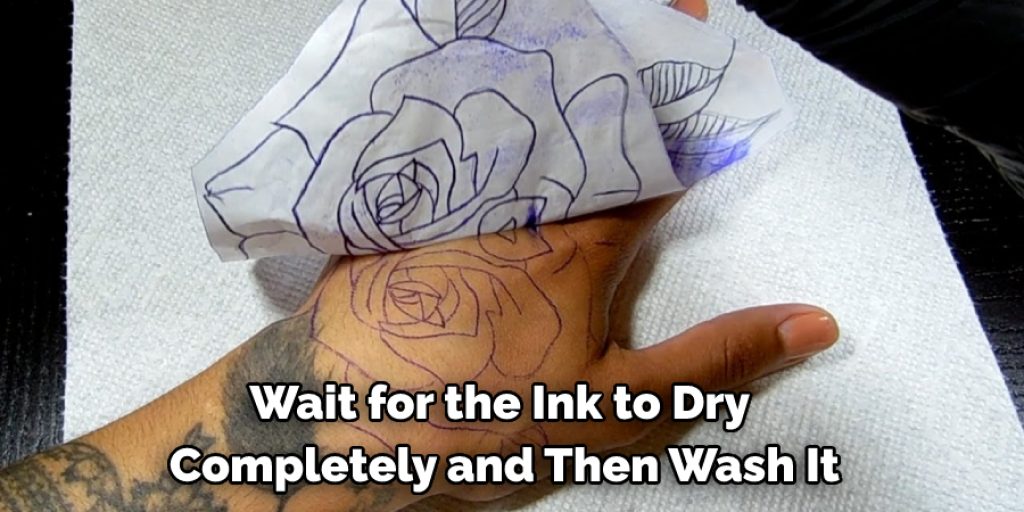
Step 10: Remove the Paper
After pressing and holding for 30 – 60 seconds, carefully remove the transfer paper from your skin. Start by peeling off one corner of the paper and slowly peel it back until the entire paper is removed. Make sure not to touch or smudge the design while removing the paper. If you see any areas where the design has not transferred properly, you can press down again in that area and carefully remove the paper again. It is important to be gentle and patient during this step. You can also use a damp cloth or sponge to help remove the paper.
Step 11: Let it Dry
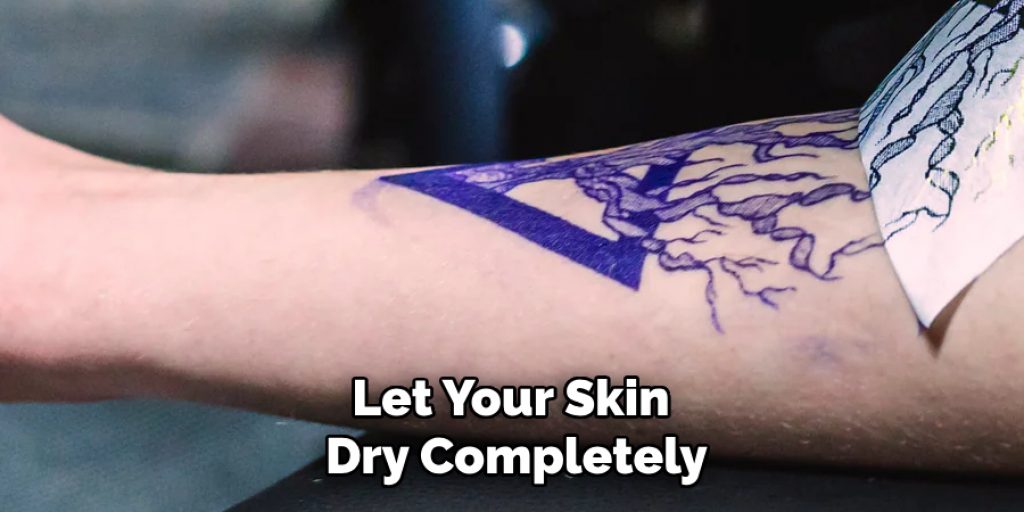
Once you have removed the paper, let your skin dry completely before touching or moving it. The ink may still be wet or smudged if not given enough time to dry. You can use a hairdryer on low heat for quicker drying. Avoid touching or rubbing the design while it is still wet, as it can affect the final result. It is essential to be patient and let it dry completely. You can also use a setting spray or clear adhesive to help the design last longer and prevent smudging. The design should last a few days to a week on your skin, depending on the placement and care.
Step 12: Remove the Design (Optional)
If you want to remove the design from your skin, it is best to use rubbing alcohol or baby oil. Soak a cotton pad with either one of these substances and gently rub it onto the design until it starts to fade and come off. Be patient and gentle, as rubbing too hard can irritate your skin. You can also use mild soap and water to remove the design. It is important to note that the design may take several days to completely disappear from your skin, depending on how much ink was transferred.
Following these steps will help you successfully transfer an ink design onto your skin. Remember to always take proper precautions and follow the instructions provided by the manufacturer for best results. Have fun and be creative with your temporary tattoo designs! Happy transfer printing!
Precautions While Transferring Ink From Paper to Skin:
Do not use a transfer that has been sitting out for a while. Ink may have dried up, and the chances of an infection increase. Also, after playing, be sure to wash your hands before touching your face or private areas!
Please do not use a paper towel to wipe away excess ink after you have transferred it. Paper towels are rough on the skin and will irritate any cuts or scratches. Instead, use an alcohol-free baby wipe or even just water in a pinch if necessary.
Ink stains, particularly black ink from Sharpie markers, can be stubborn to get off your skin even with exposure to soap, warm water, and scrubbing! Make sure you save some ink for a final touch after playing because then you can scrub, scrub, and scrub with no problem.
You may want to bring a towel to sit on while waiting for your design to dry so you do not stain up the furniture! Also, try placing a few sheets of watercolor paper over any chairs/furniture before playing.
Please do not use a transfer sitting out overnight or longer, as there is a chance it will be infected! Wash your hands before touching private parts.
How to Remove a Tattoo?
First of all, a tourniquet should be applied to the arm with the tattoo. The tourniquet’s job is to cut off the lymphatic system from draining fluid out of the area where your tattoo is located. There are many different kinds of tourniquets you can use. However, it’s important that whatever object you choose for a tourniquet remains tight enough to stop blood flow in your arm completely. I used pantyhose and tied them around my bicep tightly with a rubber band, but there are other options available as well. You could even use an actual belt or rope. Whatever you choose, make sure it stays on tight throughout the entire process! This will prevent any blood from leaving the site of your tattoo.
Next, fill a container with enough alcohol to soak the area of your arm where the tattoo is located. You can use either rubbing alcohol or vodka. I personally prefer vodka because it has less of an odor than rubbing alcohol, so it doesn’t irritate my nose as much, but you could also use whiskey if you have nothing else available. Once you have filled up the container, grab a cotton ball and squeeze out any excess liquid before applying it over the tourniquet.
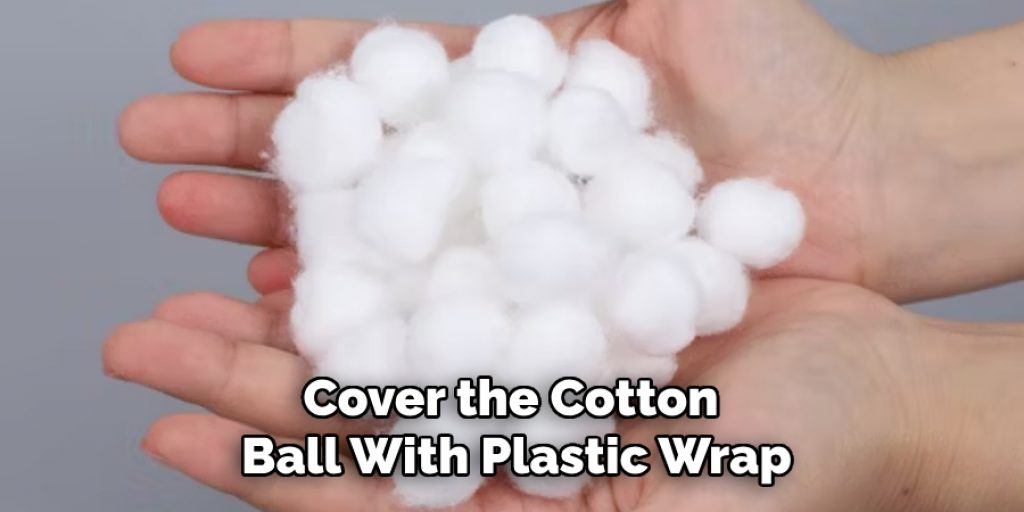
Next, cover the cotton ball with plastic wrap to prevent it from drying out too quickly, making sure that all edges are sealed well around your arm to avoid any unnecessary spills (trust me.. this part happens way too often ). The next step is crucial! As the bottle containing the alcohol is sitting, place it down on a table and grab one of your unused hand towels. The hand towel should be folded in two (a rectangle) with the fold facing away from you.
Take both ends of the towel and pull them out towards you to make it long before doubling it over again to form another rectangle shape. Now, grab some tape and secure each end so that when you do this step, no alcohol will spill onto your skin. Trust me; it happened way too many times for me, not to mention!
Once everything is taped up securely, slowly lift one side of the tourniquet while holding onto either side of the cotton ball using your other hand. Make sure that when lifting the top of the tourniquet, you leave enough room to squeeze your hand between the cuff and your skin. Next, quickly pour some alcohol onto the cotton ball before placing it back down into position on top of the tourniquet. This will ensure that no matter how long you hold up your arm, no blood will return to this area.
Once again, slowly lift the tourniquet while holding onto either side of the cotton ball using your other hand before pouring more alcohol onto it and replacing it in its original spot. Do this step 2-3 times until all of your tattoos are transferred over to paper or inside a plastic baggie if you need to save any for future use. Once all of the ink has been removed, place the cotton ball back into its original position and let go of your arm. If you did everything correctly, within 10 minutes, there should be no blood leaking through the tourniquet, meaning that you’re all done!
After 10 minutes have passed, remove the tourniquet and clean up excess ink with either an alcohol swab or some tissue paper (I use hand towels because they are larger). Let everything dry out before covering it back up with medical tape to prevent it from opening again. Finally, take the plastic off your tattoo, admire how awesome it looks on paper, label it accordingly and place it into a safe place until you decide whether or not to get this design permanently marked your skin!
Conclusion:
I hope this article has been beneficial for learning how to transfer ink from paper to skin. Ensure the precautions while performing the process. Thank you and have a nice day! Keep experimenting and have fun with your tattoos! Remember to always use clean materials and follow proper hygiene practices to avoid any infections or complications. And if you ever decide to remove a tattoo, make sure to follow the steps carefully for safe and effective removal.
Check out our article How to Make Custom Temporary Tattoos