How to Sew a Dog Bed
Do you have a pup that loves to cuddle up and snooze the day away? With some basic sewing skills, you can whip up a cozy doggie bed in no time! Making your own custom dog bed gives you complete control over size, shape, color, and fabric so it will fit seamlessly into your home.
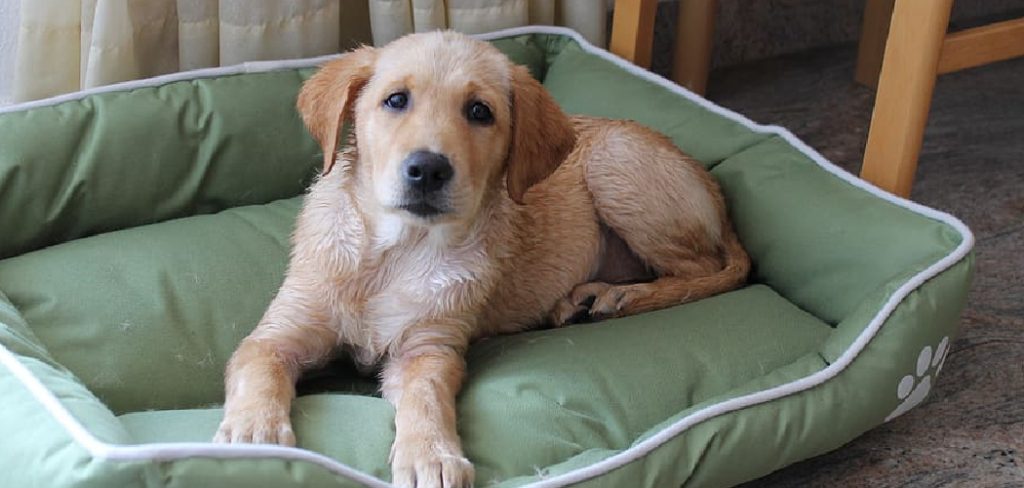
Whether this is your first time using a sewing machine or you’re an experienced seamstress looking for new ideas, we’ll walk you through all the steps to help make Fido’s nap spot the envy of his canine chums. In this comprehensive guide, we’ll explore how to sew a dog bed. So grab some fabric and thread — let’s get ready to sew!
What Is the Best Filling for a Dog Bed?
When it comes to filling a pet bed, there are various options available. The ideal choice will depend on the individual needs of your dog and the type of bed you’re creating.
One popular option is foam, which provides cushioning for joint pain or aging dogs. To ensure that your pup has maximal comfort, make sure to choose foam that is high-density and of good quality.
Another great option is polyfill, which is a synthetic material often used in quilting projects. It’s lightweight yet provides ample cushion and softness for your pup to rest comfortably. Polyfill also offers better breathability than other types of fillings, such as down or feathers, so it helps keep the bed cooler.
Finally, you may want to consider using cedar shavings as an economical alternative that still offers plenty of comforts while helping fight odors and repel fleas and mites. This type of filling should be placed inside a cover to prevent it from spreading around the house.
No matter what type of filling you choose for your pet’s bed, make sure it is safe and comfortable for your dog. After all, a good night’s sleep is just as important for them as it is for us!
10 Methods How to Sew a Dog Bed
1. Choose the Right Fabric
When choosing fabric for your dog bed, you will want to consider both durability and comfort. Some good options for fabric include denim, corduroy, and canvas. Avoid using fabrics that are too delicate, as they will not be able to stand up to your dog’s nails and teeth. To make sure the fabric is soft and comfortable for your pup, you should test it out with your own hands. Although you may be tempted to use fur or fleece, these fabrics are not suitable for dogs as they can easily be chewed and torn.
2. Choose the Right Fill
The type of filling you use for your dog bed is also important. Some good options include memory foam, polyester fiberfill, and cotton batting. Avoid using straw or hay, as these can be uncomfortable for your dog and may also attract insects.
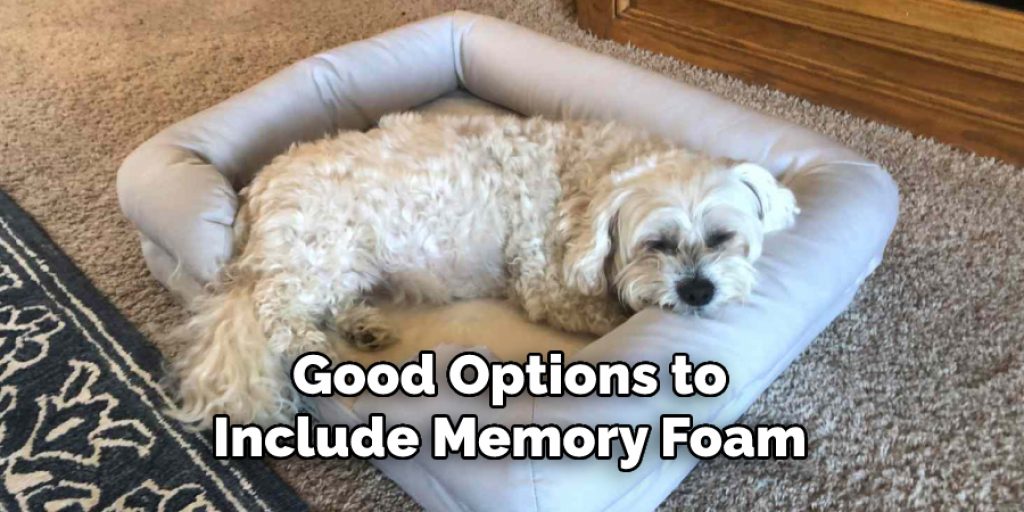
Consider your dog’s size and sleeping habits before you decide what fill to use. For example, a larger breed may need more support than smaller breeds so memory foam may be the best choice. You can also experiment with different thicknesses of fill to see what your dog prefers.
3. Measure Your Dog
Before you begin sewing your dog bed, you will need to take accurate measurements of your dog. This will ensure that the bed is the right size for your pet. Be sure to measure from the top of your dog’s head to the base of its tail and around its chest at the widest point. Also, measure the length and width of your dog’s sleeping area if you are using existing blankets or an existing bed.
Knowing these measurements will help you determine how much fabric and stuffing you will need for the project. To make the bed extra comfortable, you may also want to add additional stuffing. However, make sure not to overstuff the bed as it will be difficult for your dog to lay down and get comfortable.
4. Cut Out the Pieces
Once you have measured your dog, you can cut out the pieces for their bed. You will need two rectangles for the top and bottom of the bed and two circles for the sides. If you are using a patterned fabric, you may want to cut out additional pieces for the top and bottom so that the pattern is centered on each side of the bed.
Once the pieces are cut, place them right side up and pin them together. If you are using a patterned fabric, make sure to match the pattern on each side. Additionally, if you are using a thicker fabric such as canvas or fleece, it may be easier to pin the pieces together rather than trying to pin them individually.

5. Sew the Pieces Together
After you have cut out all of the pieces for your dog bed, it is time to start sewing them together. Begin by sewing the two rectangles together along one long side, then sew one of the circles to each end of this seam. Next, sew the remaining two circles together along their edges, then sew this seam closed. Finally, sew the seam between the two circles to one of the long seams of the rectangle.
Once all of your pieces are together, and you have finished your seams, you should end up with an almost completed dog bed. Turn the bed right side out and stuff it with any desired filling.
6. Turn Right Side Out
Once all of the seams have been sewn shut, you can turn your dog bed right side out through one of the open ends. Use a chopstick or other sharp object to help push out all of the corners so that they are nice and sharp. Make sure that all of the seams are on the inside and everything is neatly tucked in.
If necessary, trim away any excess fabric along the seams. While you’re at it, trim away any loose threads. However, be careful not to cut any of the stitches. Make sure that your bed is completely turned right side out.

7. Fill with Fill
Once your dog bed is turned right side out, it is time to fill it with whichever type of fill you have chosen. If you are using memory foam, polyester fiberfill, or cotton batting, you will want to stuff these materials into each corner of the bed until it is full. If you are using straw or hay, simply place these materials into the center of the bed until it is full.
Make sure to leave a little extra fill in each corner and side of the bed, as this will help keep its shape and make it more comfortable for your pup. While stuffing the bed, make sure to fluff up the fill to ensure even comfort all around. Additionally, it is important to note that if you plan to wash your dog’s bed regularly, you will want to choose a fill that can be safely washed and dried.
8. Sew Closed End Shut
Once your dog bed is filled with fill material, you can sew shut the open end using a needle and thread or a sewing machine. If you are using a sewing machine, be sure to backstitch the seam at least twice so that it will stay strong and secure for your pup. As a finishing touch, you can add decorative elements such as ribbon or fabric paint to make your dog bed more personalized to your pup. Finally, let your pup enjoy their newly made bed!
9. Add Decorative Touches
You may also want to add some decorative touches to your dog’s bed. For example, you can sew on decorative ribbons or buttons along the top of the bed. If you are feeling adventurous, you can even crochet or knit a cover for your pup’s bed! Adding extra personal touches will make your pup’s bed even more special. If you choose to add a fabric trim or ribbon, be sure that it is tightly sewn on and won’t be easily removed by your pup.
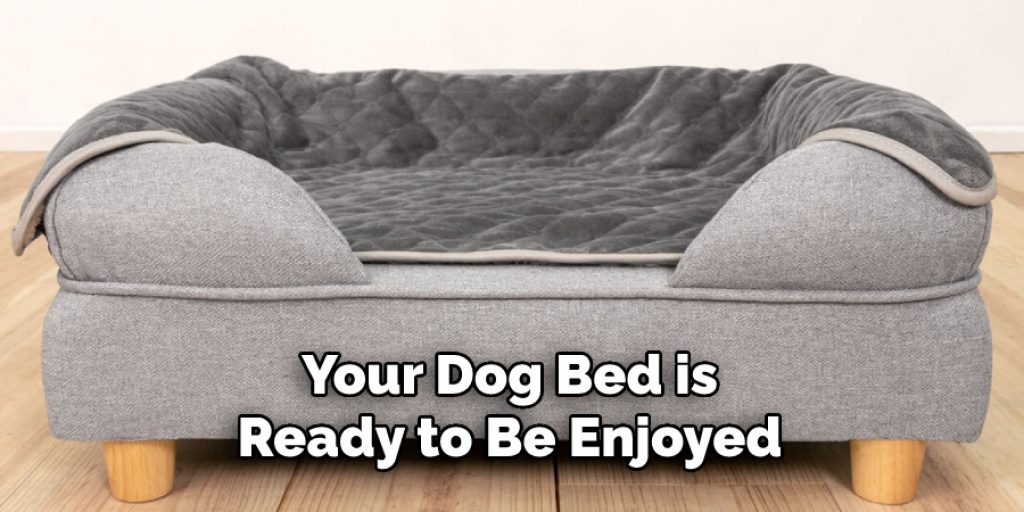
10. Enjoy Your New Dog Bed
Once you have finished all of these steps, your dog bed is ready to be enjoyed by your furry friend! Place it in your pet’s favorite spot and watch their face light up when they discover it. With a little bit of time and effort, you have created something that will last for years to come. Every time your pup comes to curl up in their special bed, you can feel proud knowing that you made it with your own two hands.
Things to Consider When Sewing a Dog Bed
1. Choose the Right Fabric
Select a tough, durable fabric that can stand up to wear and tear while still being comfortable for your pet. Consider a waterproof material if your pet is likely to have accidents or tends to drool.
2. Measure Your Dog
Measure your dog before you start sewing to determine the right size for their bed. A good rule of thumb is that the bed should be large enough for them to stretch out and turn around comfortably.
3. Consider Collapsibility
If you don’t have a lot of space for a permanent dog bed, think about creating one that can easily be folded up and stored away when not in use. This will also make transporting it from room to room much easier.
4. Choose the Right Filling
Padding materials like foam, memory foam, polyester fill, or cedar shavings are all suitable for stuffing your dog bed. Make sure that whatever you choose is comfortable enough for your pet’s needs and won’t start to bunch or flatten over time.
5. Add Decorative Features
To give your bed a unique look, consider adding decorative features such as buttons, ribbons, appliqués, and embroidery. These can also help to make the bed more personalized for your pet.
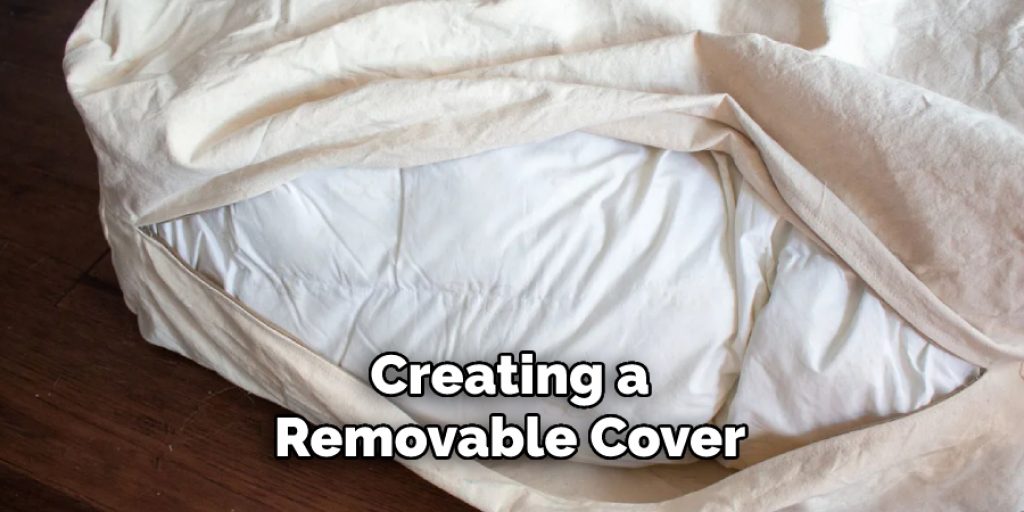
6. Consider Cleaning Options
Depending on the fabric used, it may be possible to machine-wash or hand-wash the cover of the bed when it gets dirty. If this isn’t an option, think about creating a removable cover so that you can easily take it off and clean it.
Conclusion
Sowing a dog bed may seem daunting, but with the right skill set and confidence, it can be done! Take your time and practice basic stitches in order to get comfortable with the overall process.
Even if you end up with a slightly wonky-looking finished product, your pup will appreciate the effort – after all, they aren’t interested in aesthetics, only comfort! Thanks for reading our blog post on how to sew a dog bed! We hope you found it helpful and informative. Happy sewing!
Angela Ervin
Angela is the executive editor of DIY quickly. She began her career as an interior designer before applying her strategic and creative passion to lifestyle and home. She has close to 15 years of experience in creative writing and online content strategy for housekeeping, home decorations as well as other niche efforts. She loves her job and has the privilege of working with an extraordinary team. She lives with her husband, two sons, and daughter in Petersburg. When she's not busy working she spent time with her family.