How to Sew a Drawstring Bag
Are you looking for a cute and easy sewing project? Look no further! In this tutorial, we will show you how to sew a drawstring bag that is perfect for carrying small items or even as a gift bag for special occasions.
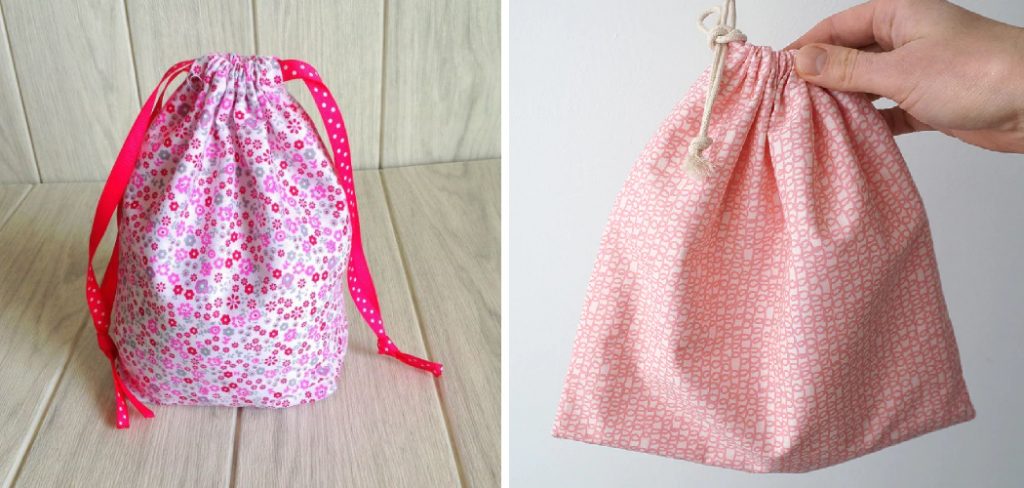
Whether you are a beginner or an experienced crafter, sewing a drawstring bag is a fun and rewarding project. These versatile bags can be used for anything from carrying gym clothes to storing small items or even as a personalized gift bag. This guide will walk you through the simple steps to create your own drawstring bag.
You’ll learn about the materials needed, cutting the fabric, sewing the pieces together, and finally, adding the drawstring. With just a few basic sewing skills and some creativity, you’ll be able to craft a functional and stylish bag.
What are the Benefits of Sewing a Drawstring Bag?
- Versatility: Drawstring bags can be used for various purposes – from carrying small items like keys and wallets to storing clothes, shoes, and other accessories. They are also great as gift bags for special occasions.
- Cost-effective: Making your own drawstring bag is an affordable alternative to buying one. You can use scrap fabric or repurpose old garments to create a unique and personalized bag.
- Eco-friendly: By making your own drawstring bag, you reduce the use of plastic bags or other disposable containers. This is not only good for the environment but also helps to promote sustainable living.
What Will You Need?
- Fabric: You can choose any fabric of your choice, such as cotton, linen, or canvas. Make sure to prewash and iron the fabric before starting.
- Scissors: A good pair of fabric scissors is essential for cutting the fabric neatly.
- Sewing Machine: While you can hand sew a drawstring bag, using a sewing machine will make the process quicker and more efficient.
- Thread: Choose a thread that matches the color of your fabric.
- Ruler and Measuring Tape: These tools will help you to measure and cut the fabric accurately.
- Pins or Clips: These are used to hold the fabric pieces together while sewing.
- Safety Pin: You’ll need this to thread the drawstring through the bag.
- Drawstring Cord: You can use a pre-made drawstring or make your own using a thin strip of fabric.
Once you have gathered all the necessary materials, it’s time to start sewing!
10 Easy Steps on How to Sew a Drawstring Bag
Step 1: Cutting the Fabric
First, determine the desired size of your drawstring bag and add an extra inch for seam allowance. Using a ruler and measuring tape, mark and cut two pieces of fabric accordingly. These pieces will serve as the front and back of your bag. Additionally, cut a strip of fabric for the drawstring, ensuring it is about four times the length of your bag’s opening.
Step 2: Hemming
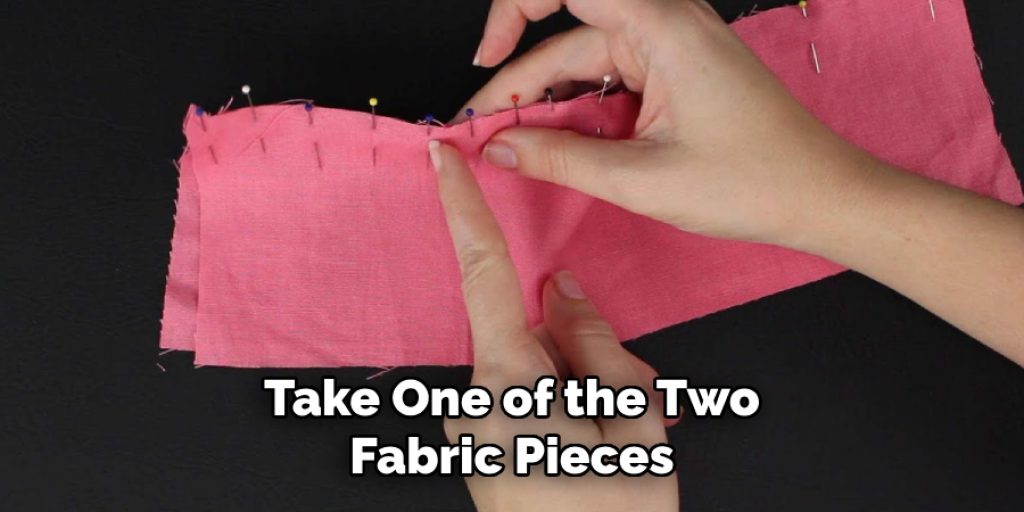
Take one of the two fabric pieces and fold over a quarter-inch on each long side. Iron to create a crease and then fold over again, this time by half an inch. Iron and pin in place. This double fold creates a neat edge and prevents fraying. Repeat the process for the other piece of fabric. Using a sewing machine, stitch close to the inner folded edge to secure the hem in place. Do this for both fabric pieces, ensuring your stitches are straight and even for a professional-looking finish.
Step 3: Creating the Channel for the Drawstring
Align the top edges of both fabric pieces. Measure and mark two inches down from the top on both sides of each piece. This will be where the drawstring channel starts. From these marks, fold the top edge down, creating a flap that will become the channel for the drawstring. Iron the fold to keep it in place, then pin. Sew along the bottom edge of the fold on both pieces of fabric, backstitching at the beginning and end to secure. Be careful not to sew the channel shut.
Step 4: Sewing the Sides Together
Now that you have created the channels for the drawstring place the two pieces of fabric right sides together, aligning the edges carefully. Use pins or clips to hold the fabric in place. Starting just below the drawstring channel, sew one side of the bag using a half-inch seam allowance.
When you reach the bottom corner, turn the fabric and continue sewing along the bottom edge. Repeat this process on the other side of the bag, but remember to leave the drawstring channel openings unsewn. Backstitch at the beginning and end of your seams to ensure durability.
Step 5: Turning the Bag Right Side Out
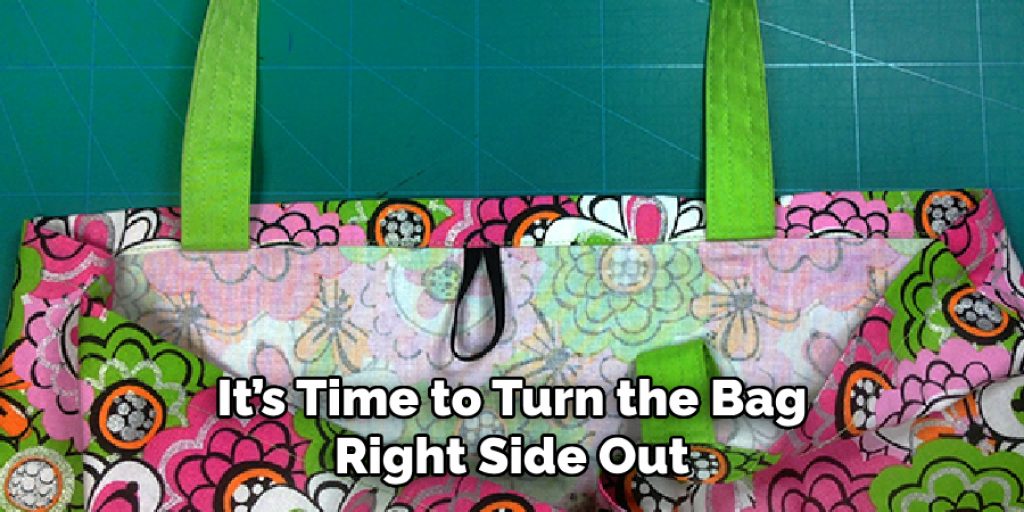
After sewing the sides together, it’s time to turn the bag right side out. Carefully poke out the bottom corners with a blunt object to get a nice sharp corner, but be careful not to puncture the fabric. Iron the seams flat to give your bag a more professional finish. The opening at the top for the drawstring should be taking shape, with the channels clearly formed on each side of the bag.
Step 6: Threading the Drawstring
Using a safety pin, attach it to one end of the drawstring cord or fabric strip. This will make it easier to thread through the channels you’ve created. Start at one side of the bag, insert the safety pin into the channel, and gently push it through to the other side, dragging the drawstring along with it.
Pull the ends to even it out once the drawstring has been threaded all the way through. Repeat this process on the other side of the bag, using a new drawstring piece. Ensure both drawstrings are threaded through opposite sides so that when pulled, they cinch the bag closed evenly.
Step 7: Securing the Drawstring Ends
To prevent the drawstring from fraying and to keep it securely in place, tie each of the ends in a tight knot. If you’re using fabric strips as your drawstring, consider sewing the ends to prevent them from unraveling. Alternatively, you can add decorative beads or tassels to the ends of the drawstrings, threading them on before tying the knots to give your bag a personalized touch. Ensure the knots are large enough to not slip through the channels, effectively keeping the drawstring intact when the bag is cinched closed.
Step 8: Finishing Touches
Once the drawstrings are securely in place, take a moment to inspect your bag for any loose threads or uneven seams. Trim any excess threads and correct any imperfections to ensure your bag looks neat and professionally made. Finally, if you wish, you can decorate your drawstring bag with fabric paint, embroidery, or appliques to personalize it further.

This step is optional but adds a unique touch to your creation, making it truly one-of-a-kind. Your drawstring bag is now complete and ready to be used for carrying items, gifting, or as a stylish accessory.
Step 9: Care and Maintenance
It’s important to follow proper care and maintenance guidelines to ensure your drawstring bag remains in great condition. Wash the bag in cold water on a gentle cycle or by hand if it’s decorated with delicate items like beads or embroidery. To dry, gently wring out excess water and lay it flat on a towel, reshaping it as necessary. Avoid using high heat in a dryer as it may shrink the fabric or damage any special decorations. Regular care will keep your drawstring bag looking its best for years to come, whether it’s used for everyday needs or as a special gift.
Step 10: Exploring Further Customizations
Now that you’ve mastered the basics of sewing a drawstring bag consider exploring further customizations to make each bag uniquely yours. Experiment with different sizes and shapes, or vary the fabric combinations for contrasting inner and outer layers.

Adding pockets on the inside or outside can increase functionality, providing a handy space for smaller items. Use recycled materials or old clothing to create your bags for an eco-friendly twist. The possibilities are endless, and each variation allows you to hone your sewing skills further while creating something both practical and personal.
By following these steps, you can easily create drawstring bags for yourself or as gifts for others. With practice and experimentation, you’ll become confident in your sewing abilities and be able to customize your bags to fit any need or style.
5 Additional Tips and Tricks
- Pre-Wash Your Fabric: Before starting your project, pre-wash your fabric. This will prevent any unwanted shrinking after your bag is made, especially if you intend to use or gift it for items requiring frequent laundering.
- Reinforce Seams at Stress Points: When the drawstrings exit the bag, reinforce your seams. This can be accomplished by backstitching over these areas a few times. It ensures your bag can withstand the weight of its contents without tearing.
- Use a Rotary Cutter for Precision: For more accurate and clean cuts, use a rotary cutter and a cutting mat. This tool allows for straighter lines and more precise measurements, which is particularly helpful when cutting out your fabric pieces.
- Experiment with Different Drawstring Materials: While traditional drawstrings can be made from the same fabric as the bag or simple cord, experimenting with different materials such as ribbon, suede lace, or braided leather can add a unique touch to your drawstring bag.
- Add Interior Pockets for Organization: Consider adding one or more pockets to the inside of your bag. This can be a great way to keep smaller items organized and easily accessible. You can customize the size of the pockets based on what you plan to carry in the bag.
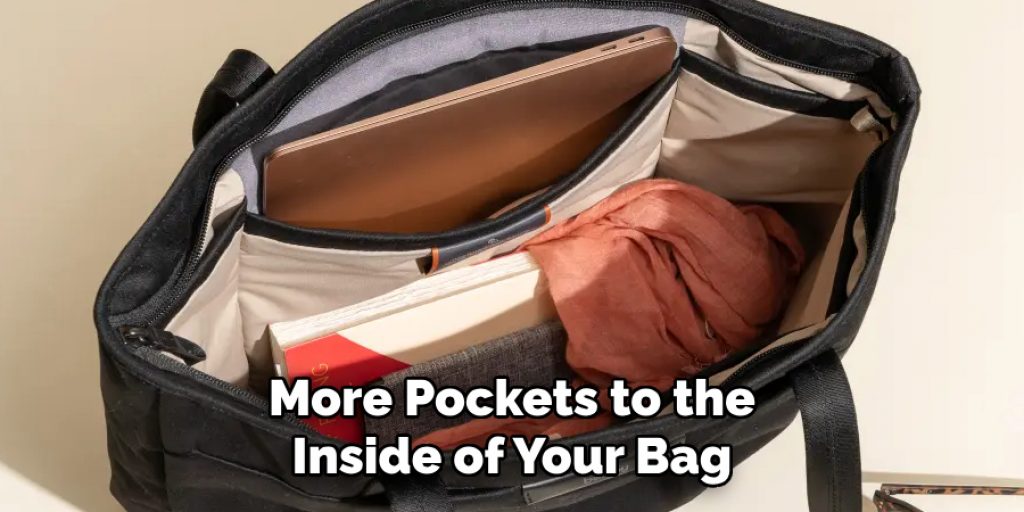
With these additional tips and tricks, you can elevate your drawstring bag-making skills and create a more professional-looking finished product. Don’t be afraid to get creative and try new techniques to make your bags stand out!
5 Things You Should Avoid
- Skipping the Fabric Pre-Wash: Failing to pre-wash your fabric can shrink or warp after your bag is completed, especially if the bag gets wet or washed. Always pre-wash to maintain the shape and size of your drawstring bag.
- Ignoring Grainline Directions: Not cutting your fabric according to the grainline can result in a bag that doesn’t hang properly or looks skewed. The fabric has a grainline that should be respected to ensure the final product looks professional and functions well.
- Using Low-Quality Materials: Compromising the quality of your fabric or drawstring can drastically impact the durability and appearance of your bag. Opt for high-quality materials that can withstand wear and tear, especially if the bag will be used frequently.
- Forgetting to Reinforce Seams: Neglecting to reinforce seams, particularly at stress points like where the drawstring exits the bag, can lead to tears or breaks under weight. Reinforcement ensures your bag remains sturdy and functional over time.
- Overlooking the Importance of a Test Run: Especially if you’re trying a new pattern or material, not doing a test run can lead to errors on your final product. Practice with a similar but less expensive fabric first to catch any potential mistakes before they happen on your primary material.
By avoiding these common mistakes, you can ensure your drawstring bag-making process goes smoothly and produces a high-quality finished product.
5 Different Ways to Customize Your Drawstring Bag
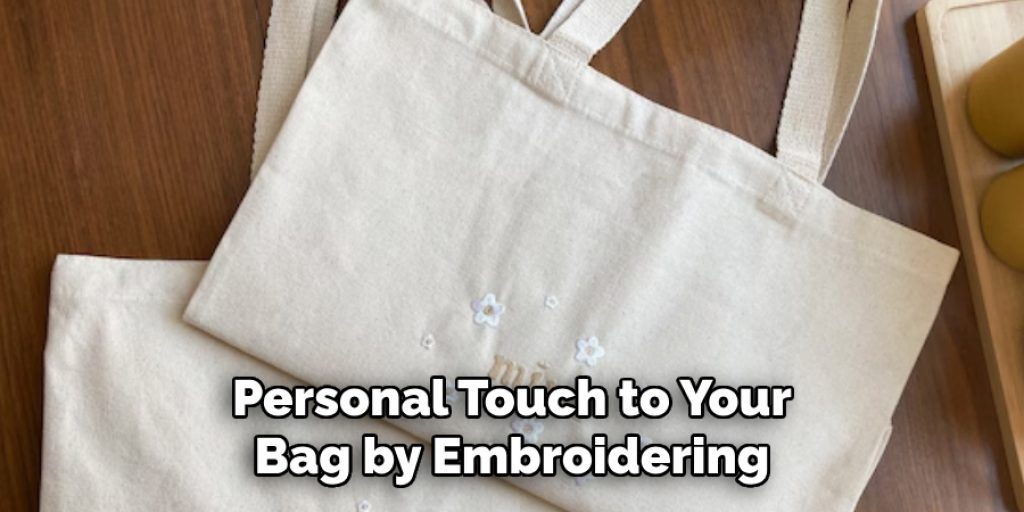
- Embroidery or Applique: Add a personal touch to your bag by embroidering or appliqueing on it. You can add initials, a name, or even a small design to make your bag unique.
- Fabric Paint or Markers: Use fabric paint or markers to decorate your bag with colorful designs or patterns. This can be a fun and creative way to customize your bag, perfect for children’s bags or as gifts.
- Fabric Patches: Sew on fabric patches that represent your interests or style. You can choose from various patches such as animals, food, sports teams, or even your favorite TV shows.
- Pom Poms or Tassels: Add a playful and bohemian touch to your bag by attaching pom poms or tassels to the ends of the drawstrings. This is a fun way to add texture and color to your bag.
- Buttons or Charms: Sew on buttons or attach small charms to your bag for added embellishment. You can choose buttons in different colors, shapes, and sizes to create a unique and eye-catching design. Charms can also add a touch of personality to your bag.
These are just a few ideas for personalizing your drawstring bag, but the possibilities are endless. Get creative and have fun customizing your bags!
What Type of Fabric is Best for a Drawstring Bag?
When making a drawstring bag, choosing the right fabric for the job is important. The best type of fabric for a drawstring bag is lightweight and durable, with enough structure to hold its shape but also soft enough for comfortable use. Some good options include cotton, canvas, denim, or even linen. It’s also important to consider the weight of your fabric, as a heavier-weight fabric may be more suited for bags that will carry heavier items.
Additionally, look for a fabric with a tighter weave to prevent small items from slipping through the fabric. Ultimately, the best type of fabric for your drawstring bag will depend on its intended use and personal preference in terms of texture and appearance. Doing a test run with different fabrics is always a good idea before committing to one for your final product.
So, choose the fabric that best fits your needs and desired aesthetic for a successful drawstring bag sewing project.
How Do You Sew a Small Drawstring Bag With Lining?
Sewing a small drawstring bag with lining may seem intimidating, but it’s actually quite simple. Here is a step-by-step guide on how to sew one:
- Choose Your Fabric: As mentioned in the previous section, select a lightweight and durable fabric for your bag.
- Cut Out Your Pieces: Cut out two rectangles of fabric for the outer bag and two for the lining, all of equal size. You can decide on the dimensions based on your desired bag size.
- Sew the Outer Bag: Place the two outer fabric pieces on the right sides together and sew along three edges, leaving one short edge open.
- Sew the Lining: Repeat step 3 with the two lining fabric pieces, but this time leave a small opening for turning the bag right side out.
- Attach the Lining to the Outer Bag: Place the outer bag inside the lining, with the right sides together. Align the top edges and sew all around.
- Turn the Bag Right Side Out: Carefully turn your bag right side out through the small opening in the lining. Then, sew the opening closed.
- Create the Drawstring Casing: Fold down the top edge of your bag and sew all around, leaving a small opening for the drawstring to come through.
- Insert Drawstring: Cut a piece of cord or ribbon long enough to go around the bag twice. Throw it through the casing and tie the ends together using a safety pin.
- Finish the Bag: Pull the drawstring to gather and close your bag, then tie a secure knot.
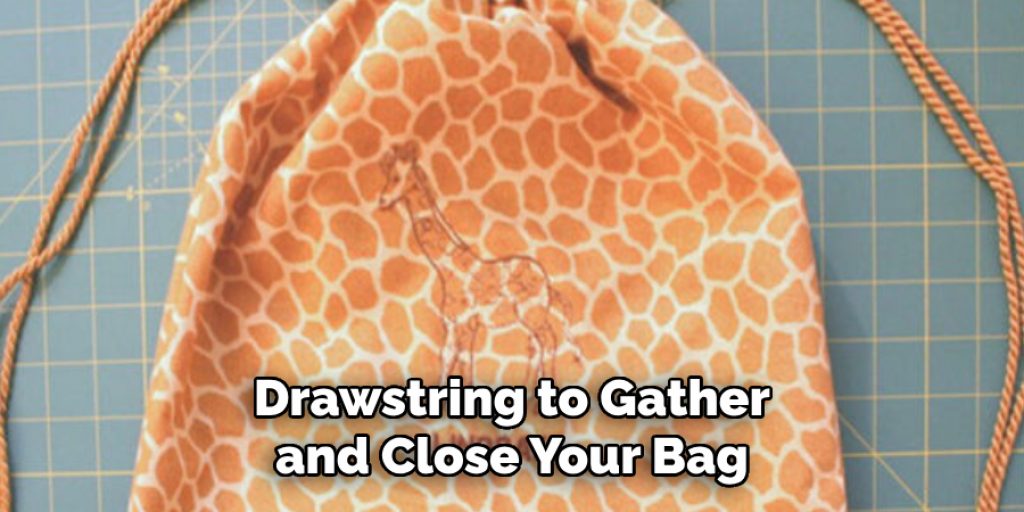
And that’s it! You now have a small drawstring bag with lining. Experiment with different fabrics and embellishments to create a unique and personalized bag.
Conclusion
How to sew a drawstring bag with a personalized touch not only imbues it with a sense of accomplishment but also provides an endlessly adaptable accessory suitable for various needs. From selecting the perfect fabric that combines durability with aesthetic appeal to customizing your creation with unique embellishments, each step in the sewing process offers an opportunity to infuse personality into your project.
Remember, the key to a successful drawstring bag lies in paying attention to the fine details, such as reinforcing seams and choosing high-quality materials. Whether you’re making a gift, organizing your belongings, or simply indulging in a creative endeavor, the skills you’ve honed in sewing a drawstring bag with lining are invaluable.
Equipped with these techniques and creative insights, you’re well-prepared to tackle even more sewing projects in the future, continually expanding your crafting expertise.

