How to Sew in Elastic Waistband
Sewing in an elastic waistband is a useful skill to have as it allows you to create versatile and comfortable clothing. Whether you’re making your own clothes, altering store-bought garments, or just looking to add a custom waistband to your project, knowing how to sew in an elastic waistband will come in handy.
The main advantage of learning to sew in elastic waistband is that it allows you to customize your clothing to fit your body perfectly. Elastic waistbands are perfect for any kind of fabric, from lightweight and flowy materials like cotton to heavier fabrics like denim.
With the right sewing techniques, you can easily create an elastic waistband that will provide a comfortable and snug fit without feeling too tight or restrictive. In this blog post, You will learn in detail how to sew in elastic waistband.
What Type of Elastic is Best for Waistbands?
Elastic is a material that is commonly used in clothing and accessories to provide stretch and flexibility. It can be made from various materials, such as rubber or spandex, and comes in different types and sizes. When it comes to waistbands, the type of elastic used can greatly affect the comfort and fit of the garment. In this article, we will discuss the different types of elastic and determine the best type for waistbands.
Types of Elastic:
1. Braided Elastic
Braided elastic is made up of several strands of rubber or latex that are woven together to create a strong and durable band. It is commonly used in waistbands for undergarments, swimwear, and sportswear as it provides good stretch and recovery.
2. Knitted Elastic
Knitted elastic is made by knitting together strands of rubber or latex to create a stretchy and soft band. It is often used in waistbands for lightweight fabrics, such as lingerie and casual wear, as it provides a comfortable fit without being too tight.
3. Woven Elastic
Woven elastic is made from woven fibers, such as cotton or polyester, with rubber or latex threads woven in. It is known for its strength and durability, making it suitable for heavy-duty waistbands on pants and skirts.
4. Clear Elastic
Clear elastic, also known as transparent elastic, is a type of elastic that is made from clear plastic material. It is often used in swimwear and undergarments as it provides a secure and discreet fit without being visible.
Step-by-step Instructions for How to Sew in Elastic Waistband
Step 1: Inspect the Fabric
Before sewing in elastic waistband, it is important to inspect the fabric you will be working with. Make sure there are no tears or weak spots as the elastic band will put pressure on these areas. Measure around your waist and cut a piece of elastic that is approximately 2-3 inches smaller than your measurement. This will allow the elastic to stretch and provide a comfortable fit.
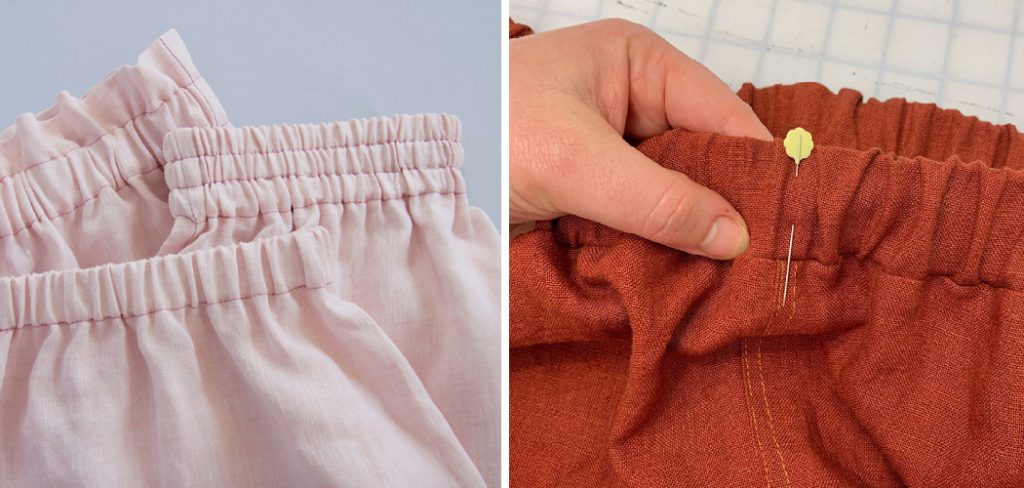
Step 2: Pin Elastic on Fabric
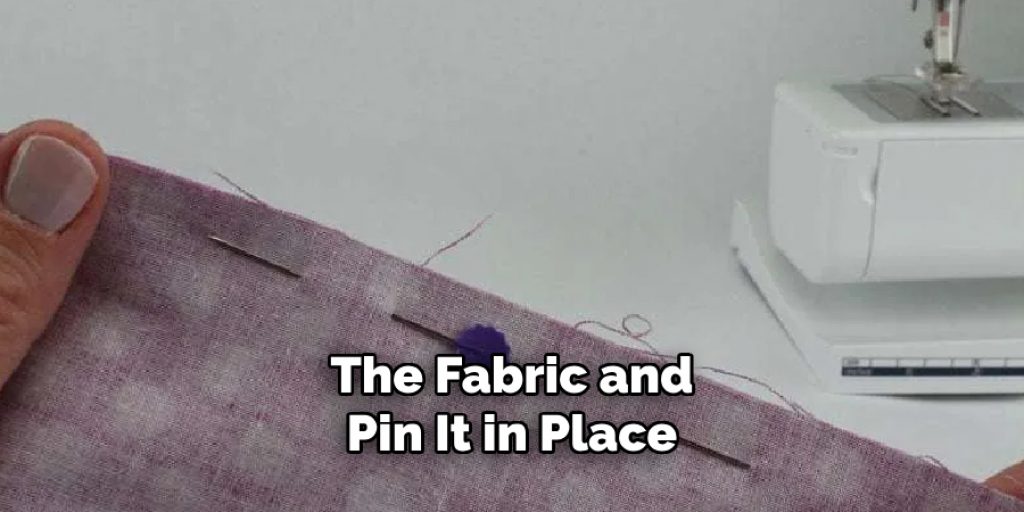
Place the fabric on a flat surface and fold over the waistband. Then, place the elastic band along the folded edge of the fabric and pin it in place. Make sure that the pins are facing outwards so they can easily be removed while sewing. Using a zigzag stitch, sew along the top and bottom of the elastic band to secure it in place. Make sure to stretch the elastic as you sew to ensure an even distribution of tension.
Step 3: Remove Pins
Once you have finished sewing, remove all the pins from the fabric and elastic band. Fold over the waistband again, this time covering the elastic band. Use an iron to press along the folded edge, creating a clean and neat look.
Step 4: Sew Along Folded Edge
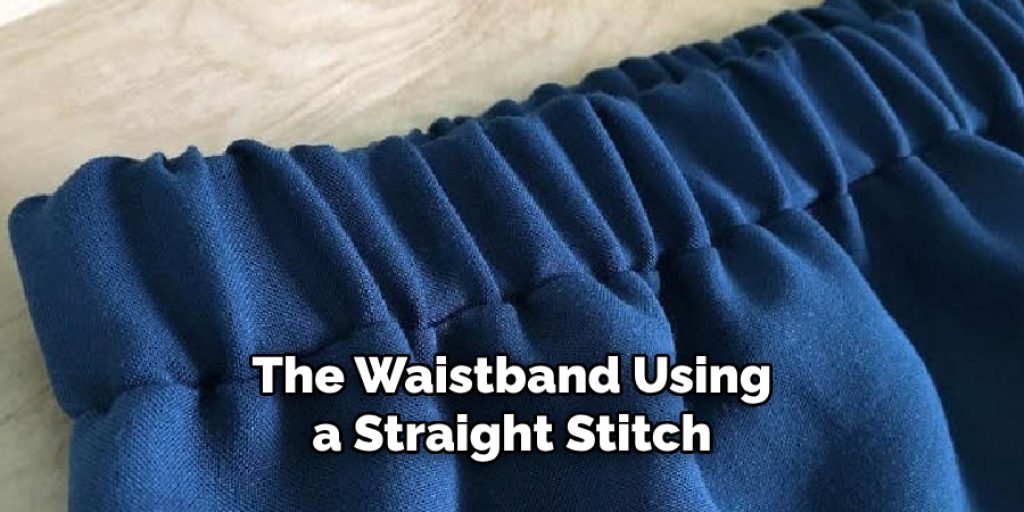
Sew along the folded edge of the waistband using a straight stitch. This will secure the fold in place. Fold over the waistband again, this time creating a casing for the elastic band. Pin in place and sew along the bottom edge, leaving a small gap to insert the elastic.
Step 5: Insert Elastic
Using a safety pin, guide the elastic through the casing until it comes out on the other side. Overlap the two ends of elastic by about an inch and sew them together using a zigzag stitch. Once the elastic is secured, close the gap in the casing by sewing it shut with a straight stitch. And that’s it, your elastic waistband is now complete. Try on your garment to ensure a comfortable and snug fit.
While braided elastic is great for stretch and recovery, knitted elastic is ideal for lightweight fabrics, woven elastic for heavy-duty garments, and clear elastic for a discreet fit. When sewing in an elastic waistband, be sure to inspect your fabric, cut the elastic to size, and follow the steps carefully for a comfortable and well-fitted result.
Safety Tips for How to Sew in Elastic Waistband
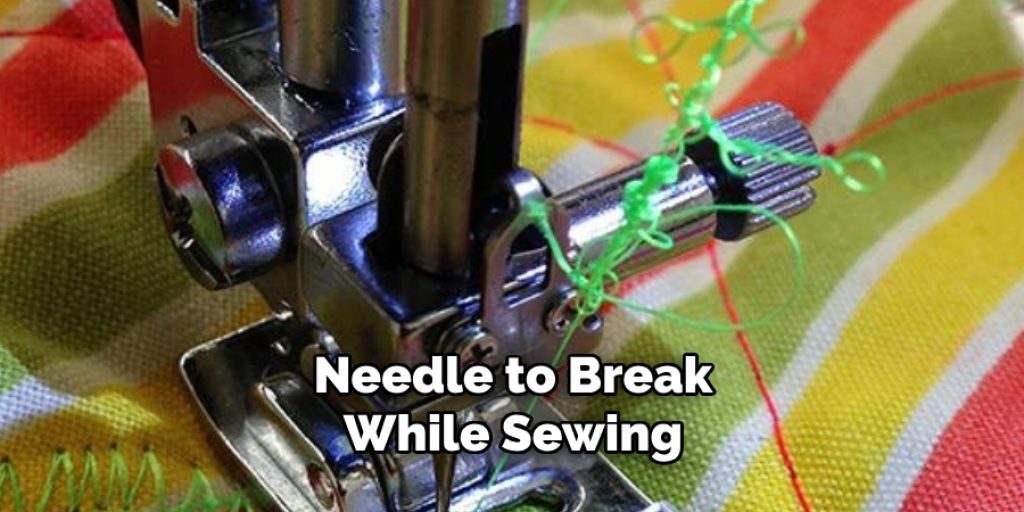
- Always Use Sharp Needles: Using dull or damaged needles can cause the needle to break while sewing, which can lead to injuries. Make sure to change your sewing machine needle regularly and use the correct size and type of needle for your fabric.
- Wear Protective Gear: Sewing may seem like a harmless activity, but accidents can happen. It is important to wear protective gear such as safety glasses or goggles to protect your eyes from flying debris and dust.
- Keep Your Workspace Clean: A cluttered workspace can lead to accidents and injuries. Make sure to keep your sewing area clean and organized, especially when working with sharp tools like scissors or pins.
- Take Breaks: Sewing for long periods of time can cause strain on your body, leading to injuries such as muscle cramps and eye strain. Remember to take breaks every hour or so, stretch your muscles, and rest your eyes.
- Use Proper Lighting: Sewing in low-light conditions can cause eyestrain and make it difficult to see what you are doing. Make sure to have enough lighting in your workspace, either natural light or a good quality lamp, to avoid any accidents or mistakes.
- Beware of Pins: When sewing in an elastic waistband, it is common to use pins to hold the fabric in place. Be careful when handling pins and make sure to remove them as you sew so you don’t accidentally prick yourself.
- Read Instructions Carefully: Before starting any sewing project, make sure to read and understand the instructions carefully. This will not only help you avoid mistakes but also prevent any accidents while using tools or equipment.
In addition to these safety tips, it is also important to practice good ergonomic habits while sewing. This includes maintaining proper posture, adjusting your machine and workspace to suit your body’s needs, and taking frequent breaks to avoid strain on your muscles and joints.
What is the Best Way to Sew a Casing for the Elastic Waistband?
To sew a casing for an elastic waistband, you have a few different options. The best method to use will depend on your personal preference and the type of garment you are making. Here are some popular techniques:
Using Fold-over Elastic (FOE)
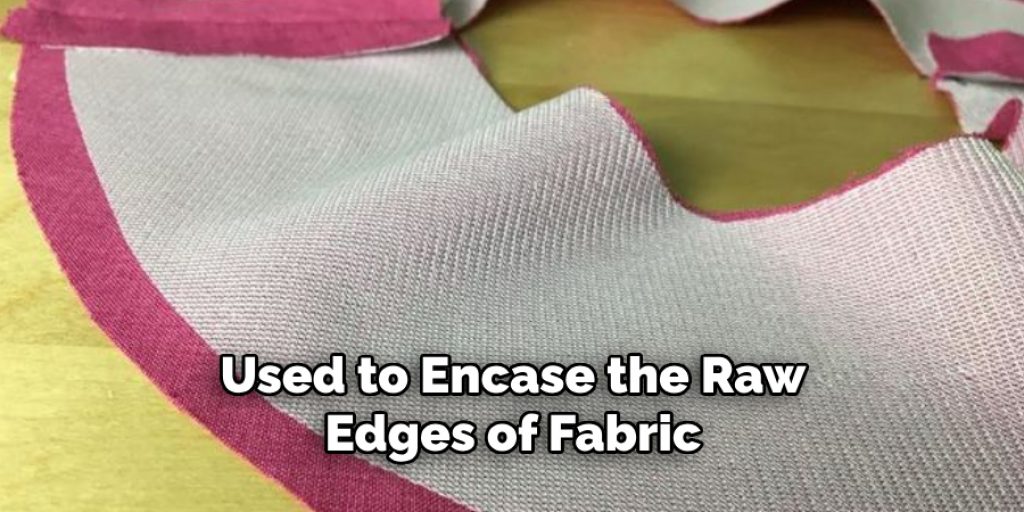
Fold-over elastic is a stretchy ribbon-like material that is used to encase the raw edges of fabric. It is a great option for creating a clean and professional-looking waistband. Here’s how to use it:
- Cut a piece of FOE that is 2-3 inches shorter than the length of your waistband.
- Fold the elastic in half, wrong sides together, and pin it to the top edge of your fabric waistband.
- Sew a straight stitch along the edge of the elastic, stretching it slightly as you go.
- Once you reach the end, overlap the ends of the FOE and sew them together to create a continuous loop.
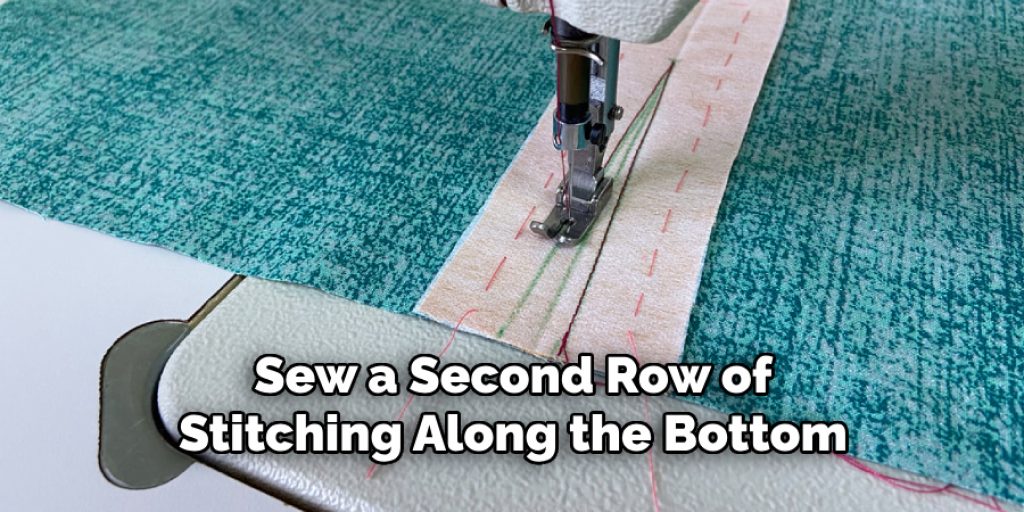
- Flip the FOE up and over the raw edge of your fabric and pin it in place.
- Sew a second row of stitching along the bottom edge of the FOE, securing it in place and creating a clean finish.
Using Fabric Casing
A fabric casing is created by folding over the top edge of your fabric and sewing it down to create a tunnel for the elastic. This method is commonly used for lightweight fabrics or when you want a more subtle waistband. Here’s how to do it:
- Fold over the top edge of your fabric waistband by 1 inch and press it in place.
- Fold over the raw edge again, this time by 2 inches, and press it in place.
- Sew a straight stitch along the bottom edge of the folded fabric, leaving a small opening to insert the elastic.
- Attach a safety pin to one end of your elastic and thread it through the casing, pulling it out of the opening.
- Overlap the ends of the elastic and sew them together securely.
- Close the opening in the fabric casing by sewing a few more stitches over it.
Using Ribbon or Twill Tape
If you don’t have FOE or prefer not to use fabric for your casing, ribbon or twill tape can be a great alternative. Here’s how to use it:

- Cut a piece of ribbon or twill tape that is the same length as your waistband.
- Fold over the top edge of your fabric by 1 inch and press it in place.
- Place the ribbon or twill tape on top of the folded edge, aligning the raw edges.
- Sew a straight stitch along the bottom edge of the ribbon, attaching it to the fabric and creating a tunnel for the elastic.
- Attach a safety pin to one end of your elastic and thread it through the casing, pulling it out of the opening.
- Overlap the ends of the elastic and sew them together securely.
- Close the opening in the fabric casing by sewing a few more stitches over it.
Using Exposed Elastic
If you want to show off your elastic waistband, this method is perfect for you. Here’s how to do it:
- Cut a piece of elastic that is slightly smaller than the circumference of your waistband.
- Sew one end of the elastic to the top edge of your fabric, stretching it slightly as you sew.
- Flip the elastic up and over the raw edge of your fabric, exposing it on the right side.
- Sew a second row of stitching along the bottom edge of the elastic to secure it in place and create a decorative finish.
No matter which method you choose, sewing a casing for an elastic waistband is a simple and effective way to create a comfortable and adjustable fit for your garment. Experiment with different techniques to find the best one for your personal style and sewing project.
Common Mistakes to Avoid When Sewing in an Elastic Waistband
Sewing in an elastic waistband may seem like a simple task, but it can actually be quite tricky. If you’re not careful, you could end up with a wonky waistband or even worse, a garment that doesn’t fit properly. To help you avoid these mishaps and achieve a professional finish every time, here are 7 common mistakes to watch out for when sewing in an elastic waistband.
1. Using the Wrong Type of Elastic
When it comes to elastic waistbands, not all elastics are created equal. Depending on your project and fabric type, you may need a certain type of elastic for optimal results. Make sure to read the label or ask a sales associate for recommendations before purchasing.
2. Not Measuring the Elastic Correctly
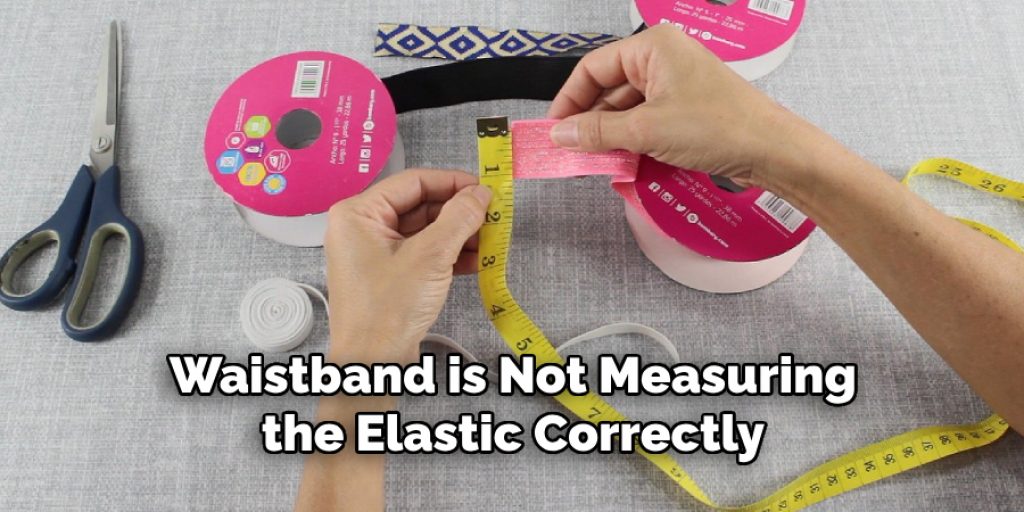
One of the most common mistakes when sewing in an elastic waistband is not measuring the elastic correctly. It’s important to measure your waist or hips (wherever you want the waistband to sit) and then subtract a few inches from that measurement for a comfortable fit. Don’t just cut the elastic based on your garment size as it may end up being too tight or too loose.
3. Not Stretching the Elastic Enough
Another mistake is not stretching the elastic enough while sewing it onto the fabric. When attaching the elastic, make sure to pull it tightly so that it fits snugly around your waistband, but not too tight that it causes discomfort. This will ensure that your waistband stays in place and doesn’t roll or bunch up.
4. Not Using Enough Pins
Pinning is key when sewing in an elastic waistband. It helps keep everything in place and ensures that your garment turns out even and symmetrical. Make sure to use enough pins, especially at the beginning and end of your waistband, as this is where it’s most likely to shift while sewing.
5. Sewing the Elastic on the Wrong Side
This may seem like a simple mistake, but it’s one that happens quite frequently. It’s important to sew your elastic onto the wrong side of the fabric so that it doesn’t show on the outside of your garment. Double check before sewing to avoid having to rip out stitches and start over.
6. Not Finishing the Ends of the Elastic
When sewing in an elastic waistband, it’s important to finish off the ends of the elastic to prevent them from fraying. You can do this by simply folding over the edges and stitching them down, or by using a serger if available.
7. Not Adjusting for Bulkier Fabrics
If you’re using a thicker or bulkier fabric for your garment, make sure to adjust the width of your elastic accordingly. You may need a wider elastic band or even multiple bands to ensure a snug fit and prevent the fabric from bunching up or pulling.
By avoiding these common mistakes, you’ll be on your way to sewing in perfect elastic waistbands every time. Remember to always double check your measurements, use the right type of elastic, and pin everything in place before sewing.
How Do You Care for and Maintain Garments With Elastic Waistbands?
As we all know, elastic waistbands are a popular feature in many garments. They provide comfort and flexibility, making them a go-to choice for everyday wear. However, like any other clothing item, they require proper care and maintenance to ensure their longevity. Here are some tips on how to care for and maintain garments with elastic waistbands:
1. Read the Care Label
Before anything else, always read the care label on your garment. This will provide you with specific instructions on how to wash and dry the item. Some elastic waistbands may require special care, so it’s important to follow the given guidelines.
2. Hand Wash or Gentle Cycle
If possible, hand washing is the best method for cleaning garments with elastic waistbands. This allows you to control the water temperature and avoid any harsh chemicals that may damage the elastic. However, if you must use a washing machine, make sure to select a gentle cycle to minimize stretching or damaging the waistband.
3. Use Mild Detergent
Always opt for mild detergent when washing garments with elastic waistbands. Harsh detergents can weaken the fibers of the elastic, causing it to lose its stretch and shape over time. Be sure to avoid bleach or any products that contain chlorine.
4. Air Dry
To maintain the elasticity of the waistband, it’s best to air dry your garment instead of putting it in a dryer. High heat can cause shrinkage and damage to the elastic fibers, leading to a loose or sagging waistband.
5. Avoid Ironing
Ironing is a big no-no when it comes to elastic waistbands. The heat from the iron can permanently damage or melt the elastic fibers, leaving your garment with a misshapen waistband.
6. Store Properly
When storing garments with elastic waistbands, be sure to avoid folding them in half at the waistband. This can cause a permanent crease in the elastic, leading to discomfort and reduced stretch. Instead, hang your garments or fold them at the seams.
Overall, proper care and maintenance of garments with elastic waistbands are essential for their longevity and comfort. By following these simple tips, you can ensure that your favorite elastic waistband pieces will stay in good condition for a long time. Remember to always read the care label and handle your garments with care to keep them looking and feeling great.
Conclusion
In conclusion, sewing in an elastic waistband is a simple and practical technique that can be used to create comfortable and adjustable garments. Whether you are a beginner or an experienced sewer, learning this skill will not only expand your sewing abilities but also allow you to customize the fit of your clothing.
One of the key benefits of sewing in an elastic waistband is its versatility. This technique can be used for a variety of garments such as skirts, pants, shorts, and even dresses.
By adjusting the width and tightness of the elastic, you can create different styles and fits to suit your personal preferences or the style of the garment. I hope this article has been beneficial for learning how to sew in elastic waistband. Make Sure the precautionary measures are followed chronologically.
You Can Also Check This Out to Store Sewing Needles
Nancy Behan
Nancy is an embroidery artist, fashion blogger and a full time editor at DIY quickly. Nancy edits the fashion section on DIY quickly, focusing on the embroidery and cross stitch articles, alongside with fabric and other costume design elements. She graduated from the University of Michigan with a Bachelor of Arts in Art History. She loves to work on her own projects, read books and watch romantic movies in her spare time.