How to Store Window Clings
Are you wondering what the best way to store your beloved window clings is without worrying that their vibrant colors and patterns are going to be ruined? Don’t fret—we’ve got the perfect solution for you!

In this post, we’ll cover all the necessary steps so you can learn exactly how to store window clings in a safe and efficient manner. With our advice, your window decorations will stay bright and beautiful for years to come. Read on to find out more about how easy it is!
What is Window Cling?
Window clings are a type of decorative adhesive that can be used to decorate windows, mirrors, and other glass surfaces. They come in a variety of colors, sizes, and designs and can be easily removed when you’re ready for something new. It’s important to store window clings correctly so that they don’t lose their adhesive properties or become faded over time.
13 Easy Step-by-step Guide on How to Store Window Clings
Step 1: Gather the Materials
You’ll need to store your window clings: protective sheets or a box, wax paper, and a few clean clothes. This should all be readily available in your local store. If not, you can also purchase these materials online.
It’s important to use wax paper as it provides a great barrier between the cling and any surface that could potentially damage it. This includes surfaces like wood, plastic, or metal.
Step 2: Clean the Window Clings
Before you start storing your window clings, it’s important to make sure that they are clean and free from dust or debris. This can be done easily with a damp cloth.
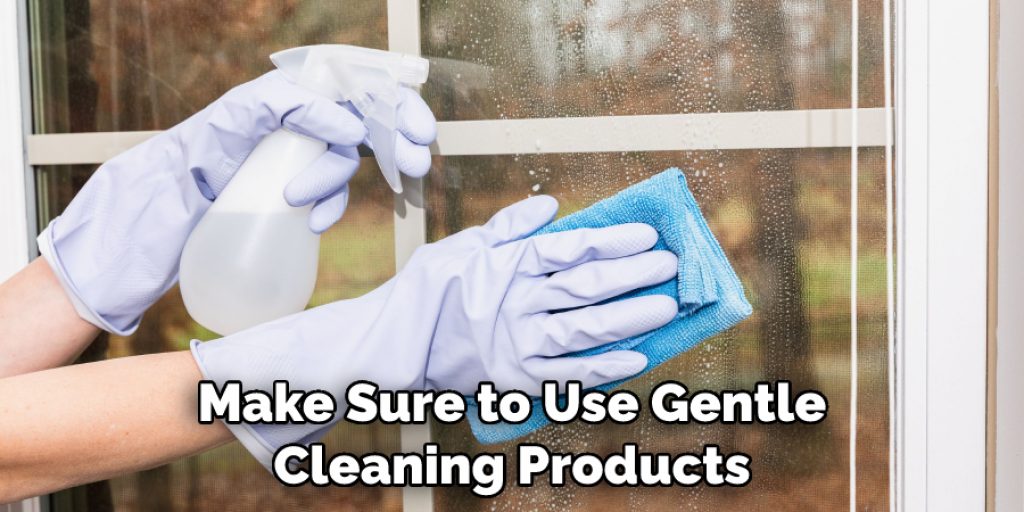
Make sure to use gentle cleaning products as harsh ones will damage the cling. It’s also important to avoid using any type of detergent as this could strip away the adhesive.
Step 3: Remove Excess Water
Once you’ve given the clings a good wipe down, it’s time to remove any excess water. You should do this carefully as any residue left behind could damage the cling in the future.
The best way to do this is by using a lint-free cloth and gently dabbing away at any remaining moisture. If you’re dealing with larger clings, you can also lightly blow dry them on a setting.
Step 4: Place Them on Wax Paper
Now that your window clings are dry, you’ll want to place them on wax paper before packing them away. This will help to keep them from sticking to other surfaces and will also act as a protective barrier in case of any accidental spills or damage. This part is also essential if you’re planning on using clings with delicate materials such as silk.
Step 5: Place Protective Sheets on the Top
Once you’ve placed the window clings on wax paper, you’ll want to place some kind of protective sheeting over the top. This could be anything from tissue paper to bubble wrap. The purpose of this is to protect your window clings from scratches, dirt, and dust while they are in storage. It will also help to keep them in good condition for future use.
Step 6: Store in an Air-Tight Container
Now it’s time to pack up your window clings for storage! You’ll need something air-tight that won’t let any moisture or dust in. The best option for this is a plastic storage container with an airtight lid. Be sure to check that the lid is secure before placing your window clings inside. This will ensure that they remain in good condition for years to come.
Step 7: Label Your Container
Once you’ve placed everything inside the container, it’s important to label it so you don’t forget what’s inside! This will help ensure that you can easily find your window clings when you need them again. If you want to take things a step further, you can also date the label so you know exactly when they were packed away.
Step 8: Store in a Dark & Cool Place
When looking for the perfect place to store your window clings, be sure to choose somewhere dark and cool, such as a closet or a cupboard. Keeping them out of direct sunlight will help prevent any fading of the colors. This is especially important if you’re dealing with clings that are made from more delicate materials such as silk or cotton.

Step 9: Don’t Mix Wet and Dry Clings
When storing your window clings, it’s important to keep wet and dry clings separate. This is because wet clings can cause damage or discoloration to dry ones, so be sure to put them in different containers. It’s also a good idea to use different containers for clings made from different materials, such as plastic and fabric.
Step 10: Change Protective Sheets Regularly
To keep your window clings looking their best for longer, you’ll want to change out the protective sheets regularly. Doing this will prevent any dust or dirt from settling on top of the clings and causing permanent damage. If you’re using bubble wrap or tissue paper, be sure to replace the sheets at least once a month.
Step 11: Check for Any Damages
It’s also a good idea to check on your stored window clings every now and then to ensure that there is no damage or discoloration. If you do notice anything, it’s best to replace them before they become too damaged. This will help save you money in the long run, as you’ll be able to get more use out of your window clings.
Step 12: Use Care When Removing
When removing your window clings from storage, be sure to use extra care as any sudden movements could cause them to tear or rip. Take your time and make sure to remove them slowly and carefully. It’s also a good idea to re-apply the protective sheets when storing them away again.
Step 13: Enjoy Your Window Clings!
And that’s it – now you know the proper way how to store window clings! With these tips in mind, you can keep your window clings looking their best for many years to come. So go ahead and enjoy displaying these colorful decorations in your home or office!
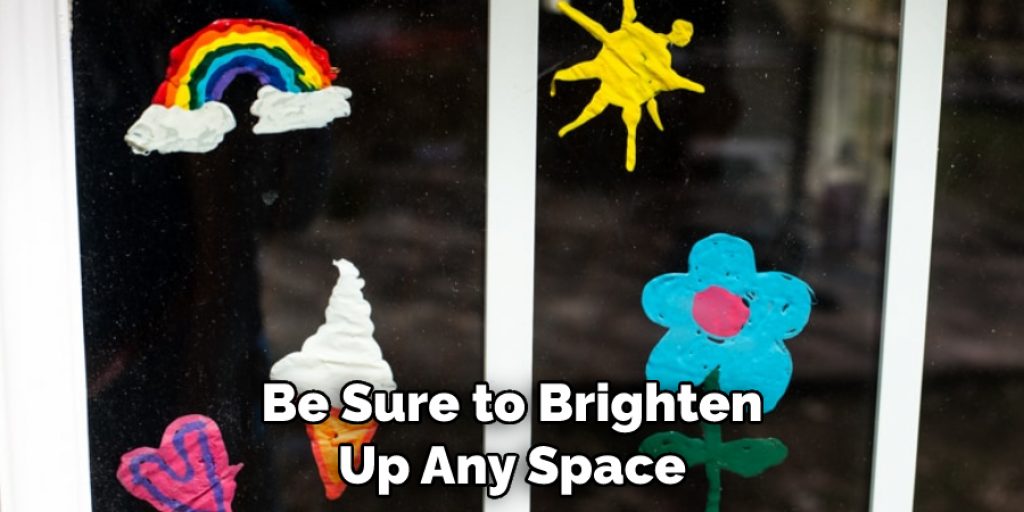
If you take the time to properly store them away, your window clings will be sure to brighten up any space. Happy decorating!
By following these simple steps, you can easily store your window clings and keep them looking their best for years to come. So make sure to follow the instructions carefully and enjoy displaying these eye-catching decorations!
Do You Need to Use a Professional?
Although you can store window clings yourself, it’s always best to hire a professional if you have any doubts or questions. This is because they will be able to advise you on the best way to store your window clings and ensure that they remain in top condition for years to come.
So now that you know how to store window clings properly, go ahead and make sure that yours stay looking their best for many years to come! With a few simple steps and some careful planning, you can keep your window clings looking vibrant and beautiful for years.
Frequently Asked Questions
Q: What is the Best Way to Store Window Clings?
A: The best way to store window clings is in an airtight container in a cool and dark place. Be sure to put any wet and dry clings in separate containers, as well as change the protective sheets regularly.
Q: How Often Should I Check on My Stored Window Clings?
A: It’s a good idea to check on your stored window clings every now and then to ensure that there is no damage or discoloration. If you do notice anything, it’s best to replace them before they become too damaged.
Q: How Do I Remove Window Clings from Storage?
A: When removing window clings from storage, be sure to use extra care as any sudden movements could cause them to tear or rip. Take your time and make sure to remove them slowly and carefully.
Q: What Should I Do If My Window Clings Become Damaged?
A: If you notice any damage or discoloration on your window clings, it’s best to replace them as soon as possible. This will ensure that they remain looking their best for many years to come. You may also want to consider hiring a professional if you have any doubts or questions.

With these tips in mind, you can confidently store your window clings and keep them looking their best for many years to come! And don’t forget – enjoy displaying these beautiful decorations in your home or office!
Conclusion
Now that you have a better understanding of how to store window clings, you can go forth and be creative with your decorations. Window clings are an easy and inexpensive way to add a personal touch without causing any permanent damage. They offer endless possibilities, from small decals and lettering to intricate picture scenes.
Plus they’re reusable, meaning you can take them down if the mood changes and rest assured that nothing has been changed in the process. So why not use this nifty window decal trick next time you’re feeling a little artsy?
From textured backgrounds to intriguing designs- the sky’s the limit! With just a few steps, you can have your house shining with personality in no time.
Angela Ervin
Angela is the executive editor of DIY quickly. She began her career as an interior designer before applying her strategic and creative passion to lifestyle and home. She has close to 15 years of experience in creative writing and online content strategy for housekeeping, home decorations as well as other niche efforts. She loves her job and has the privilege of working with an extraordinary team. She lives with her husband, two sons, and daughter in Petersburg. When she's not busy working she spent time with her family.