How to Tighten a Door Handle
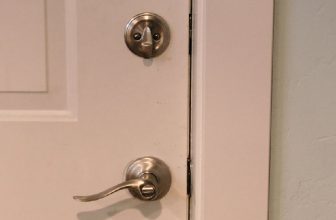
Doors are essential to any home, as they provide privacy and security when necessary. Have you ever had a door handle that was loose and wouldn’t stay in place? Yet if your door handle feels loose or is too difficult to operate, it can be rather disturbing. It can be really annoying, especially when you are trying to close the door or lock it.
Thankfully, tightening a door handle is an easy process that requires minimal effort and time. In this blog post, you’ll learn how to identify problem areas in the hardware of a door handle and then effectively tighten it up so that its operation is smooth again. Here I will show you how to tighten a door handle for improved functionality, so you no longer have to deal with a wobbly doorknob!
What Causes Door Handle to Loose?
Door handles can become loose over time due to the amount of usage they receive. In addition, the screws that secure the door handle might not be tight enough or have come undone gradually. If too much pressure is applied to a door handle when opening and closing, this also can cause it to become loose as well. Look for signs of wear and tear around the door handle to determine if this might be the source of the problem.
Required Items
Before you begin the process of tightening a door handle, you will need a few items. You’ll need a Phillips or slotted screwdriver and some lubricant (such as WD-40). You may also want to have some rags on hand for cleaning up any mess that may occur. You may also want to consider wearing safety glasses and gloves during this process.
10 Tips on How to Tighten a Door Handle
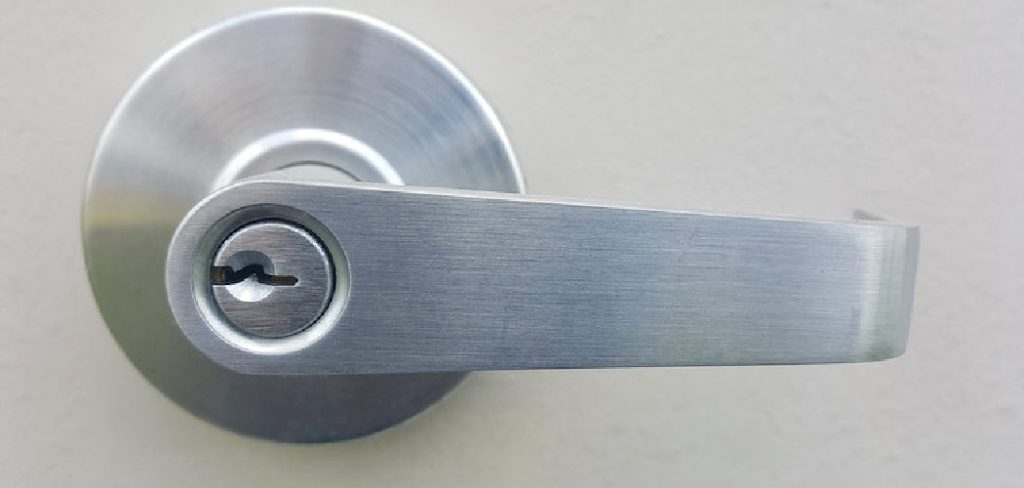
1. Remove the Screws
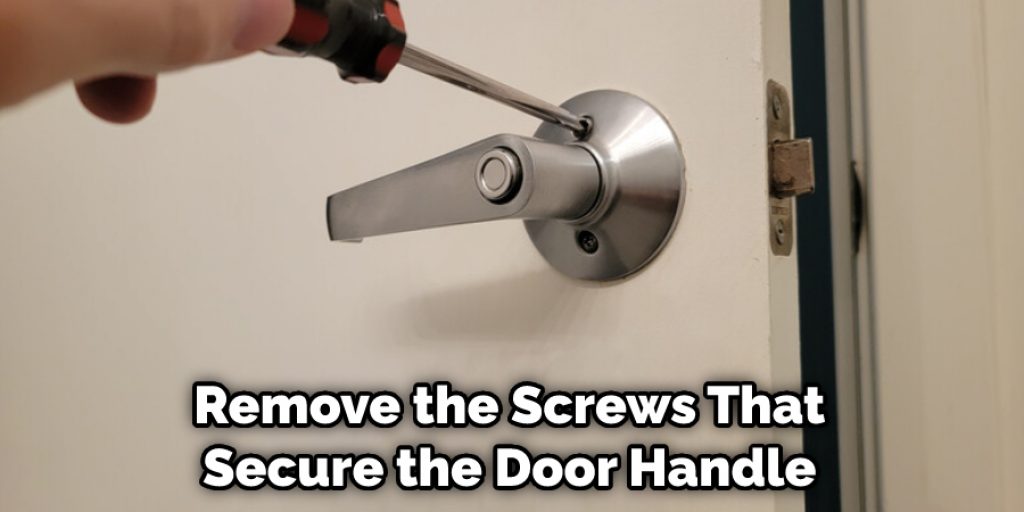
First, you will need to remove the screws that secure the door handle in place. If they are difficult to remove, you can apply some lubricant to help loosen them. If you are removing screws from both sides of the door handle, make sure to keep track of which ones came off where.
2. Clean the Hardware
Once you have removed the screws, you can use a cloth and some soapy water to gently clean around the hardware. This will help remove any dirt or grime that has built up over time. Once the area is clean, use a dry cloth to wipe away any excess moisture.
3. Apply Lubricant
Next, you will need to apply some lubricant (such as WD-40) to the screws and other hardware components of the door handle. This helps ensure that all parts are properly lubricated and able to move freely.

4. Reattach the Screws
Once you have applied the lubricant, you can then reattach the screws to secure the door handle in place. Make sure to tighten them firmly, but not too tightly so that they don’t become stripped or break off.
5. Check for Loose Parts
Before moving on to the next step, you should check to make sure that all of the parts are secure and that there aren’t any loose screws or other components. If they are not properly tightened, it can cause further issues with the door handle itself.
6. Test the Handle
Once everything is in place, you can then test out the handle to make sure that it is operating properly. Open and close the door a few times to check for any problems or issues. If everything seems good, then you are ready to move on to the next step.
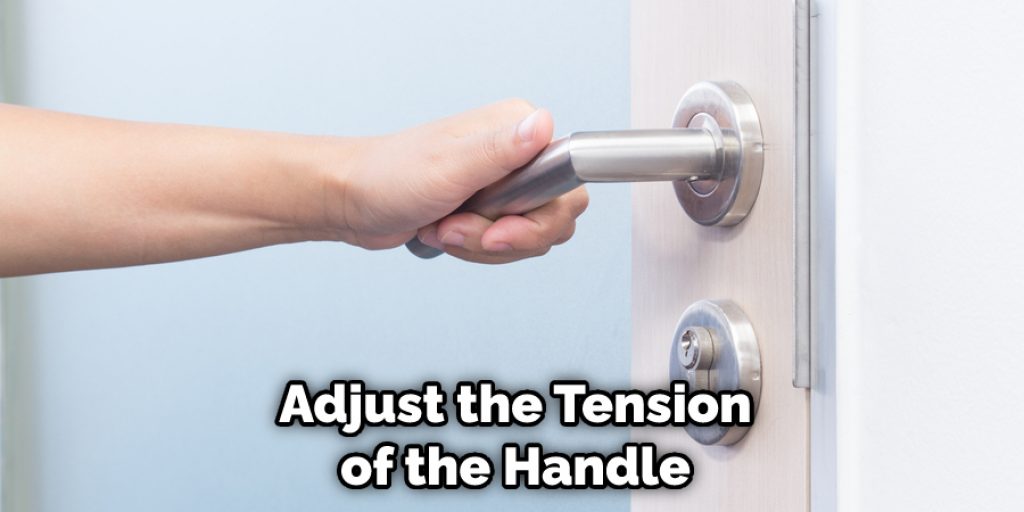
7. Adjust Tension
If needed, you can adjust the tension of the handle by turning the screws in either direction. This will allow you to control the amount of effort needed to operate the door handle.
8. Check All Screws
Once you have adjusted the tension, make sure to check all of the screws once again to ensure that they are secure and properly tightened.
9. Reinstall Door Handle
Finally, you can then reinstall the door handle back into the door. Make sure to line up all of the screws with the holes and then tighten them firmly. It is important to make sure that the handle is properly secured and won’t come loose over time.
10. Test Handle Again
Once you have reinstalled the door handle, test it out again by opening and closing the door a few times. This will help ensure that everything is in proper working order and you can use your door handle without any issues.
Following these steps will help you easily tighten a door handle and ensure that it is operating properly. Make sure to take the necessary precautions when working on your door hardware, and always wear safety gloves and glasses during the process. Remember to check all screws regularly to make sure they are tight enough so that your door handle doesn’t come loose over time. With some patience and a few simple steps, you can easily tighten your door handle and make sure it is working properly.
8 Safety Precautions
When attempting to tighten a door handle, it’s important to take certain safety precautions. To ensure that the task is done properly and safely, here are 8 key safety tips:
- Make sure all power sources are disconnected before beginning. This includes turning off any circuit breakers or shutting down electricity in the area where you’ll be working. If you don’t have access to a power source, make sure the door handle is not connected to one.
- Wear protective gear such as gloves and glasses to protect yourself from any sharp edges or flying particles. Protective wear should also be worn when handling tools or parts that may contain rust.
- Use the correct tools for the job and ensure that all fasteners are secure before beginning. Also, inspect any parts you will be using to make sure they are undamaged and in good working order.
- Take extra caution when working with metal door handles, as they can easily become hot during the tightening process. It will always be best to use insulated tools when working with metal.
- Make sure the door handle is properly aligned before tightening it. This will help to ensure that the handle fits correctly and operates smoothly without any issues. The handle should fit snugly against the door and be straight and level.
- Follow any instructions provided with a new door handle, as they will provide guidance on how to properly install or replace it. If no instructions are included, consult with an experienced professional before proceeding.
- Once you’ve tightened the handle, check to make sure it is secure and works properly. If the handle feels loose or doesn’t operate smoothly, you may need to repeat the tightening process.
- Last but not least, use common sense when performing any maintenance tasks on your door handle. If at any time you don’t feel comfortable or know what to do, it’s best to consult a professional for assistance.
By following these safety tips, you can ensure that your door handle is properly tightened and works effectively without any issues. In addition to tightening the door handle, make sure that you periodically check it for any signs of wear or damage and replace parts as needed. Doing so will help to keep your door handle in top shape and functioning properly.
Frequently Asked Questions
How to Tighten a Door Handle Without Screws?
If the door handle does not have screws, you can usually tighten it by using a flat-head screwdriver or a wrench. You will need to locate the two points where the handle meets the door and use your tool to gently turn them in opposite directions to tighten.
How Do You Know If Your Door Handle Needs To Be Tightened?
If your door handle feels loose or does not open and close smoothly, it is likely in need of tightening. Other signs that the handle needs to be tightened include rattling noises when opening or closing the door and difficulty opening or closing the door.
How Can You Prevent Your Door Handle From Becoming Loose?
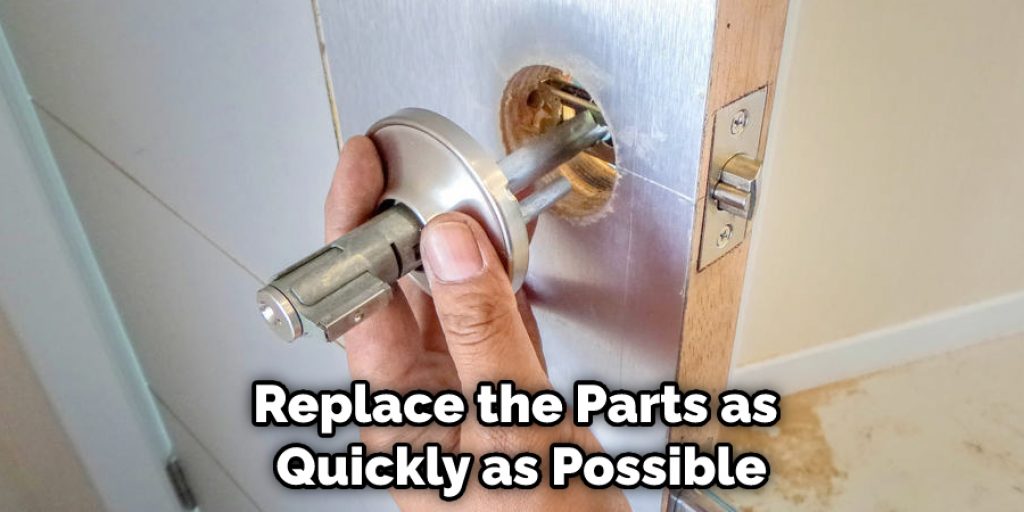
Check your door handle routinely and make sure it is tightened securely. If you notice any signs of wear or damage, replace the parts as quickly as possible to ensure that it remains secure and operational. You should also avoid using excess force when opening or closing the door, as this can cause the handle to become loose over time.
Conclusion
Tightening door handles is a simple task that can make a big difference in the functionality of your home. With just a few tools and materials, you can easily complete this job in no time. When it comes to choosing the appropriate fastener, ensure that you are purchasing screws of the right length and design for your handle.
Additionally, if your handle feels loose over time, be sure to periodically check and tighten them to keep them at its peak performance. All in all, by following these guidelines and steps on how to tighten a door handle, you can easily tackle this do-it-yourself project yourself, ensuring a safe and secure home for years to come!
Angela Ervin
Angela is the executive editor of DIY quickly. She began her career as an interior designer before applying her strategic and creative passion to lifestyle and home. She has close to 15 years of experience in creative writing and online content strategy for housekeeping, home decorations as well as other niche efforts. She loves her job and has the privilege of working with an extraordinary team. She lives with her husband, two sons, and daughter in Petersburg. When she's not busy working she spent time with her family.