
How to Tile Directly to Bathtub
After the whole day of working hard, you would want nothing but to have some relaxing time. The best relaxing activity after working all day long could be a nice warm bath. Who does not love to have some relaxing time in their bathtub playing music and some drink on their hand while the lovely scented candle is burning around! But what will make the experience more superior is having a good-looking bath. And that is why we bring you a DIY project of how to tile directly to bathtub.
Almost all bathrooms have white, dull bathtubs. If you live in an old house, your bathtub may be worn out. Instead of replacing it, you can redecorate it to make it look more vibrant.
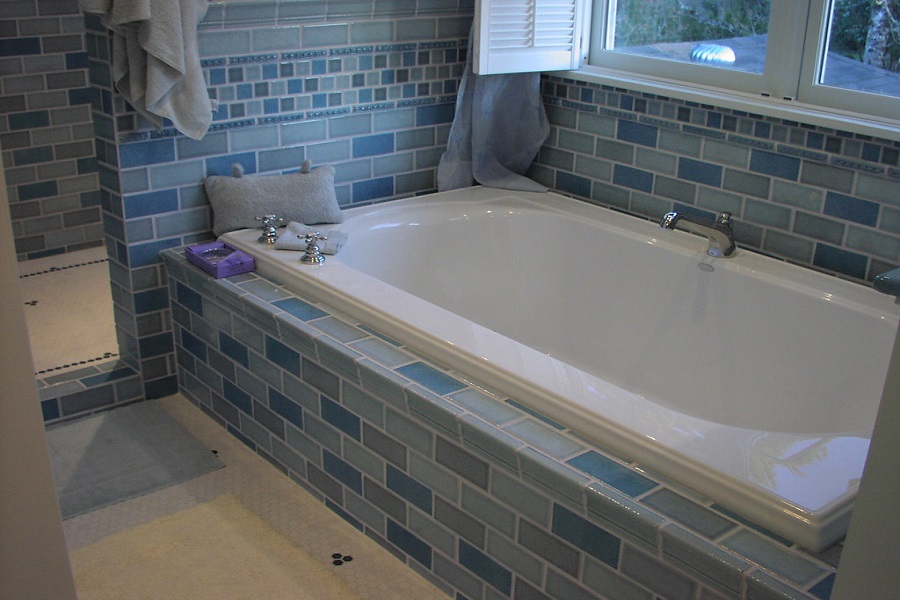
A great way to decorate your bathtub is by tiling them. Tiling the wall around the bathtub will indeed look nice, but it will look better if you tile directly to the bathtub, and it is possible. To do that, you will only need a few items and some patience to work with tiles. So, if you are ready to learn, let’s begin our tutorial on how to tile directly to the bathtub. First, you will need to remove the old tile around the bathtub. To do that, you will need a chisel and a hammer. Once you have removed the old tile, you will need to smooth out the surface with sandpaper.
DIY: How to Tile Directly to Bathtub
The first thing you need to do before you can start the project is to gather the materials that you will need for the project. It is always important to have everything at your hand before you begin the work. The first thing you need to do before you can start the project is to gather the materials that you will need for the project. It is always important to have everything at your hand before you begin the work.
- Materials You Need
- Tiles
- Backer board
- Tile adhesive
- Applicator
- Wet saw
- Knife (cutting the board)
- Measuring tools
Steps to Follow
Step 1
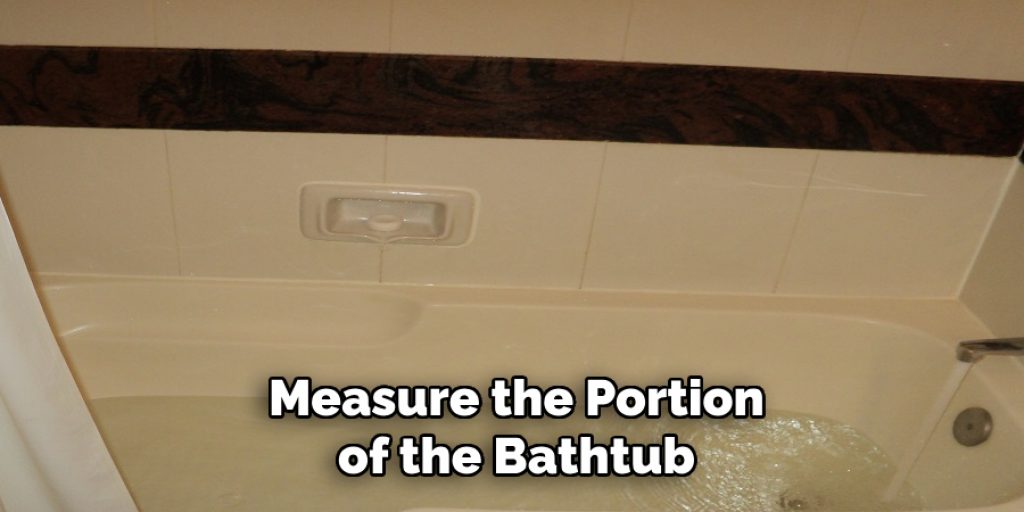
After you gather your stuff, you can start the project. The first step will include measuring everything. You need to measure the portion of the bathtub that you are going to use for tiling. Take the length and the width of the part with your measuring tools. When you have the measurements, you need to double them so that you can be sure that there is enough space.
Step 2
Now that you have the measurement, you need to cut the backer board according to the size. You can use a cutter or knife to cut the board. But before you do, properly mark the measurement, so you will not ruin and waste any board. It is advisable to put a backing board on the wall where you want to install the tiles. The board will act as a foundation for the tiles.
Step 3
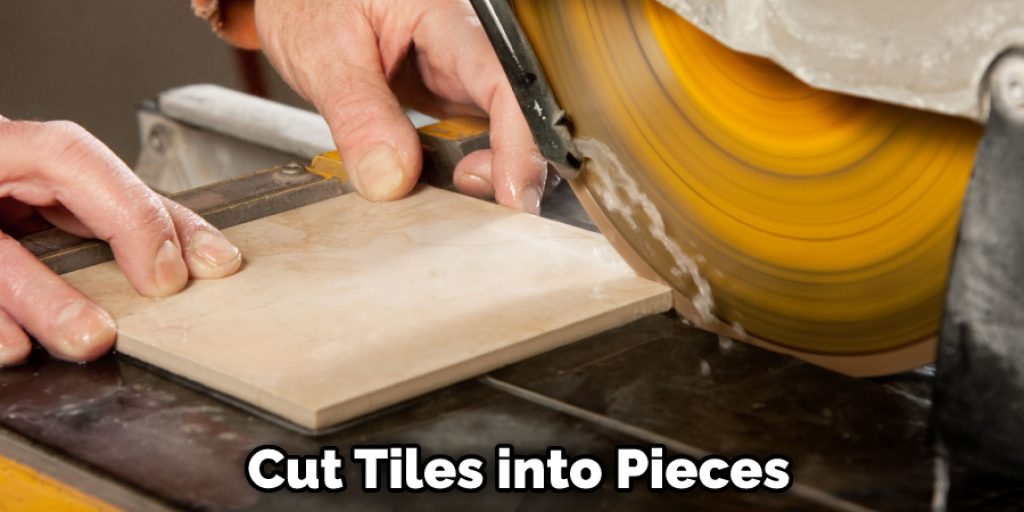
Now that your measuring board ready, you can use it to prepare and size the tiles. You definitely need to cut the tiles in pieces to put them together. If you want to follow any pattern of design, you need to organize them right now.
You can cut the tiles into pieces with the wet saw. Lay the details on the backer board to see how well they fit. If there is some gap, you can cut some smaller pieces to fill them up.
Step 4
Now its time to put the backer board on the bathtub. To do that, you have to use some adhesive. Place the board correctly and let it dry until it becomes rock solid.
Step 5
After the board is ready, you need to put the tile adhesive on the board. You need to use the applicator appropriate for tile adhesives. If you are not sure how to use them, look for some tutorials online so you will not mess anything up. There are some rules that you need to follow to apply the glue, and it is always better to be sure without making any mess. Put the bond and get ready to put the tiles on.
Step 6
After applying the glue, you can start using the tiles. Always remember to start adding tiles from the top. In that way, if there is any gap, it will stay at the bottom. If the gap is on top, then it can look odd and out of place. To prevent that, you need to fill up the top first.
Gradually start putting the tiles up on the board with the adhesive to create the design you wanted to. After you are done with putting all the tiles, you need to set it tiles for drying. And you will be done with how to tile directly to bathtub.
Final Thoughts
That was all for how to tile directly to bathtub. Now that you have learned this project, you can always change the tiling of your bathtub. With this knowledge, you can put tile anywhere you want. Once you start doing that, you will never go back as you will be able to give your bathroom and house a new look every once in a while.
You May Read Also.
How to Remove a Bathtub Without Damaging Tiles


