
How to Use Eyelets on Paper
Introduction
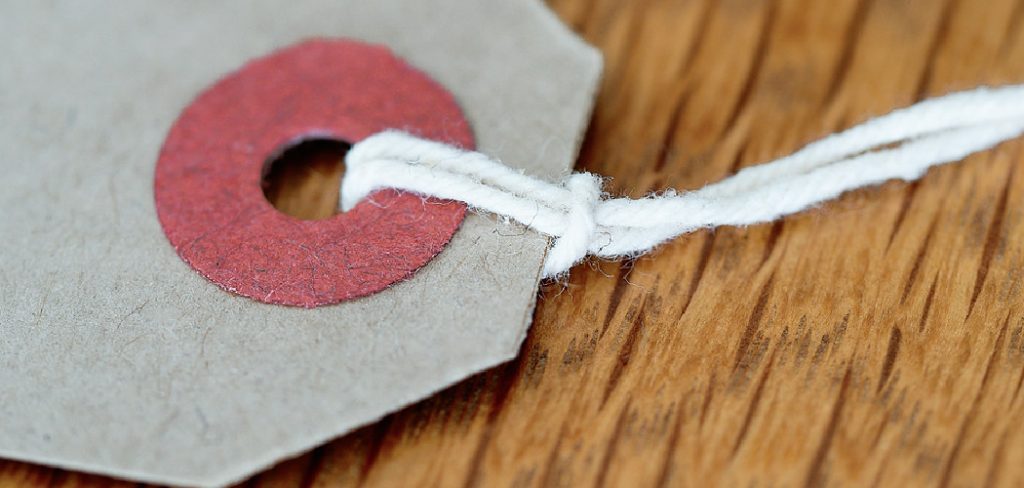
Eyelets are basically used to increase the paper’s aesthetic value; besides, you can also use them to connect essential documents. Many techniques can be performed using eyelets on paper. But for the better convenience of our readers, we have shortlisted some easy steps. These are stated below with proper explanation. Simple Eyelet Binding Binding is a method of connecting pages together; it helps you to turn a bunch of pages into a book. To bind a paper, you need an eyelet and eyelet tool.
Procedure
• Step One
For using the eyelets in the paper, you will need some essential elements. At first, you have to buy the eyelets. You can quickly obtain them from your nearest departmental store. Then you will need a star screwdriver. This will be needed for spreading the brad of the eyelet. Then you will need an eyelet attaching tool. This is a small aluminum rod that has an open end and a close end. The free end is intentionally made sharp. This is used for attaching the eyelet firmly to the paper. You will also need a hammer, punching machine, and some eyelet covering stickers.
• Step Two
Once you have gathered all these equipment, you can get to work, at first you have to take the eyelet and then place it on the table. Then you have to take the paper that you want to use and then, using a pencil, mark the place where you want to use the eyelet. Then you have to take the punch machine and make a hole in that place. This is much important because you will not be able to insert the eyelet without making a hole on either side of the paper. Once the hole is prepared, you can palace the eyelet on through the gap, and then you have to go for the next step.
• Step Three
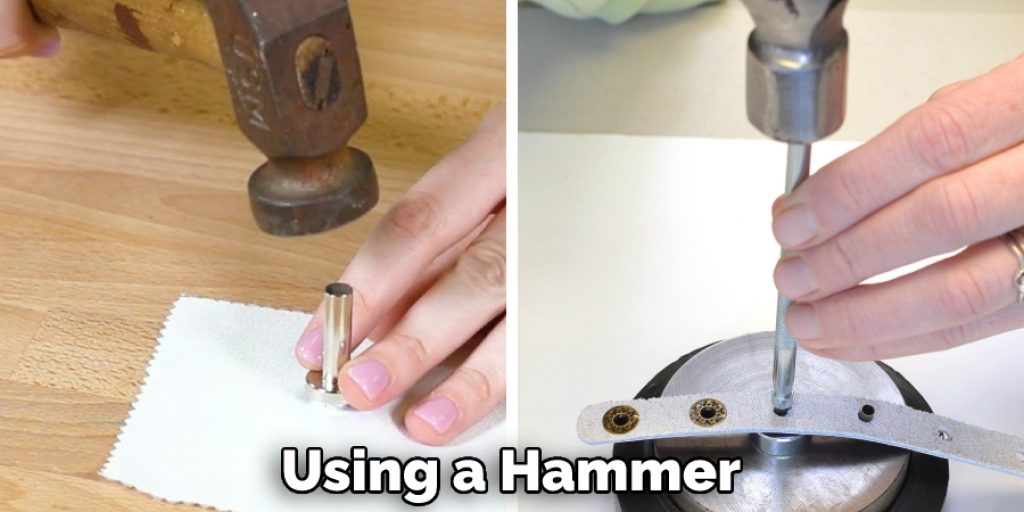
Sometimes when you do not have a punch machine, you can also use the eyelet attaching tool for making the hole. In this case, you have to take the device and place the sharp open end on the pencil marked place, and then you have to use the hammer to make the hole. You have to take the hammer and then stroke the tool. This will allow the device to cut through the paper and make the gap for attaching the eyelet. Now you have to take a piece of soft cloth and then place it below the eyelet. This is much needed because to resist the deformation, and a smooth surface is much essential.
• Step Four
Now you have to take the start screwdriver and place it on the eyelet. Then using a hammer, you have to hit the screwdriver. This will allow the brad of the eyelet to spread; thus, the paper will be connected. You have to take a round sticker; this is needed because wide brads will provide an ugly attire to the paper. So you have to take the sticker and then palace it on the brad, this will be easily cover the brad portion, and your task will be completed.
Conclusion
In conclusion, we hope that the process we have stated here will surely help you use the eyelets on paper. Thank you for your time. Have a nice day!
You may read also –
Elizabeth Davis
Elizabeth is a creative writer and digital editor based in the United States. She has a passion for the arts and crafts, which she developed from a young age. Elizabeth has always loved experimenting with new mediums and sharing her work with others. When she started blogging, she knew that DIYquickly would be the perfect platform to share her tutorials and tips. She's been writing for the blog from the beginning, and her readers love her helpful advice and easy-to-follow instructions. When she's not writing or editing, Elizabeth enjoys spending time with her family and friends.


