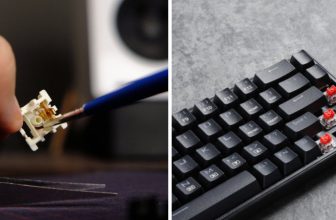
How to Wire a Lutron Dimmer Switch
Installing a dimmer switch is an easy way to add convenience and ambiance to any room in your home. But when it comes to wiring a Lutron dimmer switch, there are some important considerations that you need to keep in mind. This guide will help you understand the basics of how to wire a Lutron dimmer switch so that you can get the job done quickly and safely.

We’ll start by discussing the different types of Lutron switches available, as well as their features and benefits. We’ll then discuss the tools and materials needed for installation, safety precautions, and step-by-step instructions on how to wire your new Lutron dimmer switch correctly.
Finally, we’ll cover troubleshooting tips should anything go wrong during the installation process. With this knowledge under your belt, you’ll be able to confidently install a new Lutron dimmer switch in no time!
What is a Lutron Dimmer Switch?
A Lutron dimmer switch is a wall-mounted device that allows you to control the amount of light in a room. This type of dimmer switch can be used with either incandescent or LED light bulbs and comes in various styles and sizes, so it’s important to select the right one for your needs.
Choosing the Best Lutron Dimmer Switch
When it comes to choosing the best Lutron dimmer switch for your needs, there are a few things to consider. First, make sure the dimmer switch is compatible with the type of light bulb you plan to use. Additionally, you should determine how many switches you need (most home setups will require two or three). Finally, decide on the style and size of the switch that best matches your décor.
Tools & Materials for Installing a Lutron Dimmer Switch
Installing a Lutron dimmer switch requires just a few tools, which you can easily source from any hardware store:
- Flathead screwdriver
- Phillips head screwdriver
- Wire strippers and cutters
- Electrical tape
- Voltage tester
6 Steps on How to Wire a Lutron Dimmer Switch
Step 1: Turn Off the Power
Turn off the power to the circuit at your breaker box. The box should have a main breaker switch labeled “off.” Also, remember to turn off any wall switches controlling the light fixture.
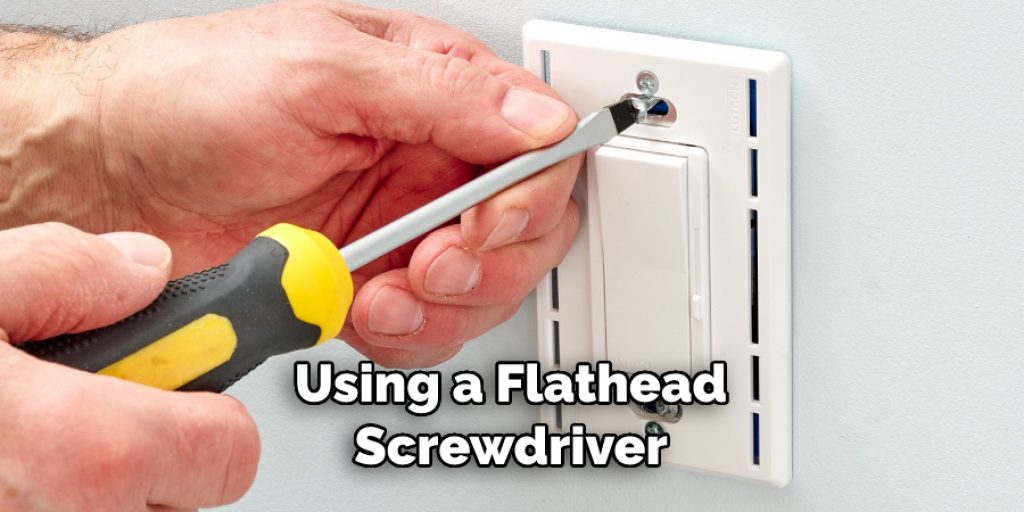
Step 2: Remove the Old Switch
Using a flathead screwdriver, remove the screws connecting the old switch to the electrical box. Carefully pull out the switch and disconnect all of its wires. Removing the old switch will make it easier to see what wires you’ll be connecting to the new switch.
Step 3: Connect the New Switch
Take your voltage tester and test each of the wires in the wall box to make sure they are not life. Once you have confirmed that all of the wires are off, begin connecting them to the new switch. Connect the black wire to one of the terminals labeled “line” and connect the white wire to one of the terminals labeled “neutral.”
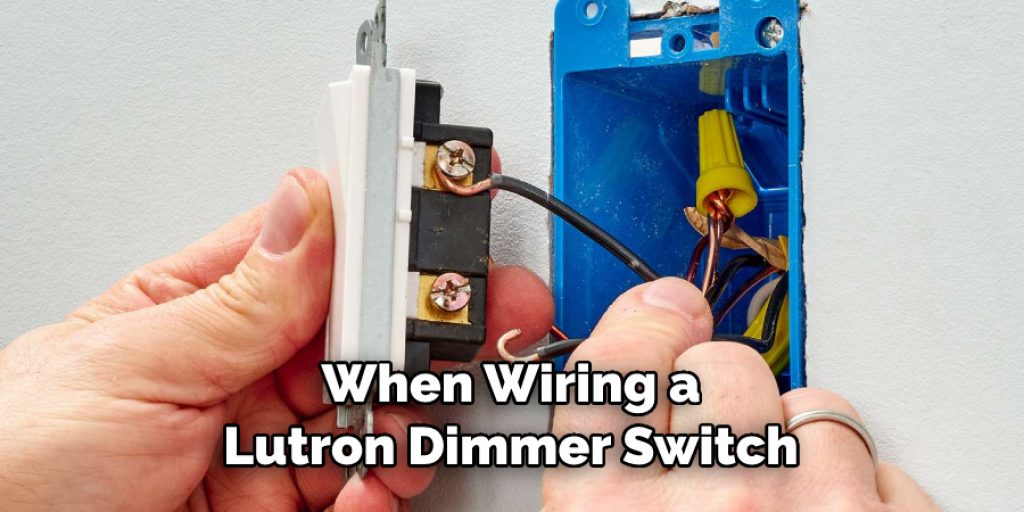
Step 4: Secure and Continue Wiring
Secure the new Lutron dimmer switch in place by tightening down all screws, then continue connecting any other needed wires, such as the ground wire and/or the dimming wires.
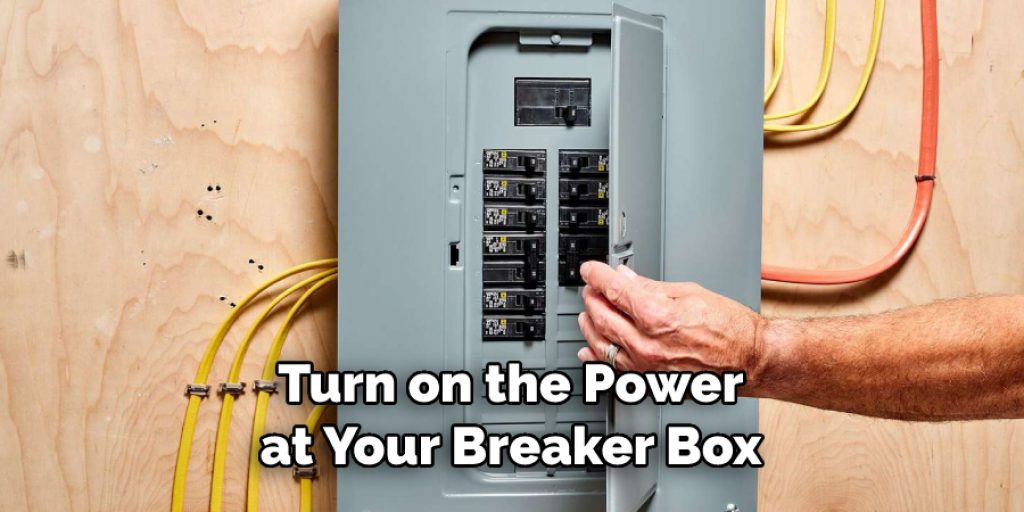
Step 5: Test Your Work
Once all the wiring is complete, turn on the power at your breaker box. Test to make sure everything is connected properly by turning on the wall switch, then adjusting it up or down to increase or decrease light output in your room.
Step 6: Enjoy
Now you can sit back and enjoy the benefits of your new Lutron dimmer switch. With its light adjustment capabilities, you’ll be able to create the exact atmosphere you want in any room!
These are the steps you will need to take when wiring a Lutron dimmer switch. With some patience, it’s not that difficult once you get the hang of it. Remember to always follow safety precautions and be sure to turn off the power before starting any electrical work in your home.
7 Safety Precautions to Follow When Wiring a Lutron Dimmer Switch
Safety is always a primary concern when it comes to electrical projects. Therefore, when wiring a Lutron dimmer switch, it’s important to take certain precautions in order to ensure your safety and the proper functioning of the device.
- Make sure that all power sources are shut off before beginning any wiring. This includes turning off the power in the breaker box first and then disconnecting any existing wiring on the dimmer switch.
- Use a voltage tester to double-check that all power sources are off before beginning work. Voltage testers can detect live wires and prevent dangerous shocks. It will also ensure that you don’t accidentally overload the electrical system.
- Wear protective gear, such as safety glasses, when wiring a Lutron dimmer switch. This will ensure you don’t get any dust or debris in your eyes while working on the project. Protective gloves are also recommended to protect your hands from the sharp edges of the wire.
- Make certain that all connections are tight and secure, as loose connections can cause arcing and pose a fire hazard. If you notice any frayed or damaged wires, replace them before proceeding with the wiring job.
- When connecting the wires, make sure that the neutral wire is connected to the silver terminal while the hot wire is connected to the brass terminal. This will ensure the proper functioning of the device.
- Double-check your connections before restoring power in order to be sure that everything is wired correctly and safely. The connection should be secure, and all wires should be correctly aligned.
- Once the wiring is complete, you can restore power to the device by switching on the circuit breaker in the main box. Be sure to keep your hands and any other objects away from the switch once it’s been switched on to avoid any shocks or electrocution hazards.

Following these safety precautions will help ensure that your wiring project is successful and safe. Always remember to be careful when working with electricity, and never hesitate to call a professional if you’re unsure of anything or feel like the job is too complex for you. With the right knowledge and practices in place, wiring a Lutron dimmer
6 Tips to Troubleshoot a Lutron Dimmer Switch
- Check the voltage. Before attempting to wire a Lutron dimmer switch, make sure that your home is getting a proper power supply and that all wires connected to the switch are rated for the same amount of voltage.
- Have the right materials. To wire a Lutron dimmer switch correctly and safely, you will need some basic tools, such as a screwdriver, wire strippers, and electrical tape. The wiring diagram should also be reviewed to make sure the wiring is correct.
- Turn off the power. Before beginning the installation process, always turn off the power at the circuit breaker box or fuse box. This will help prevent any possible danger from electric shock during the installation process.
- Follow the wiring diagram. To ensure proper installation, it is important to follow the instructions in the wiring diagram for your particular model of Lutron dimmer switch. If there are any discrepancies or questions, contact a qualified electrician for further assistance.
- Test the connections. Once the Lutron dimmer switch is wired, test each connection to make sure it is wired correctly and securely.
- Mount the switch. After testing the electrical connections, mount the Lutron dimmer switch into place using the mounting screws provided with the unit. Finally, turn on the power and check that the switch works properly.
Frequently Asked Questions
How Often Should You Check a Lutron Dimmer Switch?
It is recommended that you check the wiring of a Lutron dimmer switch every year. This will help to ensure that all connections are secure and functioning properly. Additionally, it is important to regularly test your dimmer switch to make sure that it is still working as intended. If you notice any changes or issues with your Lutron dimmer switch, it is important to contact a qualified electrician.
What Type of Wire Should Be Used When Wiring a Lutron Dimmer Switch?
When wiring a Lutron dimmer switch, you should use a 14-gauge wire for all connections. This means that both the hot and neutral wires should be 14 gauge. Other gauge wires may be safe to use. However, it is recommended that you always stick with 14-gauge for maximum safety and reliability.
Conclusion
Wiring a Lutron dimmer switch is not complicated, but it does require the right tools and knowledge on how to wire a lutron dimmer switch. It is important to use a 14-gauge wire for all connections when wiring your Lutron dimmer switch. Additionally, you should check the wiring of your dimmer switch regularly and test it often to make sure that everything is functioning properly.
If any issues arise with your Lutron dimmer switch, always contact a qualified electrician who has experience dealing with these types of switches. With proper installation and maintenance, you can enjoy years of reliable lighting control from your new Lutron dimmer switch!