How to Connect Inverter to RV Breaker Box
If you are looking to connect an inverter to your RV breaker box, there are a few things you need to know. Inverters can be combined in two ways: directly to the battery or through the fuse box. If you are connecting the inverter directly to the battery, you will need to ensure that the rated wattage of the inverter is less than the total wattage of all devices being powered.
If connecting through the fuse box, make sure to use a fuse block with enough amperage for your inverter. In this blog post, we will cover how to connect the inverter to the RV breaker box. So if you’re looking for specific instructions on adequately connecting your inverter, be sure to read this entire blog post.
Basic Things to Know Before the Installation
1. The inverter needs to connect directly to the battery for this installation.
2. There should be a power line going from the battery to the starting circuit.
3. To avoid humming noise, make sure that the inverter can turn off and on quickly. It can do this with at least 1/2 a second turn-off time and a one-second turn-on time or less.
4. The inverter requires a separate isolated ground that you can give from an unused circuit breaker, the battery, or a separate ground plate.
5. Make sure to connect the inverter’s DC positive and negative terminals on its panel accordingly before turning the power on. If this is not done, your inverter will scream out with a buzzing noise.
6. After connecting the inverter to a power source, make sure to read all installation and safety advisories manuals before turning on the power.
Tools You’ll Need
- Flathead screwdriver
- Voltage meter or battery charger
- 50 ft Extension cord, preferably 12 gauge
- Voltage indicator
- Ring terminals
- Battery clamps
- Wirecutter, wire stripping tool
Step by Step Process: How to Connect Inverter to Rv Breaker Box
Step 1: Understanding Your Requirements
In order to use an inverter with an RV, you need to understand how much power you will need. To figure this out, you need to know what devices will be plugged into the inverter and how much power they will use.
For example, if you want to run a TV that requires 300 watts, a coffee maker that requires 1500 watts, and a toaster oven that requires 4050 watts, you will need an inverter with a combined one wattage of 4990.
Step 2: Selecting the Right Inverter for Your Needs
Selecting the right inverter for your needs is essential once you understand your requirements. This may be a little tricky since you are using different inverters to connect your devices in the RV cabin or camp.
However, if you have decided which inverter you would like to use, select the right fuse for your inverter. It is important to note that you will need to install a fuse with the same wattage as the inverter.
Step 3: Knowing the Inverter’s VA Ratings
When it comes to the inverter, you need to know its VA (volt-ampere) rating. This is found on the back of your inverter. It would help if you kept in mind that the inverter’s VA rating does not indicate how long it will run; this number represents the amount of power needed to start up.
The inverter has a motor that needs to be started up, which requires more power than devices like lights or appliances. Therefore, you need to use the inverter’s VA rating as a reference when selecting how many watts your devices will run on.
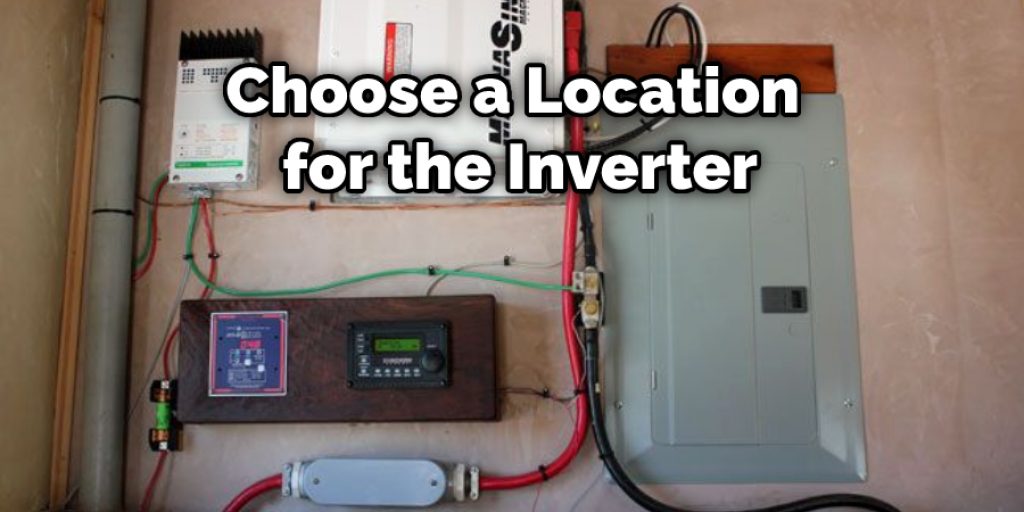
Step 4: Choosing a Location for the Inverter
Now that you understand how to connect the inverter to the RV breaker box, it is time to choose a location for the inverter. Most inverters are made of plastic or aluminum and can be installed anywhere in your RV. However, if you need your inverter hidden, it might be best to install it under your bed so no one can see it.
Step 5: Wiring the Inverter to the Battery
This step is essential if you connect the inverter directly to your battery. In this case, you need a 50 ft extension cord rated for 12 gauge wire. Then, with all of your power tools in hand, disconnect the RV’s negative battery post and use a threaded bolt to secure the negative cable end to the RV’s chassis.
Next, use a fuse block and connect it to its positive terminal. If you do not have a fuse block, make sure that your inverter has enough amperage for all of your devices. For example, if one of your devices is too high-powered, like an air conditioner, you need a higher amperage.
Step 6: Using an Extension Cord
For this step, you need to use an extension cord that is 12 gauge. Make sure that it’s rated for outdoor use since terminals corrode in harsh weather conditions. You do not want to spend your vacation near or next to the shore, so make sure your device is safe and secure using an outdoor-rated extension cord.
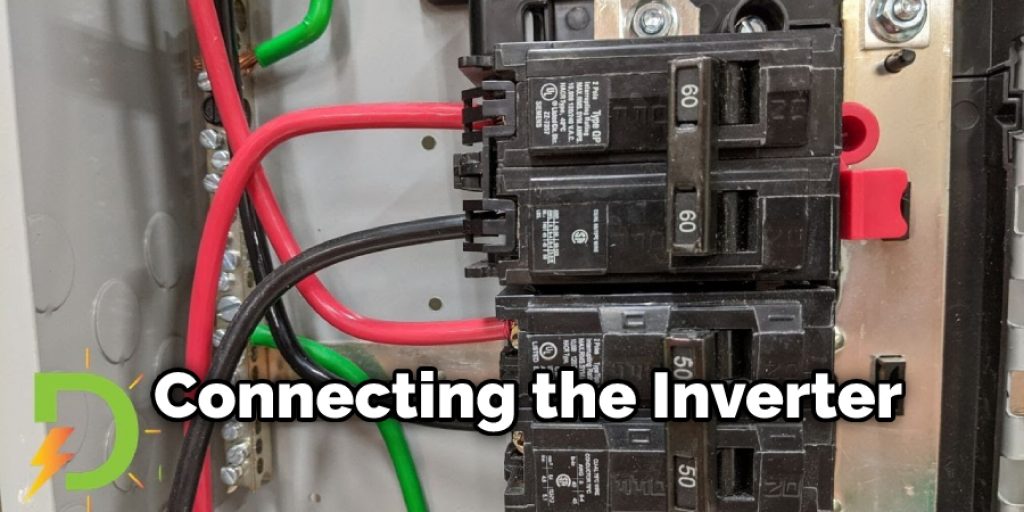
Step 7: Connecting Your Inverter
Once you have selected your inverter, it is time to connect it to the grid. First, make sure that both the battery and RV are turned off before connecting any wires or devices. Next, you need to determine where you would like to install the inverter inside your RV.
Lastly, connect the battery and ensure it is turned on when connecting with the extension cord. It’s important to note that these steps will help you learn more about connecting the inverter to the RV breaker box. By following these steps, you can have your inverter connected with the RV breaker box in minutes.
You can also check it out to Make a Plastic Box
How Can Long Wires Drop Your Inverter’s Voltage?
Voltage drop is the amount of voltage lost between source and load, measured in volts. Voltage drop is caused by resistance in the wires/cables used to connect source and load and other factors such as wattage loads.
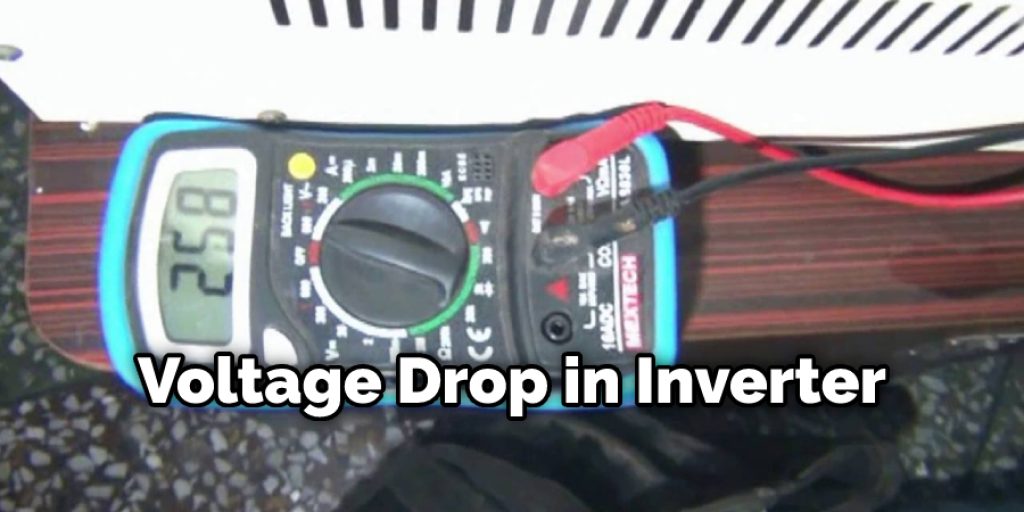
For example, If you are running a 2000W inverter off a 12V battery bank and you have a total of a 100′ 12AWG wire from the starting point to load, then that is 10 watts per foot at 12 volts using 10 feet.
Now, if we assume there is no voltage drop in the wiring system at all (which would not be realistic because this would be like having one gauge wire) and the inverter is putting out a perfect 120 volts at 2000 watts, then we can figure that we have consumed 2.5 Amps of current (120v/120 watts = 1 Amp).
Therefore, you would need a 12V battery bank of 50 Amps to support the inverter while running on low wattage (if the voltage drop is 10 watts per foot).
Conclusion
If you are not familiar with an inverter, it is a device that converts DC power to AC. When connecting the inverter into your RV breaker box, it needs to be done by the manufacturer’s instructions for safety reasons. In addition, there may be some additional steps depending on how your generator functions and if there have been any changes made to the wiring system of your RV over time.
Just remember not to turn off any breakers while doing this project! Once you have completed these steps, don’t forget it’s essential for safety reasons that all extension cords be disconnected from both 120V outlets in use at once inverters included before turning off any other breakers. We hope this blog post has been helpful on how to connect the inverter to the RV breaker box. If you have any questions or want to know more, then feel free to comment below!