How to Wire Momentary Push Button Switch
Are you looking to install a momentary push button switch into your electrical circuit? If so, understanding the complexities of what’s needed to set up a standard push button switch and properly wire it can seem daunting. However, the steps are actually very straightforward—it just takes patience and attention to detail.
In this blog post, we will explain how to wire momentary push button switch for successful implementation in an electrical system. Whether you’re trying to control lighting or motors with these switches, you’ll find everything you need here, from preparing the components to wiring them up correctly. Read on for comprehensive instructions—and don’t forget safety first!
Does Push Button Have Polarity?
Yes, push-button switches do have polarity. This means that one lead of the switch is labeled as positive, and the other lead is labeled as negative or ground. If wired incorrectly, the switch will not work properly. It’s important to check which lead is which before beginning any wiring process. Additionally, if a push button switch has more than two leads, the wires will also need to be connected in a specific order.
Be sure to check the documentation that comes with your switch for more detailed instructions on how to wire it correctly. Many push buttons also require an external power source, such as a battery or wall outlet, to operate. This means that any additional wiring and components needed to power the switch should be connected before wiring up the push button switch itself.
10 Methods How to Wire Momentary Push Button Switch
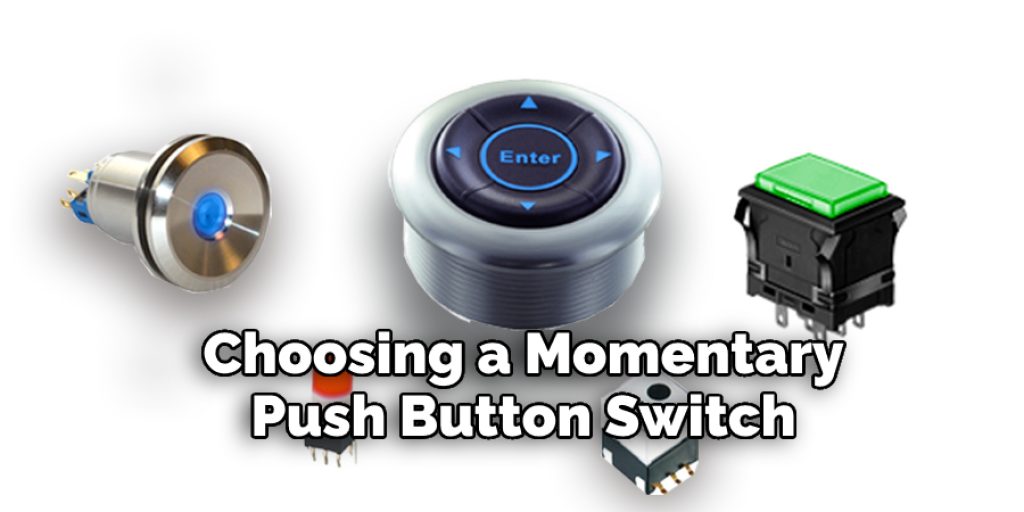
1. Choose the Right Switch
When choosing a momentary push button switch, it is important to consider the following factors: the type of switch you need, the size and shape of the switch, the voltage and current rating, the durability, and the price. If you are unsure of what type of switch you need, consult a professional who can help guide you in the right direction.
2. Select the Appropriate Mounting Style
Once you have chosen the right switch, you need to select the appropriate mounting style. The most common mounting styles for momentary push button switches are panel mount, PCB mount, and DIN rail mount. Panel mount switches are designed to be mounted directly on the panel or enclosure and typically include a threaded or snap-fit body.
PCB mount switches are designed to be soldered directly onto the printed circuit board and typically have two contact pins. DIN rail mount switches are designed to be mounted on standard 35mm DIN rail mounting systems and feature a snap-fit body.
3. Determine the Switch Actuation Type
There are two main types of momentary push button switches: momentary on (MOM) and momentary off (MOFF). Momentary on switches are typically used for applications such as control panels, while momentary off switches are typically used for applications such as doorbells. It is important to ensure that you select the correct switch actuation type for your application.
If you are unsure of which type to select, it may be wise to consult a qualified electrician. Make sure to select the correct switch actuation type before proceeding with the wiring process.
4. Consider the Contact Material
The contact material is an important factor to consider when choosing a momentary push button switch. The most common contact materials are silver (Ag), gold (Au), and copper (Cu). Silver is the most conductive material, but it is also the most expensive. Gold is less conductive than silver, but it is more durable and has a lower contact resistance.
Copper is less conductive than both silver and gold, but it is less expensive and has a higher contact resistance. While copper may not be the best option for high-speed applications, it is still a good choice for many low-speed applications. It’s important to choose the right contact material for your application to ensure that you get the most out of your switch.
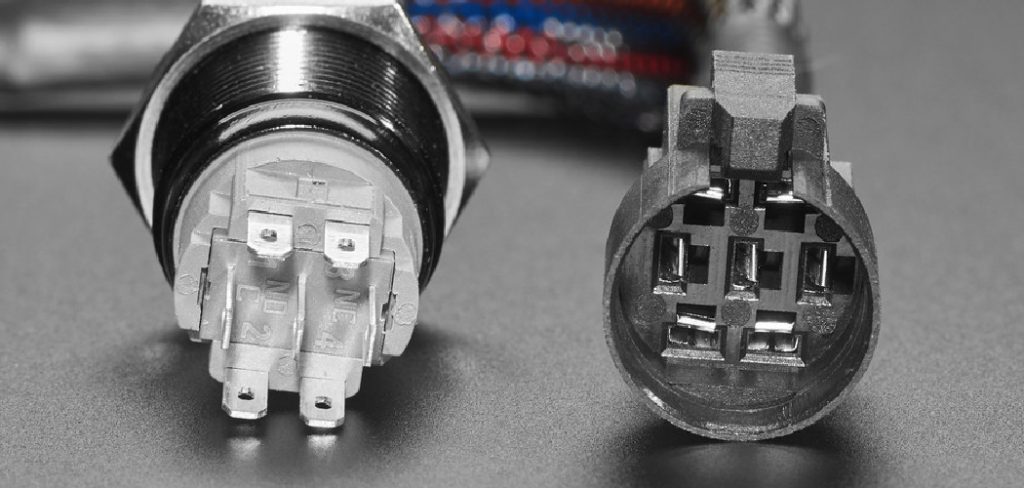
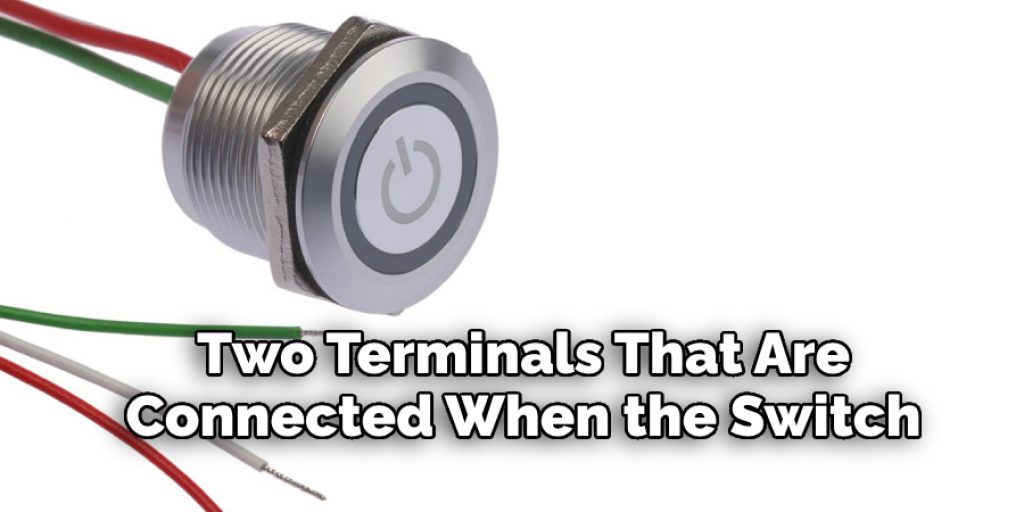
5. Determine the Contact Configuration
There are two main types of contact configurations for momentary push button switches: single pole single throw (SPST) and single pole double throw (SPDT). SPST switches have two terminals that are connected when the switch is pressed, while SPDT switches have three terminals: one common terminal and two switched terminals. The type of contact configuration you need will depend on the application and wiring that the switch is being used for. If you are unsure, consult with a qualified electrician or circuit designer.
6. Consider the Switch Operation
There are two main types of switch operations: latching and non-latching. Latching switches stay in the ON or OFF position until they are manually reset, while non-latching switches return to their original position after they have been activated. Depending on the application, you may need to use one type of switch or the other.
For example, if you are controlling an appliance with a momentary push button switch, you would likely use a latching switch. On the other hand, if you are controlling something like a doorbell or an alarm system, you would probably need to use a non-latching switch.
7. Determine the Rating Type
There are two main types of ratings for momentary push button switches: AC ratings and DC ratings. AC ratings apply to alternating current applications, while DC ratings apply to direct current applications. It is important to choose a switch with a rating that matches your application. Most switches offer ratings of up to 12 volts and five amps.
Double-check your application requirements before selecting a switch. When in doubt, it is always better to go with a switch that has a higher rating than necessary. This ensures your application will remain safe and reliable.
8. Consider the Temperature Rating
The temperature rating is an important factor to consider when choosing a momentary push button switch. The most common temperature ratings are -40°C to 85°C (-40°F to 185°F) and -55°C to 125°C (-67°F to 257°F). It is important to choose a switch with a temperature rating that matches your application. Be sure to check the temperature rating before you purchase a switch.
9. Determine the IP Rating
The IP rating is an important factor to consider when choosing a momentary push button switch. The most common IP ratings are IP65 and IP67. IP65-rated switches are dust-tight and protected against low-pressure water jets from all directions, while IP67-rated switches are dust-tight and protected against high-pressure water jets from all directions. It is important to choose a switch with an IP rating that matches your application.
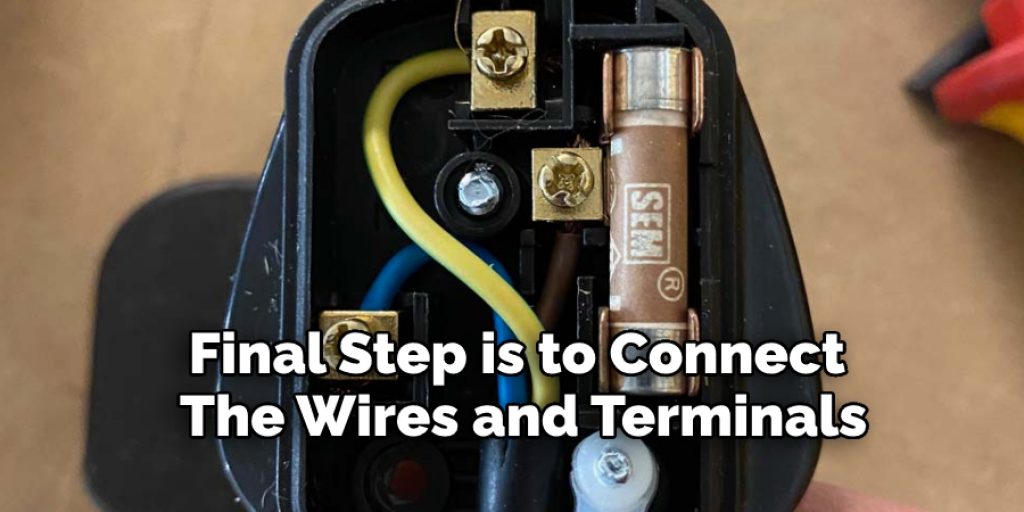
10. Connect the Wires and Terminals
The final step is to connect the wires and terminals of the momentary push button switch. Make sure to refer to the manufacturer’s instructions when connecting the wires and terminals, as this will ensure that your switch is properly wired and installed. Once you have connected all of the wires and terminals, your switch is ready to be used. With the proper wiring and installation, a momentary push button switch can provide reliable operation for years to come.
By following these steps, you should have no problem selecting the right type of momentary push button switch for your application. When shopping for a switch, it is important to consider all of the factors discussed above, as this will ensure that you get a switch that is suitable for your needs. With the right switch in place, you can be sure that it will provide reliable operation and years of service.
Things to Consider When Wire Momentary Push Button Swit
1. Safety:
Before starting any type of wiring project, make sure you are taking the right safety precautions. This includes wearing safety glasses and rubber gloves and making sure the power is turned off in the area you are working on.
2. Type of Push Button:
It’s important to choose the right type of push button switch for your application. Momentary switches come in various forms, such as normally open (NO), normally closed (NC), and bi-stable varieties. The type you choose will depend on the circuit you’re working with and what result you want when pushing or releasing the button.
3. Mounting:
Making sure your momentary push button switch is properly mounted is key to its success. To ensure maximum efficiency, mount it securely to a flat surface so it can’t move around during operation. Make sure that there are no exposed wires or terminals and that all connections are tightened securely.

4. Wiring:
Once your momentary switch is mounted, it’s time to wire it up. The wiring diagram for a momentary push button switch is relatively simple – the two ends of the switch will be connected to either side of a power source, allowing electricity to flow through when pressed. It’s important to make sure that all your connections are secure and that you’re using the correct type of wire for the job.
Conclusion
Now that you know how to wire momentary push button switch, you can put it to use in any circuit. Remember to keep the current and voltage rating of your switch in mind when choosing one for your project. With a little bit of practice, soldering is easy and can be used to create professional-looking electronic projects. Thanks for reading!