How to Write With a Sewing Machine
In the world of sewing, there are two types of machines: those with a pedal and those without. Learning how to use a machine with a pedal can seem daunting at first, but with a bit of practice, you’ll be stitching up a storm in no time!
This blog post will walk you through the basics of using a sewing machine with a pedal. We’ll cover everything from threading the machine to making basic stitches. We will also teach you how to write with a sewing machine. So read on for tips and tricks on how to sew like a pro!
Step by Step Guide: How to Write With a Sewing Machine
Step 1:
First, you’ll need a template of what you’d like to write. You can purchase a typewriter from an antique store, have a friend who’s a “typewriter enthusiast,” or you could print out the letters online.
Step 2:
You will most likely need to transfer your template onto the fabric you plan on sewing with. To do so layout your desired fabric and tape the template down underneath the paper. Then, you will need to trace the characters onto the fabric by poking several pinholes into both layers of your fabric.
Step 3:
Thread your sewing machine with a spool of white thread and begin stitching! Be sure to hold either end of each line so that you can keep your letters from being all jumbled up.
Step 4:
A little creativity is necessary. You can sew with a straight stitch, or you could experiment with decorative stitches, like the zigzag. Be sure to save some thread and needles (if you loose one in your fabric, it is challenging to get out!)
Step 5:
Now, prepare the fabric to cut the design. This is typically accomplished with a pencil and a ruler. But, if you would like to free-hand your design, feel free to do so.
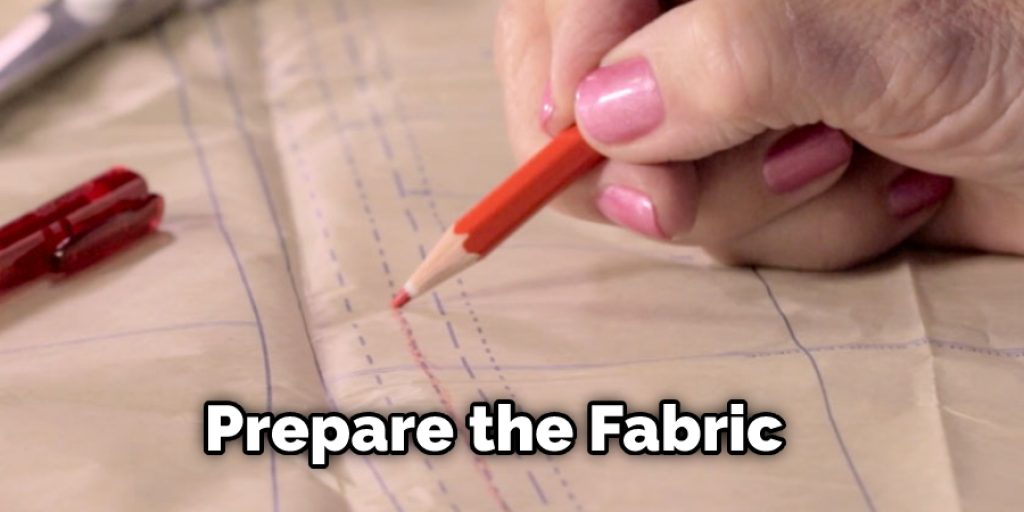
Step 6:
Make sure to scale the letters or design to fit the area. If you make a mistake, trace your template onto another piece of fabric and try again.
Step 7:
Once you have cut out the letters or design, stitch around each line to reinforce it. You can either choose to do this with a contrasting color thread or follow the same steps from before.
Step 8:
Using a ruler, place down the design on the fabric, then take it to the sewing machine. Position the needle so that it is very close to the edge of your ruler. Then, sew right along the fabric line where you have placed the letter onto.
Step 9:
If there are any letters or designs which are difficult to stitch, try positioning them on another piece of fabric and sewing that way. This may require a bit more fabric than you originally planned for, but it might be worth the effort.
Step 10:
Start stitching the edge of the first letter or design. Then, hold the thread between your fingers.
Step 11:
Hold onto this thread with one hand while you pull at it with the other until the letter is completely sewn out. Once you have reached this point, cut off all of the excess threads still attached to your fabric piece, particularly around each letter or design.
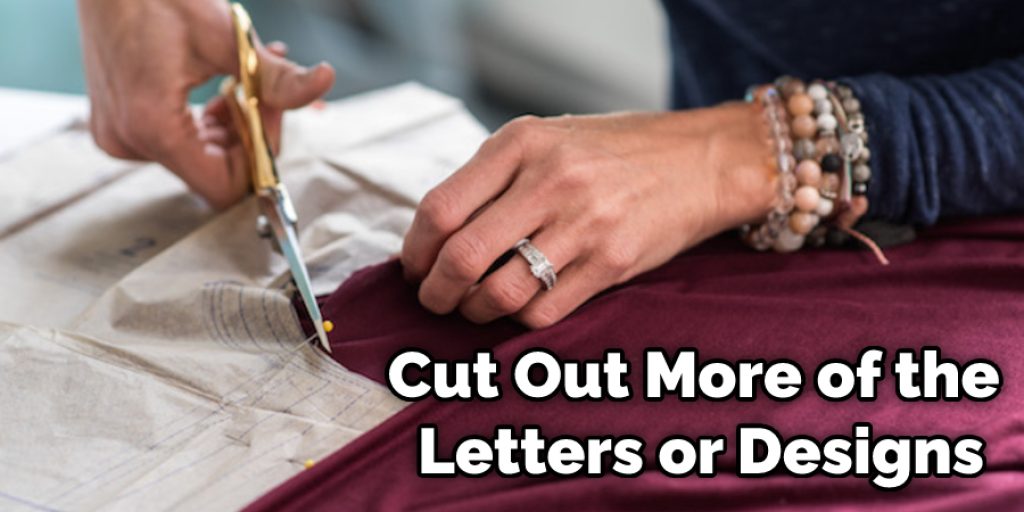
Step 12:
Cut out more of the letters or designs, then sew them onto your fabric. Remember to hold both ends of each line as you sew along with it!
Step 13:
Finally, trim any excess threads hanging over the edges of the fabric. Then heat set your design by running it through a hot dryer on a low setting for the appropriate time.
Step 14:
Enjoy your new fabric! This makes a perfect decoration for any room of your home, or it might even make a great gift for a loved one.
Some Helpful Tips and Suggestions
Here are some tips and suggestions on how to write with a sewing machine.
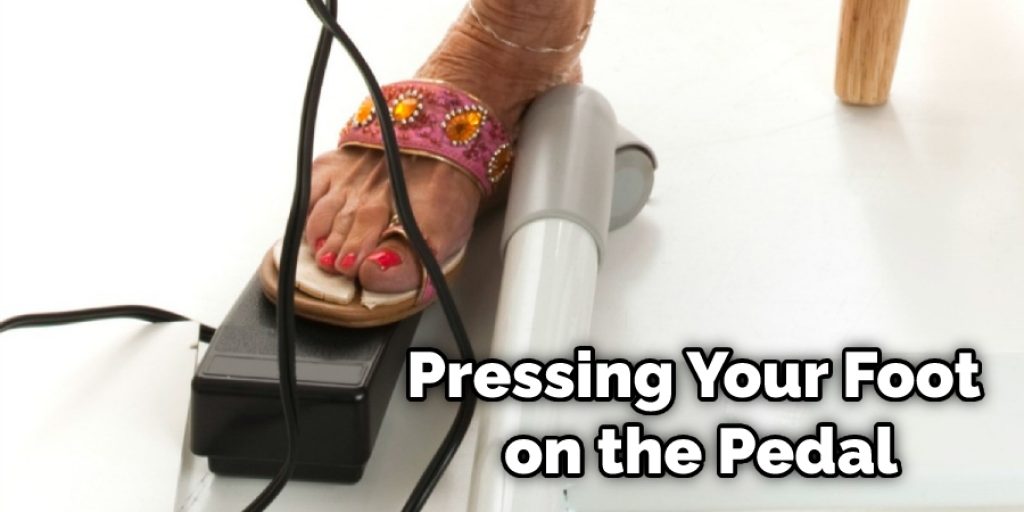
1. People tend to use too much pressure on the machine pedal, causing the needle to hit the hoop/surface instead of passing through it; this is hard on your stitching and can cause damage and bobbin jams.
2. When you move from one color to another, try starting the new color in a different stitch. For example, if I’m going from red to green, I will sew a few stitches on green and then a few more red stitches before changing colors again. This helps me avoid the ‘ball’ that tends to get stuck under the stitches in the beginning and gives a more polished look when you start.
3. If you’re having trouble getting a stitch to work or the bobbin thread is jamming, take your hoop off and stand it upside down on a table. Sometimes, it takes a tap of the surface to get the thread to drop into position.
4. Pressing your foot on the pedal and using your hands to manipulate the hoop can be very hard on your hand/wrist; if you need some extra support, use a second table in front of (or behind) you and put it up against your chair.
5. When you’re finished with a stitching section, take out the hoop and cut off the excess thread as close as possible to the back of the fabric. I find that if I don’t do this immediately, it’s easy to forget and leave loose thread behind, which will catch on to things over time and cause damage.
6. When you’re done stitching for the day, leave your hoop on and put a paper towel over it to keep dust off.
7. If using an embroidery hoop or another type of frame, make sure to tighten it as much as possible by giving the screws/bolts a twist (in case it’s not tight enough). The fabric will spring back to its original position.
Machine Embroidery vs. Hand Embroidery: Which is Easier
Hand embroidery requires much more time and patience to learn than machine embroidery. However, hand sewing allows for an infinite variety of stitches and embroidery designs. Hand stitching is also a quicker and easier finishing clothing, pillows, and more.
Machine embroidery is more popular than hand stitching for simple designs and monograms because it offers an infinite variety of stitches and designs with the push of a button. In addition, machine embroidery can be used to decorate many items such as pillows, sheet sets, towels, children’s clothing, jeans, and more.
Frequently Asked Questions
Q: Can I Embroidery on a Regular Sewing Machine?
A: Yes! You are about to learn how to sew words or phrases with a sewing machine, even if you have never threaded one before. This article will show you the basics- straightforward stitches to practice, so it’s perfect for beginners using old machines at garage sales or borrowing ones from friends.
Q: Is the Sewing Machine Needle Large Enough to Use for Embroidery?
A: The needle that sews through fabrics is different from a quilting or embroidery needle. These are much larger, with a larger eye at the end to accommodate thicker thread. In addition, some sewing machine needles have special coatings, which make them particularly good for embroidery, or you can use a Sharp Universal needle that has a little bit of a ballpoint at the end.
Q: What Is the Best Way to Learn How to Write With a Sewing Machine?
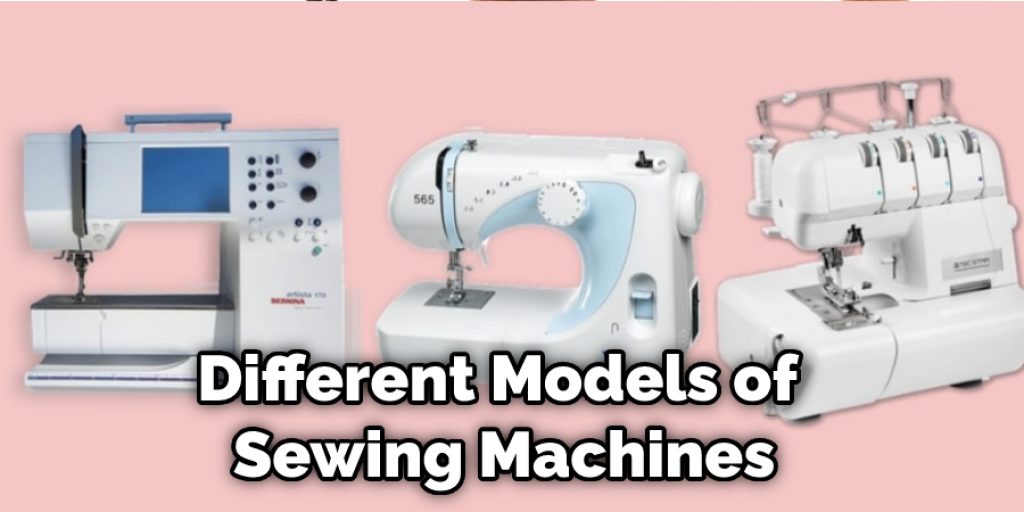
A: Begin by getting to know your machine, including its different parts. There are many different models of sewing machines with many similar-yet-different parts. Practice putting these pieces together and taking them apart so you’ll be familiar with how they fit best. It’s important to follow the instructions for your specific model.
After you’ve become familiar with the way, your sewing machine should be set up, practice writing on a piece of fabric. Practice scraps before moving to more significant projects like shirts or dresses. This way, if you make any mistakes, they won’t show as much, and you can try again until it’s right.
Q: Do I Need to Have a Special Type of Pen or Pencil for This Kind of Work?
A: Actually, the type of pen or pencil you use is really up to you. It can be any pen/pencil that will fit in the hole and not break while you’re writing with it. For example, I use a small mechanical pencil with 0.5 mm lead because it’s easier to hold than a regular-sized pencil.
I do not recommend using pens with gel or liquid ink because they are more complex for you to control. A thin-tipped black pen is the easiest to work with. If your handwriting is tiny, you may need to go down a tip size or two to have enough space between the lines to avoid overlapping the stitches.
Conclusion
The sewing machine is a vital tool for any home or professional seamstress and can create many different projects. If you are looking for help with using your sewing machine, this article on how to write with a sewing machine has all the information you need! You will learn what materials are required to get started and some tips for sewing fabric together.
Now that we’ve talked about the basics of using a sewing machine it should be easy enough to start making your own creations. Whether curtains for your windows or pillows for your couch, there are endless possibilities when you have access to one of these tools at home. If you have any questions about the process, please feel free to reach out, and we will be happy to help!