How to Frame a Bathtub for Tile
Framing a bathtub for tile is not difficult, but it does require some preparation. It can be an expensive project if you don’t know how to do it yourself, so plan ahead and make sure you understand the steps before you start. With all that in mind, let’s take a look at how to frame a bathtub for tile!
Why you Need to Frame a Bathtub for Tile:
The first thing you need to know is why framing a bathtub for tile is important. Bathrooms are wet, humid spaces that can be breeding grounds for mold and mildew growth if not properly cared for. The tiling process will leave gaps behind the tiles which allow water vapor from your shower or tubs use to gather in these dark nooks and crannies, condensing into liquid form as it cools before dripping back down onto whatever surface below–be it your flooring or walls.
Things to Consider Before Framing Bathtub for TileMaterials Need :
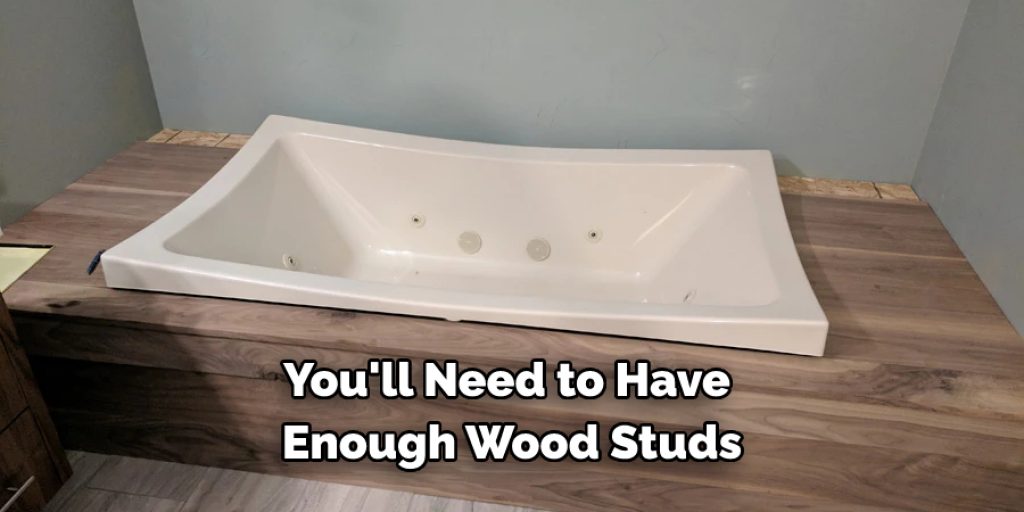
When framing a bathtub for tile, start with the framing materials. You’ll need enough wood studs and sheathing boards, typically consisting of OSB or plywood panels, sized according to your tub’s measurements. You may also want some insulation sheets if you’re going on an outside wall. A building supply store can help you figure out how much is needed based on your needs and desired height between flooring levels.
Tools Needed:
The tools required for this project can vary depending on what type of tiles and surfaces you plan on using in terms of adhesive but should include at least basic power tools like drills; saws such as circular saws and jigsaws, which are ideal for cutting through thick materials like plywood; hand tools such as hammers, screwdrivers and clamps.
Tiles:
When you are tiling your tub, you will need to use a special adhesive to make sure the tiles stay on. You will also need to use grout and caulking material like silicone or latex caulk. Some people prefer to use tile glue, but it might not work as well on an outside wall because it is more porous.
Surface Material:
Again, depending on what type of surface material you plan on using will determine how much preparation needs to be done. For instance, if you’re tiling over a plaster surface, then it’ll need to have an underlayment of thin-set mortar applied before the tiles are installed.
Safety Gear:
It is important that when installing tile or any type of material in general, always wear safety gear like gloves, goggles and dust masks so as not to inhale lead paint which could result in poisoning from prolonged exposure. It also helps protect against chemical fumes that can cause irritation or injury while working with harsh chemicals like strong cleaners, etching acid, and solvents.
Measurements:
When measuring a bathtub for tile, always measure the top of the wall too. This is because the tiles will go on this part of the wall, which can vary depending on where they were installed before. For example, if you’re tiling over old linoleum, you’ll need to account for the space between the baseboard and edging trim.
Steps to Frame a Bathtub for Tile:
- Measure the top of your wall and how much space you’ll need between baseboard or edging trim pieces to account for old linoleum, then measure the width of your bathtub from edge to edge on both sides (not including any lip at either end).
- Take a scrap piece of wood about one inch thick by three inches wide by as long as your measurement for # 01 above was. This is going be what will go on each side to create walls that are completely flat with no gaps in-between them, like our example image below:
- Cut two strips of wood out so they’re just a little bit wider than the width of your tub – this way, it’s easier to nail them together and have them flush with the edges.
- Once you’ve cut your two strips of wood out, measure how long it will need to be so that they’re equal in size to the flat length on both sides of your tub and then add one inch for overlap (so if your measurement was 16 inches wide, each strip should be 17″). Mark a line at this point with a pencil or marker where you want to cut these pieces up – like our example image below:
- When cutting, always use a saw blade meant for metal or masonry material and set it as close to 90 degrees as possible when making cuts; never try using an electric jigsaw because those blades are weaker and less durable than hand-driven ones which mean they’ll break more easily.
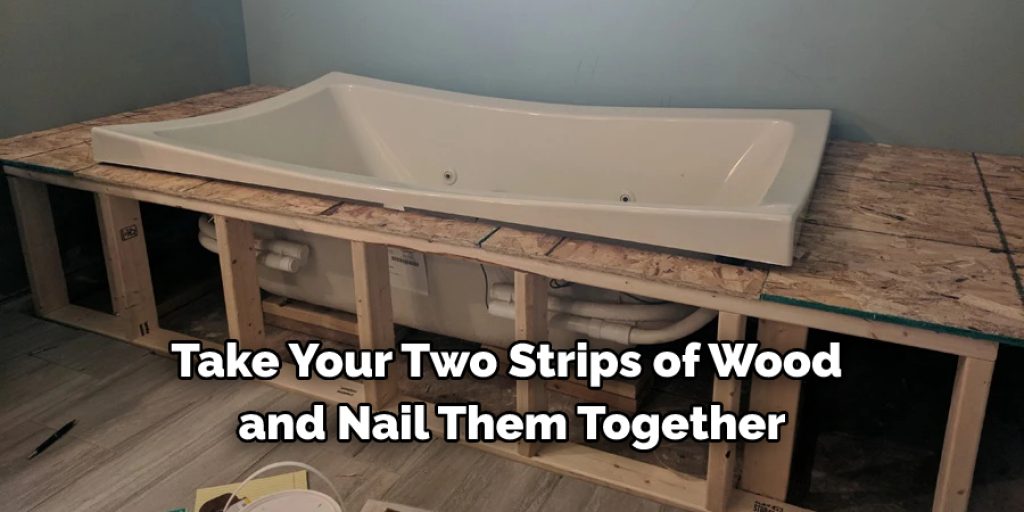
- Next, take your two strips of wood and nail them together at the end where it meets in a 90-degree angle to create what’s called an L-shape with has slanted sides as opposed to straight.
- When positioning these frames inside the tub, make sure that there is enough space for all four corners of each piece to be supported by either floor or wall without making contact with any part of its surface (including trim). This will allow water to flow freely underneath without getting trapped between something solid and preventing the wood from drying out.
Tips to Frame a Bathtub for Tile
Here are some tips to help you frame a bathtub for tile:
- Measure the bathtub and determine the size of your new frame. You’ll also need to account for any curves or recesses in the shape of the tub when measuring.
- Cut wooden boards and plywood sheets according to your measurements. Use a circular saw to get straight lines, but use a jigsaw for curves.
- Secure the frame together using screws, nails, or glue, depending on what materials you are using. Reinforce all joints with corner brackets and cross braces for added stability.
- Install support boards at all four corners to keep the frame in place while tiling over it. Make sure they are firmly secured into studs behind the walls or through other anchors such as dowels or expanding anchors.
- Spread mortar on one wall at a time and press tiles into place with a leveler tool or trowel edge — make sure there is adequate space between each tile so they can expand and contract during temperature changes without cracking.
- Thoroughly clean excess grout with a damp sponge, then leave it overnight to dry before applying the sealant to protect against water damage and staining.
Frequently Asked Questions:
1. What Are the Measurements of the Area That You Want to Tile?
The measurements of the area that you want to tile are irrelevant. What is important is how large your room or space which it will be installed in, as this determines what size tiles can be used (i.e., 12×12, 24×24, etc)
2. Where Do You Have Water Pipes That Need Protection During Tiling Installation?
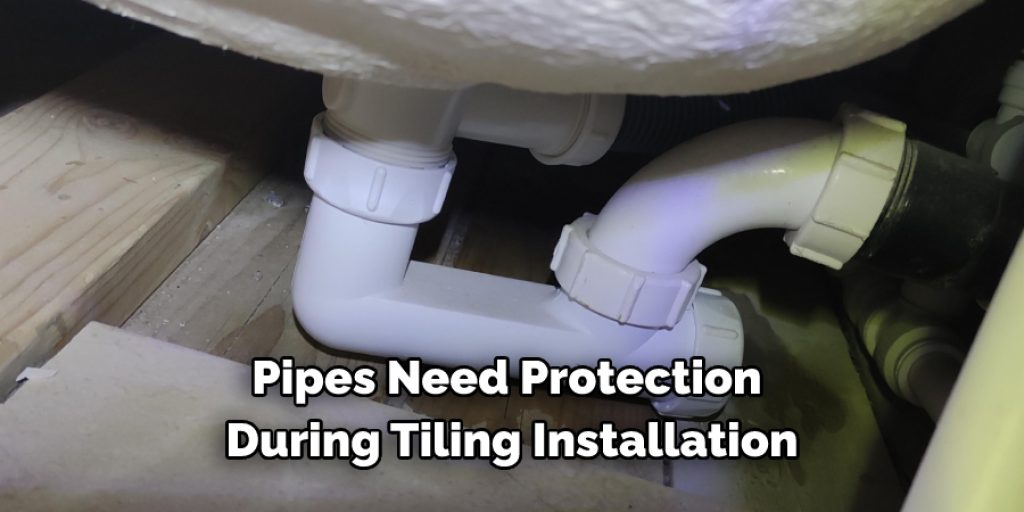
If you have any pipes that need protection during tiling installation, it is important to make sure the area where they run is framed appropriately. Alternatively, just plan on running them through a hole in the bottom of your tub instead and framing around this outside edge so there will be no contact with anything else while installing tile.
3. What Type of Tile Should You Use if There Are Obstacles That Will Be in the Way?
If you encounter obstacles while installing your tile, it is important to plan ahead. Tile can actually go around almost any obstacle, as long as you allow enough space on either side of the object for the tile to have a clear path.
4. Does It Make a Difference if the Tub Was First Installed by Professionals or Not?
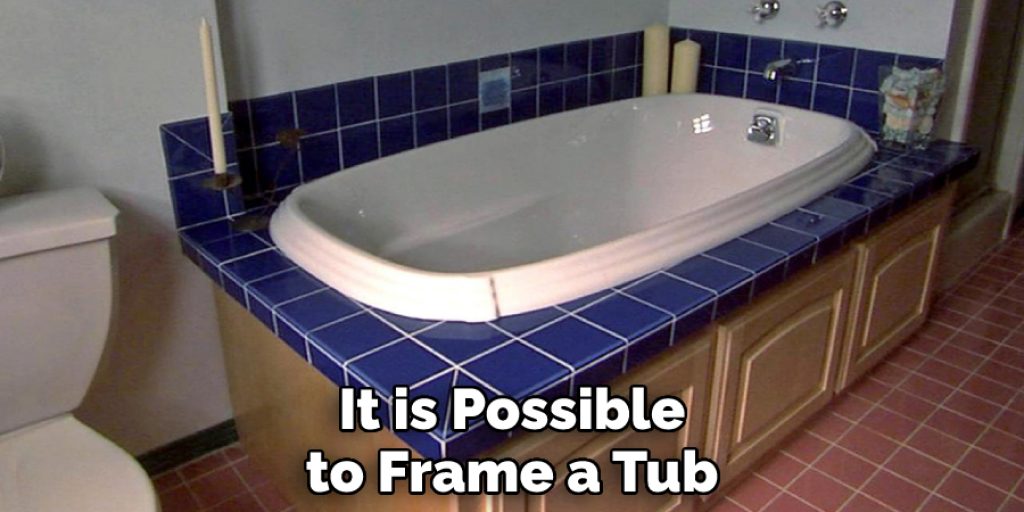
It is possible to frame a tub, even if it was first installed by professionals. It just requires the skills and tools needed for framing as well as being able to work with new materials that may not be typical in other projects.
Conclusion:
If you’re going to tackle the task of installing tile in your bathroom, then it’s important to know how to frame a bathtub for tile first. Framing out a tub may seem like an unnecessary step, but if you don’t take this necessary precaution, your new tiled floor will be uneven and not level with the rest of the room. The framing process is easy enough that even beginners can do it successfully, so make sure you give yourself plenty of time before beginning any work on your bathroom remodels!
You may read also – How to Make a Concrete Bathtub


