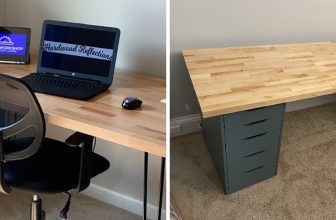
How to Build an L-Shaped Desk
Are you looking for a creative and customizable way to maximize the use of space in your home office? An L-shaped desk is the perfect solution! Customizing an L-shaped desk may be ideal for office woes and interior design needs. Not only are these types of desks great for conserving rooms, but they also come with plenty of storage options and can easily fit any style or budget.

In this blog post, we’ll explore all the ins and outs of building an L-shaped desk – from selecting the suitable materials to installing it yourself. By following our step-by-step instructions on how to build an L-shaped desk, you can create a beautiful workspace that will be both highly functional as well as visually appealing! So read on to learn how easy it can be to transform your work area into something special.
Necessary Items
Before we dive into the steps, let’s go through some essential items you’ll need to build your L-shaped desk. These include:
- Wood boards (preferably MDF or plywood)
- Screws and nails
- Drill and drill bits
- Measuring tape
- Saw (circular saw or jigsaw)
- Sandpaper
- Primer and paint (optional)
- Level
- L-brackets for added stability (optional)
10 Steps on How to Build an L-shaped Desk
Step 1: Plan and Measure
Before you start building, it’s crucial to have a plan in place. Decide on the size and shape of your desk, measure the space where it will be placed, and consider any existing furniture or obstacles that may affect its placement. This step is critical to determine the materials you need to buy and the construction process.
Step 2: Gather Materials
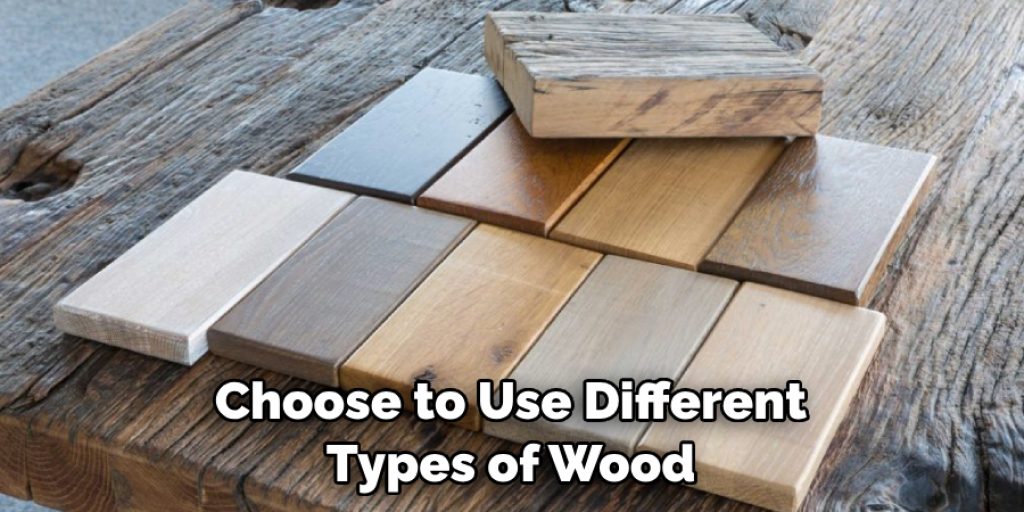
Based on your measurements and design plan, purchase all the necessary materials. As mentioned earlier, MDF or plywood are great options for building an L-shaped desk because they are affordable, easy to work with and offer a smooth surface for writing. You can also choose to use different types of wood for a more unique and stylish look.
Step 3: Cut the Wood
Using a saw, cut the wood boards according to your measurements. Be sure to double-check your measurements before cutting to avoid any mistakes. If you don’t have access to a saw, most home improvement stores offer cutting services for an additional fee.
Step 4: Sand the Wood
Using sandpaper, smooth out any rough edges and surfaces on the wood boards. This step is essential for a clean and professional-looking finished product.
Step 5: Assemble the Top of the Desk
Lay out the boards to form the top of your desk in an L-shape. Use screws or nails to secure the panels together. You can also use L-brackets for added stability.
Step 6: Add Support
To ensure the strength and durability of your desk, add support beams or legs to the underside of the top. This will prevent any sagging or buckling in the future.
Step 7: Paint or Stain (Optional)
If you want a more polished and personalized look, you can choose to paint or stain your desk. Be sure to prime the wood first before applying any paint or stain.
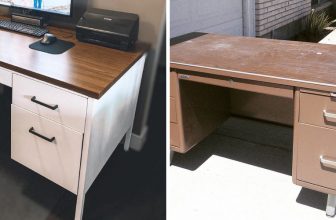
Step 8: Install Drawers or Shelves (Optional)
Consider installing drawers or shelves underneath the desk for added storage and organization. This is a great way to utilize the space efficiently while keeping your workspace clutter-free.
Step 9: Level and Secure
Using a level, check that your desk is even and adjust as needed. Once you are satisfied with the placement, use screws or L-brackets to secure the desk to the wall for added stability.
Step 10: Enjoy Your Custom Desk!
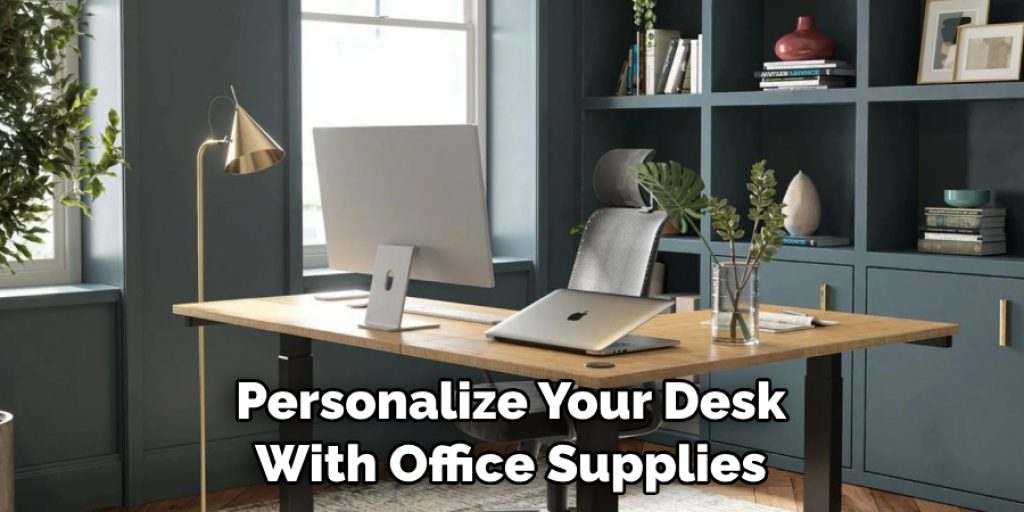
Congratulations! You have successfully built your very own L-shaped desk. Now it’s time to decorate and personalize your desk with office supplies, plants, and other decorations. Enjoy your new workspace that is both functional and stylish.
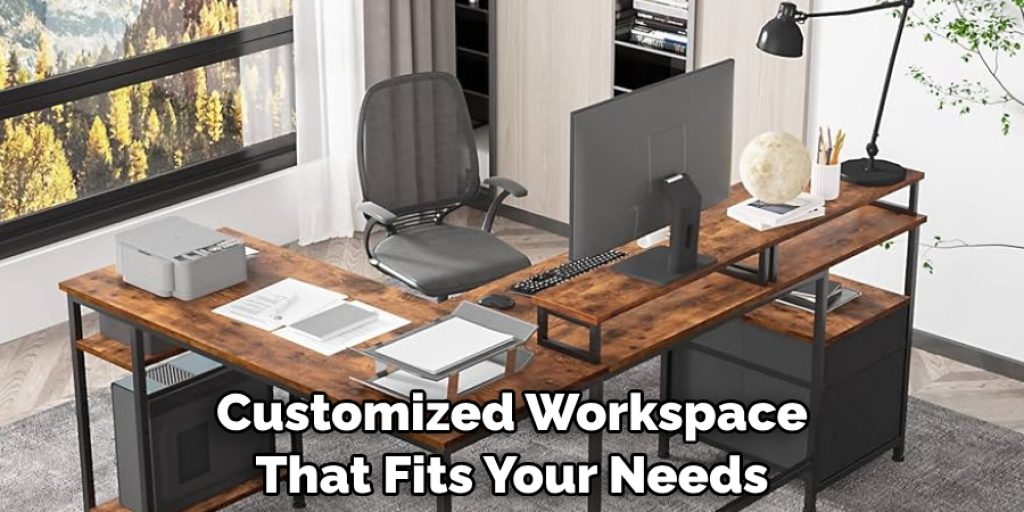
Building an L-shaped desk can be a fun and rewarding DIY project that allows you to create a custom workspace tailored to your needs and style. You can build a functional and aesthetically pleasing desk by following these steps. Take your time, be safe, and enjoy creating your desk.
8 Safety Measures to Keep in Mind
1. Protective Gear
Always wear protective gear such as gloves, goggles, and a mask when handling power tools or chemicals. You should always maintain proper safety measures to avoid any accidents.
2. Secure the Work Area
Clear any clutter or obstacles in your work area to avoid accidents. Ensure the floor is dry and level, with enough space to move freely.
3. Follow Safety Guidelines
Familiarize yourself with all the safety guidelines and instructions for any tools or materials you use. This includes proper handling, storage, and usage.
4. Use Tools Correctly
Misusing tools can result in severe injury or damage to your project. Always read the instruction manual before using any power tools and follow all safety precautions.
5. Keep Children and Pets Away
When working with power tools or sharp objects, keep children and pets away from the work area. This will prevent any accidents or injuries.
6. Take Breaks
Building a desk can be a physically demanding task, so make sure to take breaks and stay hydrated throughout the process.
7. Ask for Help if Needed
Feel free to ask for help if you need clarification on a particular step or need an extra pair of hands. It’s better to be safe than sorry.
8. Clean Up Afterward
Clean up any debris or leftover materials after building your desk. This will prevent any accidents and keep your workspace tidy.
Building an L-shaped desk may seem daunting, but it can be a fun and rewarding DIY project with the right materials, tools, and safety measures. Following these steps and tips, you can create a customized workspace that fits your needs and style perfectly.
Frequently Asked Questions
How Long Does It Take to Build an L-shaped Desk?
The time it takes to build a desk depends on your skill level, the complexity of your design, and the tools you have available. On average, it can take anywhere from 4-8 hours.
What Type of Wood is Best for Building a Desk?
MDF or plywood are popular choices for building a desk because they are affordable, easy to work with, and offer a smooth surface for writing. However, you can also choose to use different types of wood for a more unique and stylish look.
How Do I Secure My L-shaped Desk to the Wall?
Using screws or L-brackets to secure your desk to the wall will provide added stability and prevent tipping or wobbling. Be sure to use anchors if attaching the desk to drywall. You can also consider using furniture straps for added safety.
Can I Paint or Stain My Desk?
You can paint or stain your desk for a more polished and personalized look. Just be sure to prime the wood first before applying any paint or stain. You may also have to sand and refinish the surface to maintain its appearance periodically. Always follow the manufacturer’s instructions for proper paint or stain application and drying times.
Is It Necessary to Add Support Beams or Legs?
Adding support beams or legs to the underside of your desk is necessary to ensure its strength and durability. This will prevent any sagging, warping, or buckling over time.
Can I Customize My Desk with Drawers or Shelves?
You can customize your desk with drawers or shelves for added storage and organization. Be sure to attach them to the desk for stability securely.
Is Building My Desk Cost-effective?
Building your L-shaped desk can be more cost-effective than purchasing one from a store, especially if you have some of the materials and tools already available. However, the cost may vary depending on the type of materials you choose and any additional features or customization. Building your desk allows for more control over budget and design.
How Can I Keep Myself Safe While Building a Desk?
Always wear protective gear, secure the work area, follow safety guidelines, use tools correctly, keep children and pets away, take breaks, ask for help, and clean up afterward. These safety measures will help prevent accidents or injuries while building your desk. If you need clarification on any step or assistance, it is always best to ask for help rather than risk your safety.

Conclusion
Building an L-shaped desk may seem daunting at first, but by following these steps on how to build an L-shaped desk and having a solid plan in place, you can easily create a beautiful and functional workspace.
Remember to take measurements accurately, use the right materials and tools, and prioritize safety. With a little effort and creativity, you can have your custom desk that meets all your needs and preferences. Most tools required to build an L-shaped desk are in an essential toolbox.
However, you may need specialized tools such as a power saw or drill for more complex designs. You can adjust the size of your desk to fit your specific needs and space limitations. Just be than to plan and measure before cutting any materials.
Consider using adjustable legs to have the option of changing the height of your desk in the future. Building your desk allows for more flexibility and customization than store-bought desks. Enjoy your new custom L-shaped desk.
You Can Also Check This Out to Organize a Desk Without Drawers
Angela Ervin
Angela is the executive editor of DIY quickly. She began her career as an interior designer before applying her strategic and creative passion to lifestyle and home. She has close to 15 years of experience in creative writing and online content strategy for housekeeping, home decorations as well as other niche efforts. She loves her job and has the privilege of working with an extraordinary team. She lives with her husband, two sons, and daughter in Petersburg. When she's not busy working she spent time with her family.