How to Build Faux Fireplace
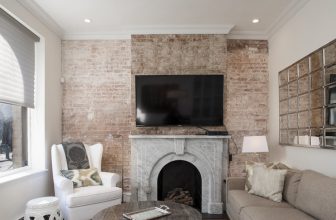
Do you want a cozy and inviting living room, but don’t have a real fireplace? Don’t worry. Building a faux fireplace is easier than ever! With some creative vision, the right materials, and simple tools and techniques, you can bring rustic comfort into your home in no time at all.
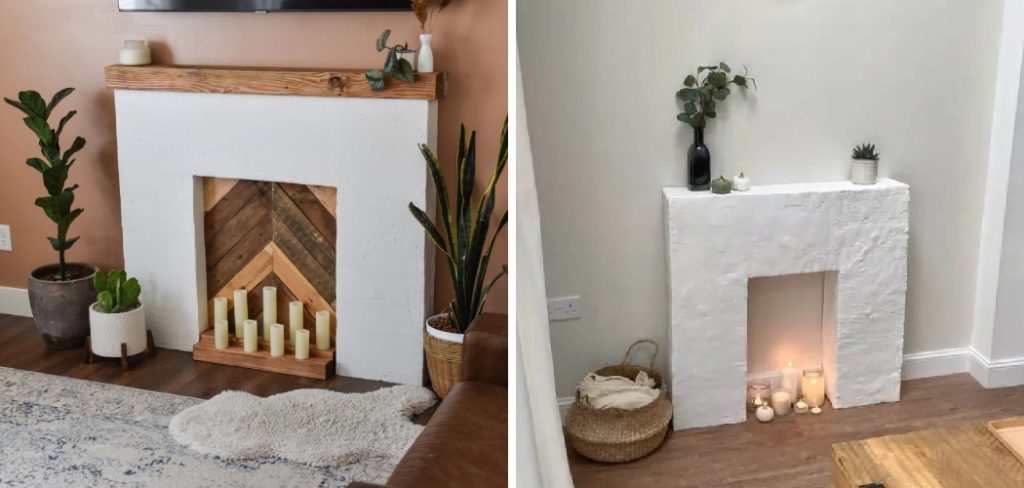
In this blog post on how to build faux fireplace I’ll be sharing step-by-step instructions on how to construct a beautiful faux fireplace that looks as good as the real thing—without any of the mess or hassle. So if you love cozying up to the warmth of an open fire but lack space for one in your home, read on to find out how you can easily build your own stunning faux fireplace today!
Needed Materials
Given below is a list of some basic materials you’ll need to build a faux fireplace. Of course, the exact supplies needed may vary depending on your project, so be sure to adjust accordingly:
- Plywood
- 2×4 lumber
- 1/2″ Drywall
- MDF panels or other decorative wallboards
- Fire brick or stone veneer
- Nail gun and nails
- Wood glue
11 Step-by-step Guidelines on How to Build Faux Fireplace
Step 1: Measure and Cut the Plywood
Using a measuring tape, measure the height, width, and depth of the space you want to cover with your faux fireplace. Make sure to leave an inch or two of additional space for fitting your material. Once you’ve taken measurements, use a saw to cut the plywood into panels that will fit in the space.
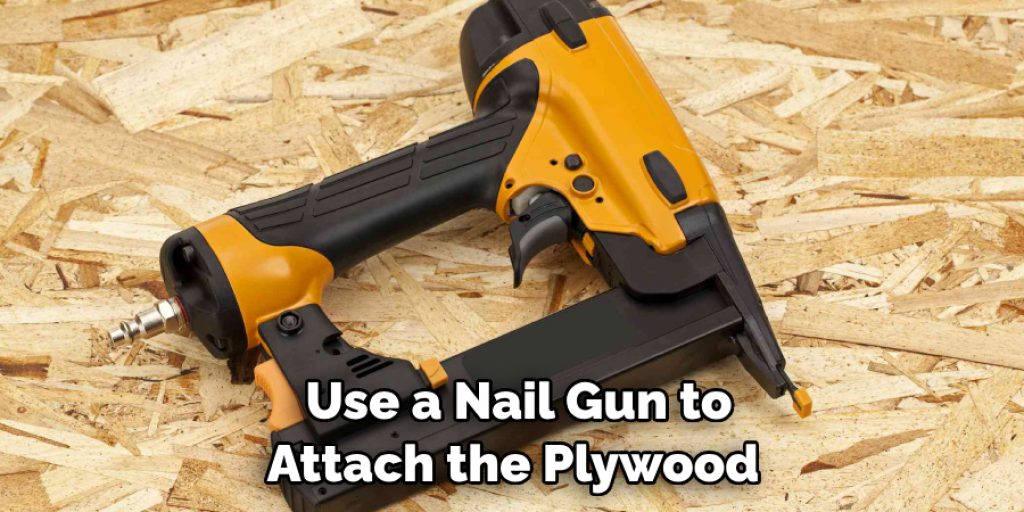
Step 2: Attach the Plywood to the Wall
Use a nail gun to attach the plywood panels to the wall. If you’re not comfortable using a nail gun, you can also use screws or wood glue instead. Make sure everything is firmly attached before moving on. It’s important to make sure your plywood is attached properly to ensure the rest of your faux fireplace is structurally sound.
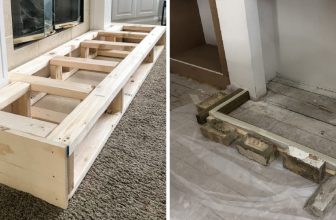
Step 3: Cut the 2×4 Lumber
Cut the 2×4 lumber into pieces that are slightly longer than the width of your faux fireplace. This will form a frame around your project, helping give it structure and ensuring that all of the other pieces fit together properly. But before cutting the lumber, be sure to measure carefully—you don’t want your frame to be too big or too small. It should fit snugly around the fireplace’s dimensions.
Step 4: Attach the 2×4 Lumber
Use your nail gun to attach the 2×4 lumber to the edges of your plywood panels, forming a frame around them. Make sure everything is firmly attached before moving on. This frame will help the rest of your faux fireplace fit together properly, so it’s important that all of the pieces are securely attached.
Step 5: Put Up the Drywall
Using your nails or screws, attach the 1/2” drywall to the 2×4 lumber frame you just created. Make sure to leave a few inches of space between each sheet of drywall so they fit together properly. Otherwise, your faux fireplace won’t have a smooth finish. It’s also important to make sure all of the nails or screws are firmly in place.
Step 6: Cut and Attach MDF Panels or Other Decorative Wall Boards
Measure and cut the MDF panels or other decorative wall boards to fit in your faux fireplace frame. Use a nail gun or wood glue to attach them to the drywall, making sure they’re securely attached before moving on. You can also paint the panels to give them a unique and personalized touch.
Step 7: Create an Opening for Your Fireplace
Using a saw, cut an opening in the back of your faux fireplace. This will serve as an entrance for your faux firebox. Make sure you leave enough space for it to fit comfortably and securely inside the frame. But before cutting, be sure to measure carefully. You want the opening to fit your firebox properly and look natural when it’s in place.
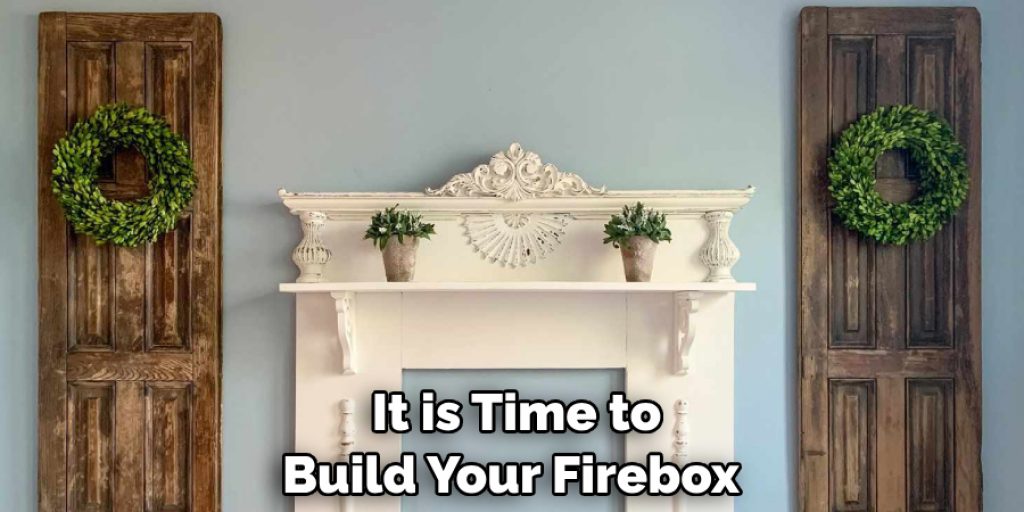
Step 8: Build a Firebox
Now it is time to build your firebox! Cut the plywood into panels that will fit into the opening you just created. Use nails or screws to attach them together, forming a box that will serve as your firebox. It’s important to make sure all of the pieces are firmly attached. Otherwise, your faux fireplace won’t be structurally sound.
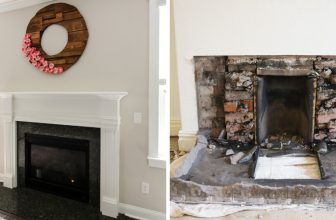
Step 9: Add the Fire Brick or Stone Veneer
Measure and cut the fire brick or stone veneer to fit around the edges of your faux fireplace frame and firebox. Gently attach them using wood glue or nails. You can also use a masonry adhesive if you want to make sure the pieces stay in place.
Step 10: Put a Mantel on Top
Using the measurements you took earlier, cut a piece of plywood that will fit snugly across the top of your faux fireplace frame and firebox. This is your mantel and will provide a perfect place to display decorations, photos, or other items. If desired, you can also paint the mantel to match the rest of your faux fireplace.
Step 11: Enjoy Your Faux Fireplace!
Now that your faux fireplace is complete, it’s time to enjoy it! Place a battery-operated or electric log set into the firebox and light it up. Now you can cozy up to the warmth of a real fire without any of the mess or hassle! Add some decorations to the mantel and you’re all set!
With a little bit of hard work, attention to detail, and creative vision, it’s easy to build your own beautiful faux fireplace for your home. So why not give it a try today? You won’t regret it!
Following these steps on how to build faux fireplace will help you construct a cozy and inviting living room in no time! Have fun creating your own stunning faux fireplace and enjoy the warmth of a real fire without the mess or hassle. Good luck!
Tips and Tricks for Building Faux Fireplace
When it comes to building a faux fireplace, there are a few tips and tricks that can make the process easier and more successful. Here are some of our top tips to keep in mind while working on your project:
- Measure Twice and Cut Once. Measuring Your Project Area Accurately is the Key to Getting a Perfect Fit for Your Faux Fireplace Frame and Firebox.
- Take Your Time. Don’t Rush Through Any Part of the Process – It’s Important to Make Sure Everything is Firmly Attached and Secure Before Moving on.
- Think Outside the Box. Get Creative and Have Fun With Your Project! Adding Personal Touches and Decorative Elements to Your Faux Fireplace Can Help Make It Even More Unique and Beautiful.
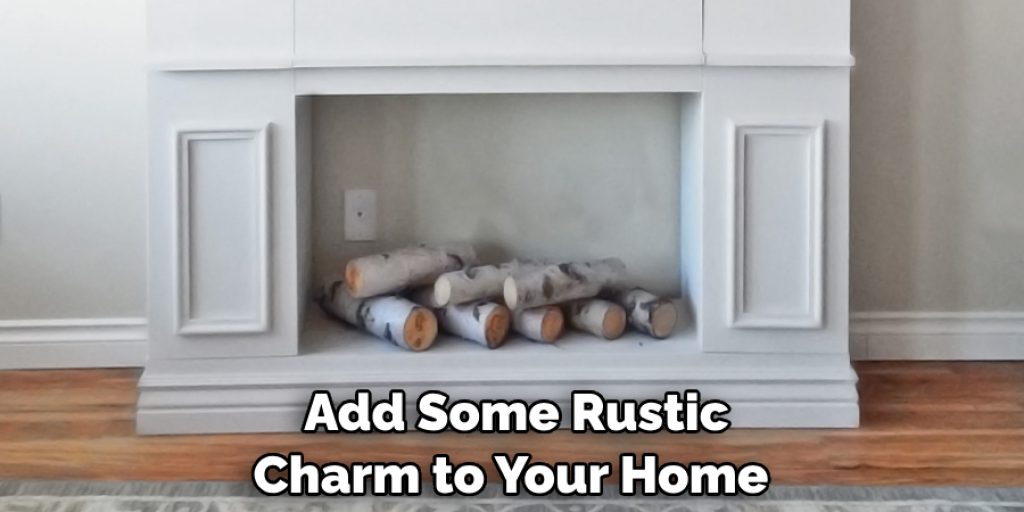
- Enjoy Yourself! Building a Faux Fireplace is a Great Opportunity to Get Creative, Practice Your DIY skills, and Add Some Rustic Charm to Your Home. Have Fun With the Process and Enjoy the Results!
With these tips and tricks in mind, you’ll be ready to embark on your faux fireplace project with confidence. Good luck and happy building!
Frequently Asked Questions
Q1. Is It Hard to Build a Faux Fireplace?
A1. Building a faux fireplace is easier than ever! With the right materials, simple tools and techniques, and some creative vision, you can easily construct a beautiful faux fireplace to add rustic comfort and charm to your home.
Q2. What Materials Do I Need to Build a Faux Fireplace?
A2. The materials you’ll need may vary depending on your project, but generally, you’ll need plywood, 2×4 lumber, 1/2” drywall, MDF panels or other decorative wallboards, fire brick or stone veneer, a nail gun and nails, and wood glue.
Q3. How Long Does It Take to Build a Faux Fireplace?
A3. The exact amount of time it takes to build a faux fireplace will vary depending on your project, but generally, it should take a few hours to complete. Make sure you have all of the needed supplies and tools before getting started to ensure the process goes as smoothly as possible.
Happy building! With a little bit of hard work and creative vision, you’ll soon be able to enjoy the warmth of an open fire without any of the mess or hassle. Have fun and good luck!
Conclusion
Everyone loves a cozy space to relax and adding a faux fireplace is just the project to do it! With your own two hands and some bricks and mortar, you are now able to make the mantle of your dreams. Now that you know how to build faux fireplace, you can create an area dedicated to relaxation within your own home. Being creative with your design will truly let you show off your unique style and give life to any living space.
Along with being aesthetically pleasing, these fireplaces can also add valuable heating options if done properly. Why don’t you get started today? Whether it is for aesthetics or for added warmth, making this great addition to your home will bring great comfort and increase the joy that comes with making it all by yourself!
Angela Ervin
Angela is the executive editor of DIY quickly. She began her career as an interior designer before applying her strategic and creative passion to lifestyle and home. She has close to 15 years of experience in creative writing and online content strategy for housekeeping, home decorations as well as other niche efforts. She loves her job and has the privilege of working with an extraordinary team. She lives with her husband, two sons, and daughter in Petersburg. When she's not busy working she spent time with her family.