How to Change Batteries in Garage Door Opener
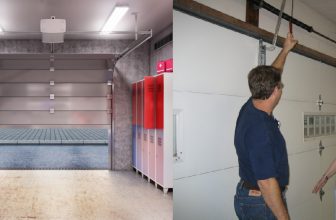
Are you having trouble getting into your garage? If so, you may need to change the batteries in your garage door opener. Changing the batteries in a garage door opener is an easy process that can be done with minimal tools and effort. Here is how to change batteries in garage door opener.
If you’re having difficulty opening and closing your garage door, one of the most likely culprits is a dead battery in your garage door opener. This small but essential piece of hardware ensures that your door opens effortlessly and securely every time.
In this blog post, we’ll cover everything from finding and replacing the correct size battery for different models of openers to providing safety tips for adults performing these tasks. With some patience and simple DIY skills, changing batteries in a garage door opener won’t be complicated so let’s get started!
What are the Signs that You Need to Change the Battery in Your Garage Door Opener?
The most common sign that your garage door opener needs a new battery is when it fails to open on command. If you notice this, the first step is to check your remote control’s battery. Of course, if you have multiple doors or access points, then you may need to check the battery in each one separately.
If all of your remotes and keypads have working batteries, then you may want to try changing the battery in your garage door opener directly. This will help determine if a new battery is needed or if some other issue exists with your opener.
What Will You Need to Change the Battery in Your Garage Door Opener?
Before you start, make sure to gather all of the necessary supplies, including:
- The correct size battery for your garage door opener model
- A screwdriver
- A flashlight
- Steps to Ensure Safety During the Project
It’s important to keep safety in mind when working on any project. Here are some important steps to follow for changing batteries in a garage door opener.
10 Easy Steps on How to Change Batteries in Garage Door Opener
Once you’ve identified that it’s time for a new battery, follow these simple steps:
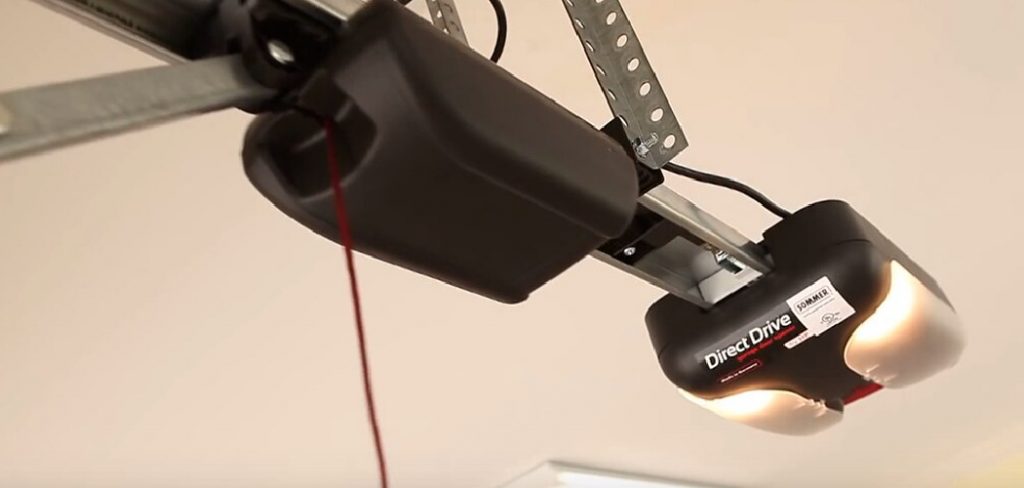
1. Locate the Battery Compartment
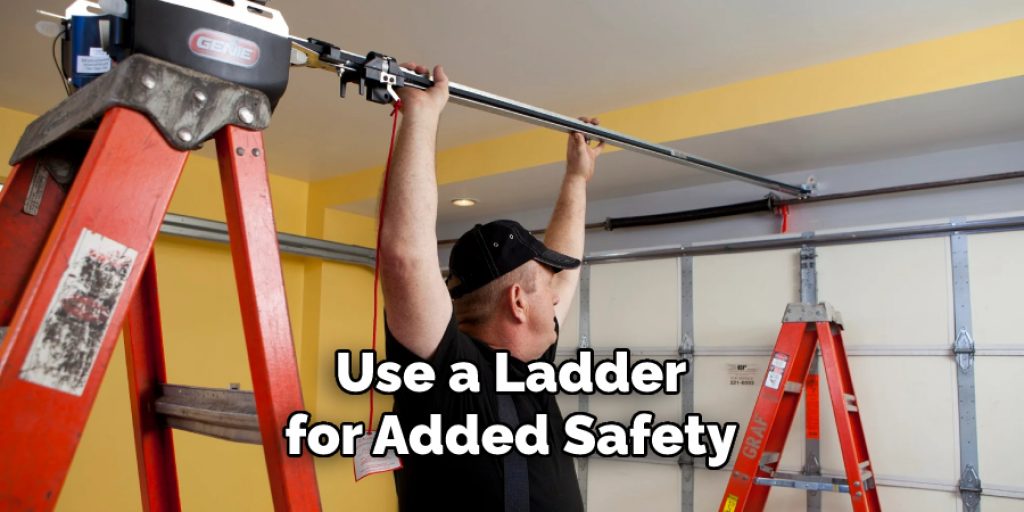
Depending on your model, you’ll find either an access panel or a latch at the back of your garage door opener control box that opens up the compartment where the batteries are stored. Do not open this until the opener is unplugged. Because these boxes are usually located near the ceiling, use a ladder for added safety if necessary.
2. Unplug your Garage Door Opener
Unplug the garage door opener before you begin disassembling anything. This will prevent any accidental harm to yourself or anyone else in the vicinity. Try to find a spot where the cord won’t be in the way and unplug it.
3. Remove the old batteries and install new ones
Carefully remove the old batteries from their slots in your garage door opener, making sure not to touch either of them with your bare hands as it may damage them and lead to a malfunctioning door opener down the line.
Replace them with fresh batteries that are compatible with your model and size, making sure to orient them correctly in each slot based on how they lay out when installed properly. If you are unfamiliar with how to identify the correct size, consult a local hardware store for assistance.
4. Put Everything Back Together
Once the batteries are installed, carefully put everything back together and make sure that all parts fit snugly. Plug your opener back into its power source to start it up again. If you notice any issues, consult a professional for help.
5. Check for Proper Operation
Now is a good time to test your garage door opener and make sure it’s working properly. Turn the switch on and give it a try. If the door opens correctly, then you have successfully changed the batteries in your garage door opener.
6. Troubleshoot if Necessary
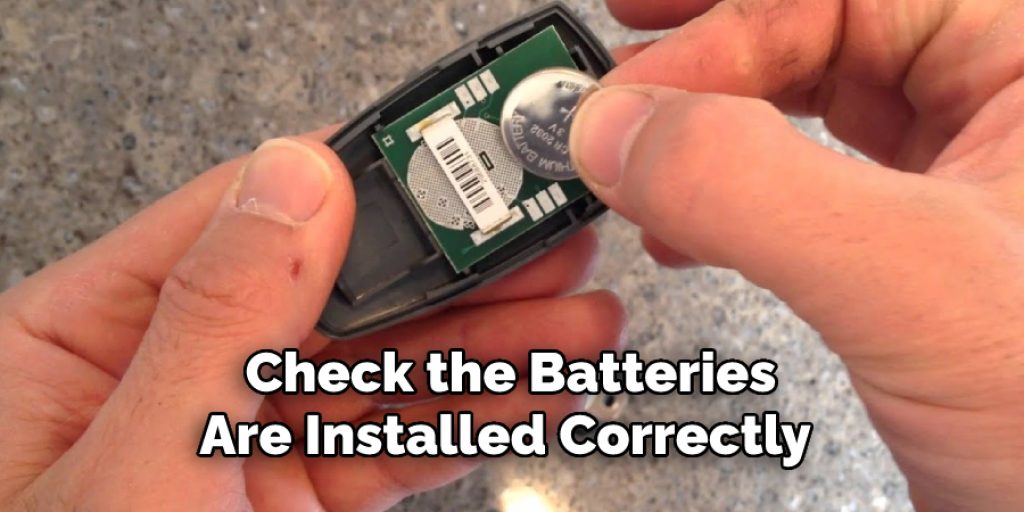
If the door opener fails to open, then you may need to troubleshoot further. First, check that the batteries are installed correctly and functioning properly in your remote control device. If all is well with the batteries, then check for any obvious obstructions like debris or an errant branch caught in the track of your garage door’s operation system.
7. Call a Professional
If none of these steps work, it might be time to call a professional for help. A knowledgeable technician will be able to guide you through how to change batteries in the garage door opener or identify what else may be causing the issue so it can be resolved quickly and easily. Additionally, a professional will be able to provide advice on how to maintain your garage door opener for optimal performance.
8. Clean Up and Store Remaining Supplies
Now that you’ve successfully changed the batteries in your garage door opener, it’s time to put away all of your supplies and clean up any mess you may have made. Make sure to keep the old batteries stored out of reach from children and pets, as they can still be dangerous if handled improperly. You can also take this opportunity to check the other components in your door opener for any signs of wear and tear, such as fraying wires or cracked parts.
9. Recycle Old Batteries
Don’t forget to recycle those old batteries! Taking them to a local recycling center is an easy and responsible way to get rid of them quickly and safely. It’s also a great way to help the environment and keep your home secure.
10. Enjoy Your Working Garage Door Opener
Once everything is done, enjoy having a working garage door opener again! Change the batteries when necessary and keep up with regular maintenance to get the most out of your garage door opener. Remember, if you ever experience any issues or have questions about changing batteries in the garage door opener, don’t hesitate to call a professional for help.
These steps will help you quickly and easily change the batteries in your garage door opener so you can continue enjoying its convenience for years to come. It’s essential to keeping your home safe and secure, so don’t forget how important it is to replace these batteries regularly. With just a few simple steps, you’ll be back up and running in no time!
5 Additional Tips and Tricks
- When you change the batteries in your garage door opener, make sure that the new ones are compatible with the unit.
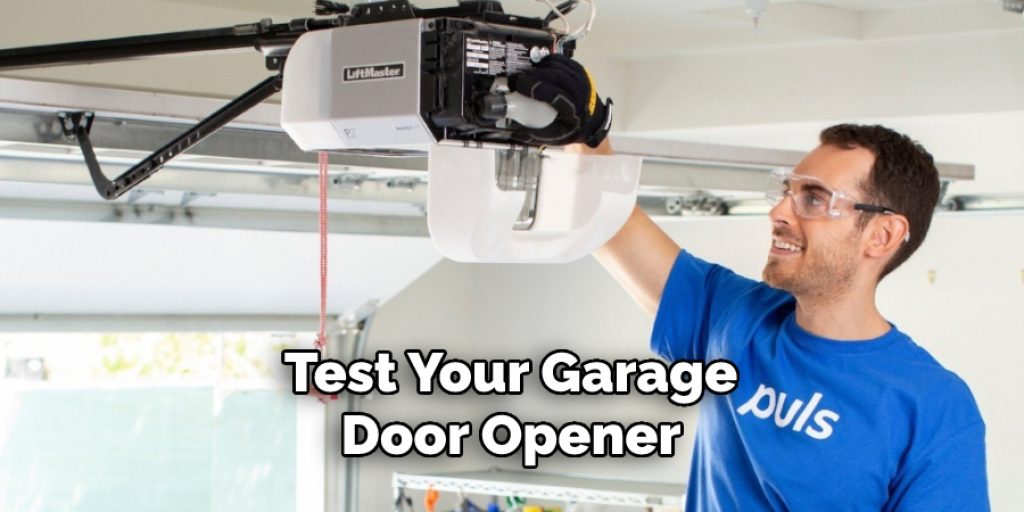
- Test your garage door opener after replacing the batteries. This ensures that your opener will work properly and safely.
- You may need to reprogram your garage door opener after replacing the batteries. Make sure to follow all instructions carefully when doing this.
- If you find that your garage door opener isn’t working even after changing the batteries, check for any loose connections or faulty wiring before attempting a more complicated repair.
- Regularly checking and changing the batteries in your garage door opener can help prevent problems with functionality in the future. Doing so will also extend its lifespan and keep it running smoothly for years to come!
With these simple tips in mind, you should have no trouble changing the batteries in your garage door opener. Be sure to follow all instructions carefully and contact a professional for help if needed.
5 Things You Should Avoid
- Don’t attempt to change the batteries with the door open. This can be extremely dangerous and could lead to serious injury or accident.
- Don’t use tools other than those the manufacturer recommends for battery replacement. Improper tools can damage the opener or cause an electric shock that may injure you or someone else.
- Don’t force anything when changing out your batteries. If something seems difficult, seek professional assistance from a qualified professional with experience in this work area.
- Don’t try to bypass any safety features on your garage door system while replacing batteries – this is not only illegal, it’s incredibly dangerous and could result in an accident!
- Finally, don’t forget to test the opener after replacing the batteries – this ensures everything is working correctly and securely.
Having fresh, well-functioning batteries in your garage door opener is an important step to keeping your family safe! Following these simple tips can help ensure that your job of changing batteries in the garage door opener goes off without a hitch.
What Type of Battery Does a Garage Door Opener Use?
Garage door openers typically use a 12-volt sealed lead acid battery. This battery type is considered relatively safe and has a long service life, making it ideal for garage door openers. It’s also important to check the manufacturer’s recommendations for how often you should replace the batteries in your opener, as this could vary depending on how much use your opener gets.
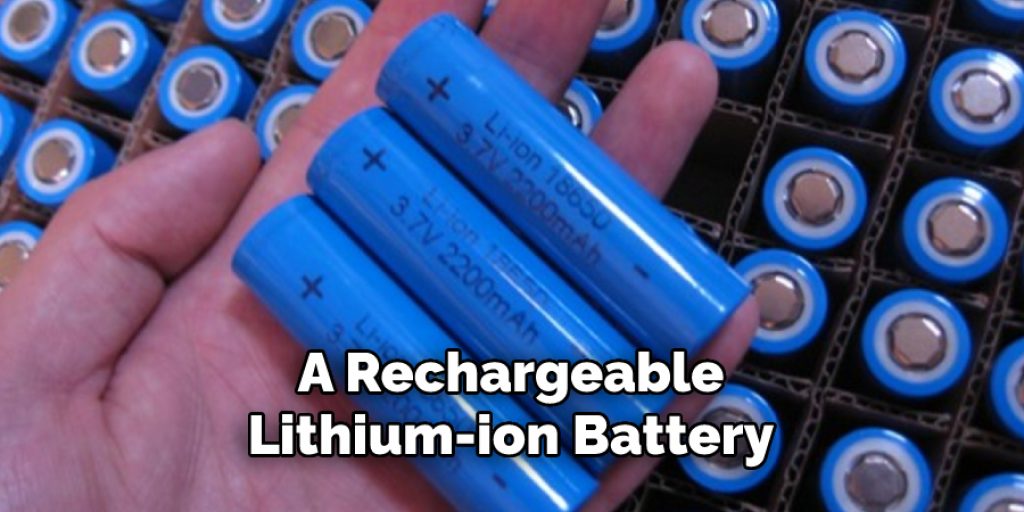
Another good option for replacing batteries in your garage door opener is a rechargeable lithium-ion battery. These types of batteries have a much longer lifespan than traditional lead acid batteries and require fewer replacements. However, they are typically more expensive than lead acid batteries and may not be cost-effective if you don’t use your garage door opener often.
Regardless of which type of battery you choose to use in your garage door opener, it’s important to carefully follow all manufacturer’s instructions when installing or replacing them. Working with electricity can be dangerous, so never attempt any repairs or modifications on your own – contact a professional if needed!
With these tips in mind, you should have no trouble changing out the batteries in your garage door opener with ease. And don’t forget – recycling those old batteries is an easy and responsible way to get rid of them quickly and safely while helping the environment too!
Conclusion
Now that you have learned the steps to changing batteries in the garage door openers, it should all be much simpler next time you need to replace them. It is important to remember that some openers will require alternative methods of completing this task, such as resetting codes to keep the system secure.
Although this may seem overwhelming at first glance, follow these steps, and you’ll be able to enjoy the convenience of a properly-functioning remote again in no time. It is also an ideal opportunity to check for any wear and tear that could be causing problems with opening or closing your garage door and make repairs if necessary.
With just a few simple steps, you’ll achieve peace of mind knowing your home’s security is up-to-date and ready for any situation.
Hopefully, this article has given you the information and tips you need to replace the batteries in your garage door opener successfully. With these steps, how to change batteries in garage door opener will be a piece of cake! Happy Opening!